The Fabulous Food Blog
About Us
Live to Eat or Eat to Live?
James Beard – My Hero
10 Greatest Cooking Disasters
Cooking Tips
Conversions and Substitutions
Wedding Cake Data Chart
TJ Recipes
Tim’s Mom’s Cookbooks
Flour Power
Family & Friends
Family Reunion-1
Family Reunion-2
Little Gram’s Cookbook
Quick Meals
Recipes From The Heart
Holiday Cooking
Recipes from Villa Modica
Other Stuff
Search
The Fabulous Food Blog
About Us
Live to Eat or Eat to Live?
James Beard – My Hero
10 Greatest Cooking Disasters
Cooking Tips
Conversions and Substitutions
Wedding Cake Data Chart
Tim and Victor's Totally Joyous Recipes
Desserts
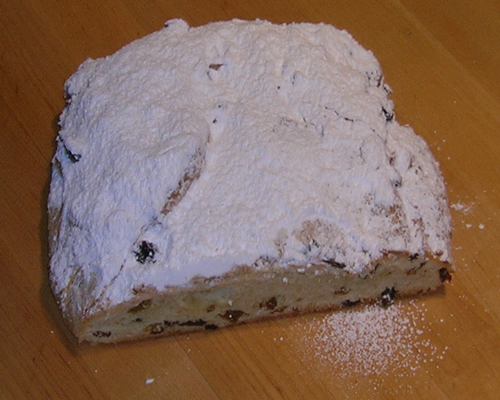
Stollen Still Eludes Me
It’s Beginning To Look A Lot Like Christmas
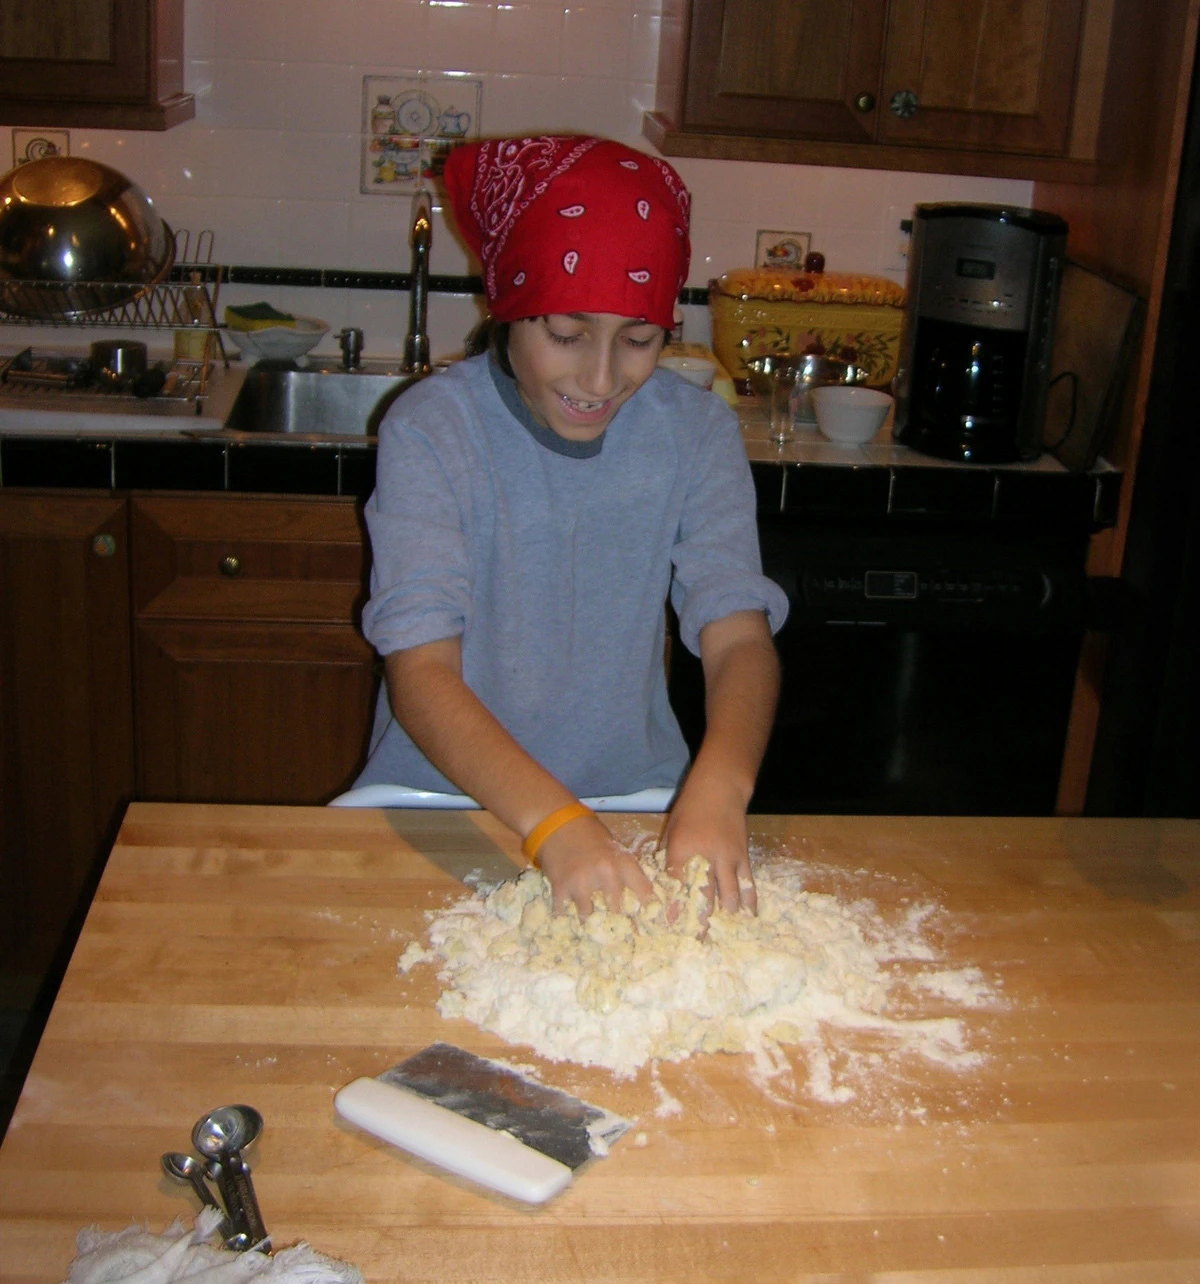
Christmas Cookies – Part One
Pumpkin Cake
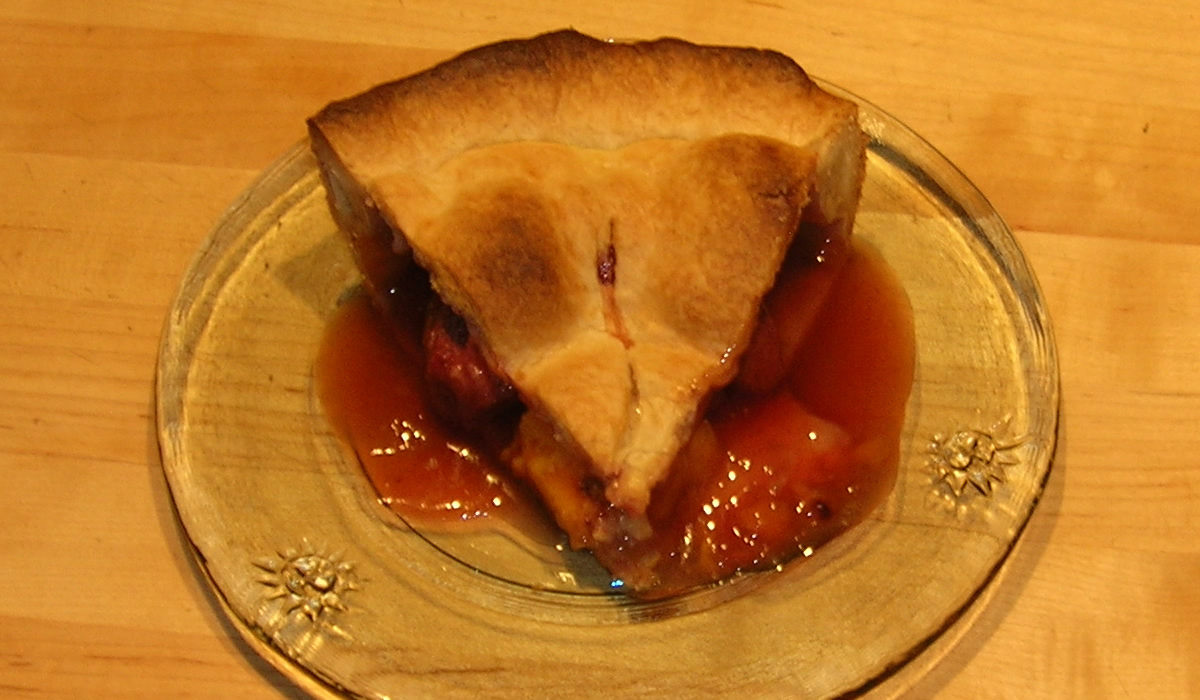
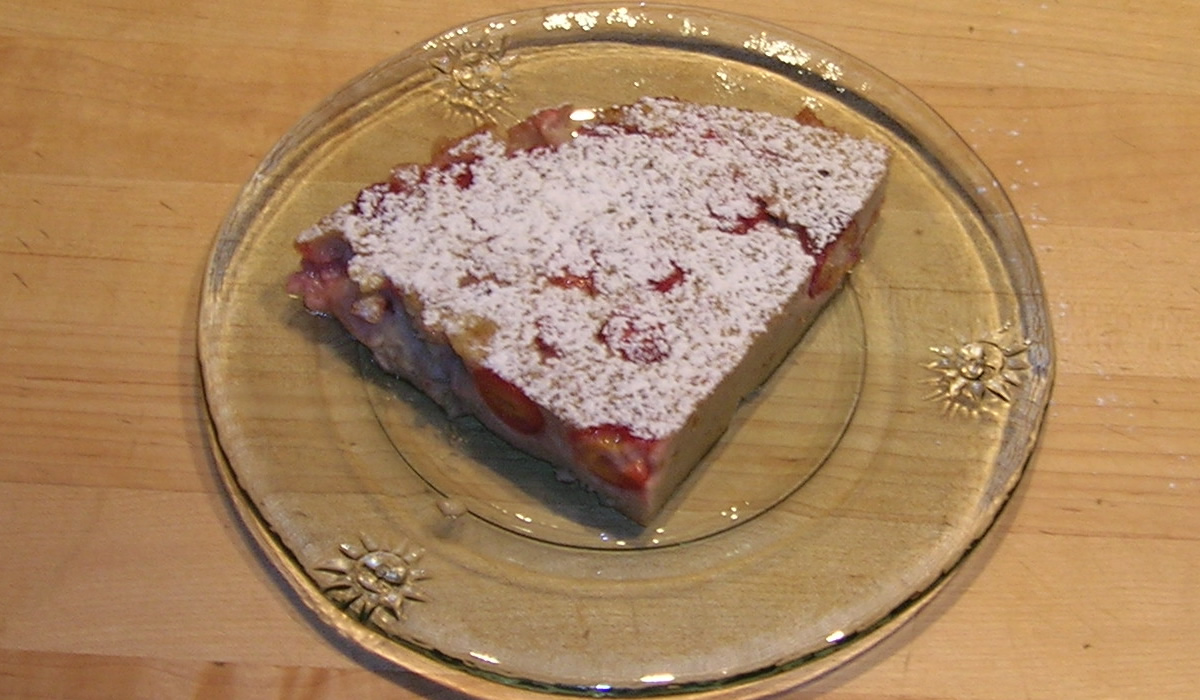
Strawberry Peach Pie
An American in Paris
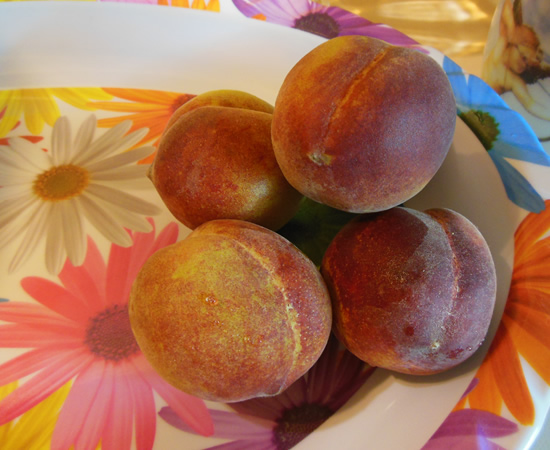
Peach Upside Down Cake
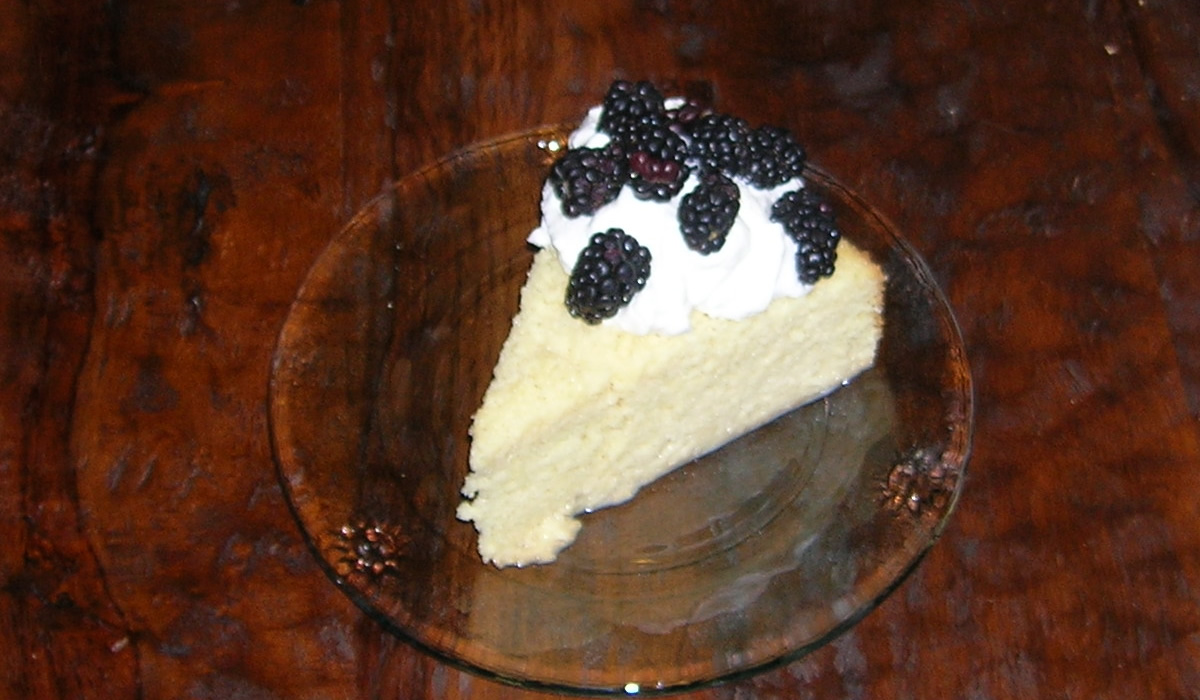
Pastel De Tres Leches
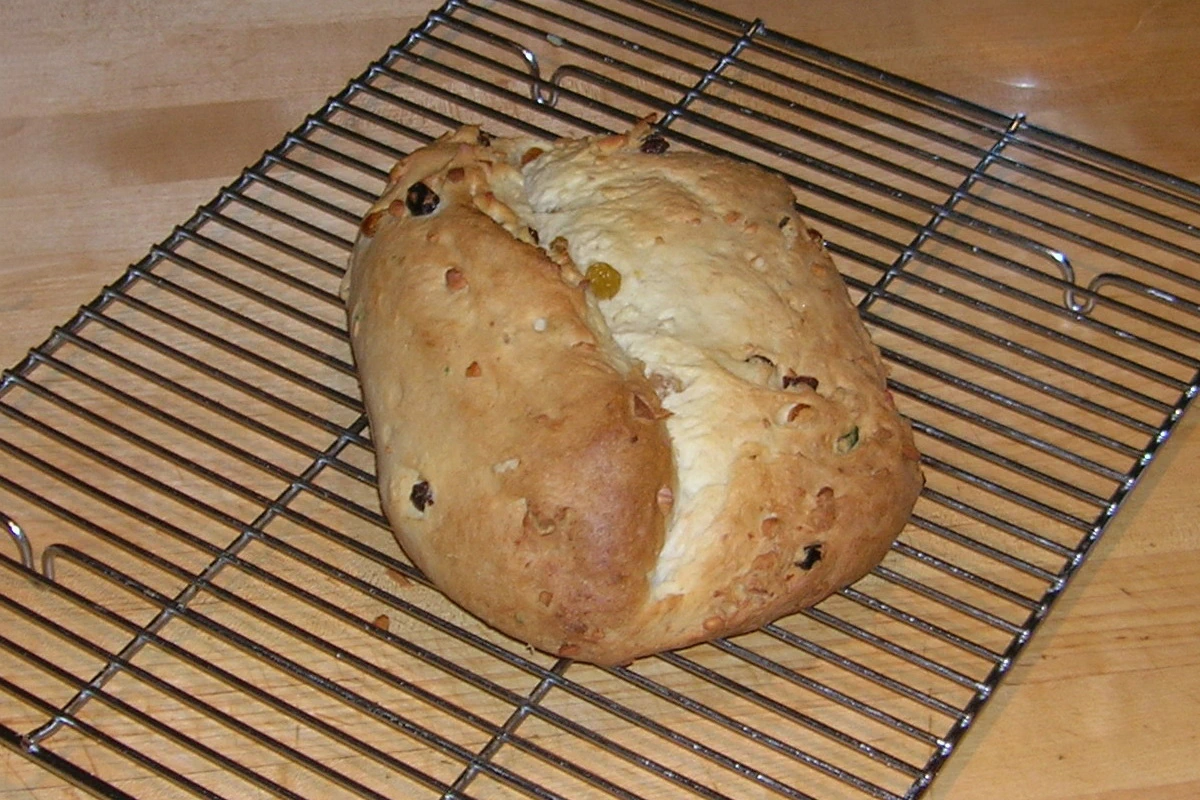
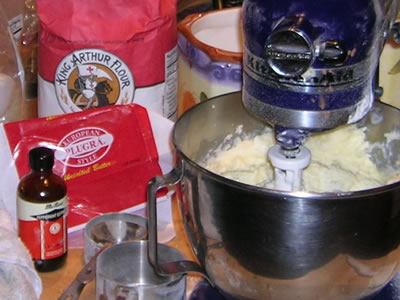
Christmas Stollen
Gino Delivers
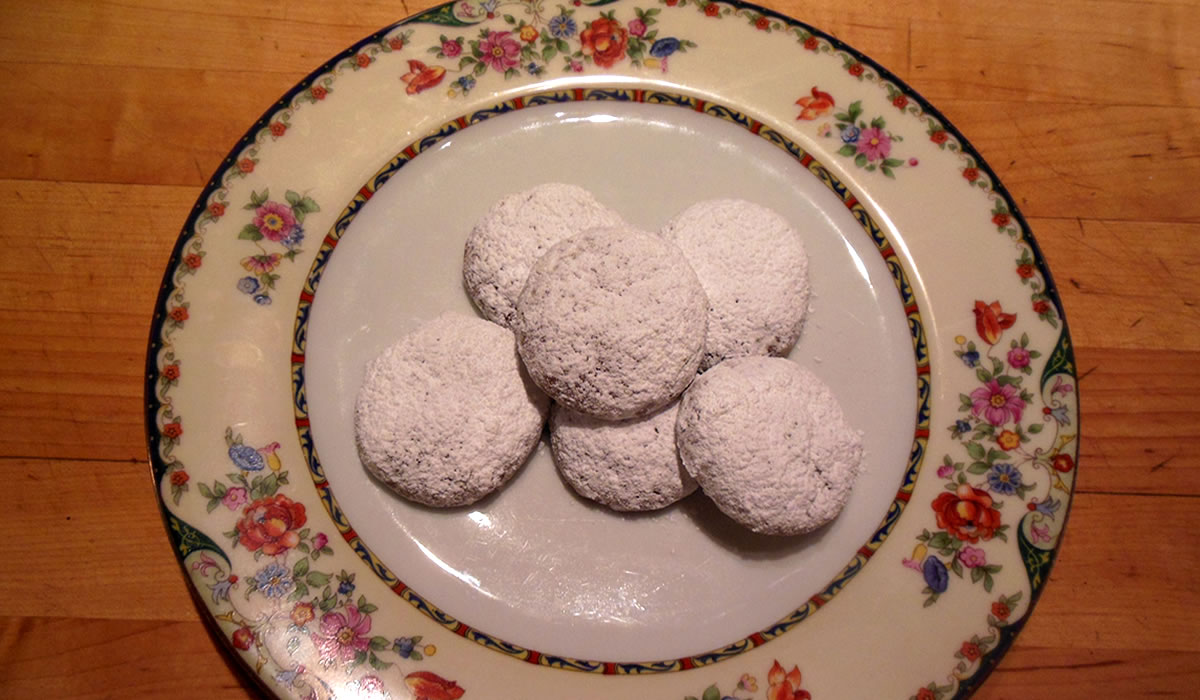
Pfeffernusse and Nutmeg Logs
Christmas Cookies Part Deux
Christmas Cookies
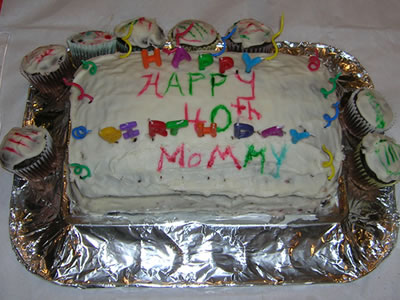
The Best Birthday Cake
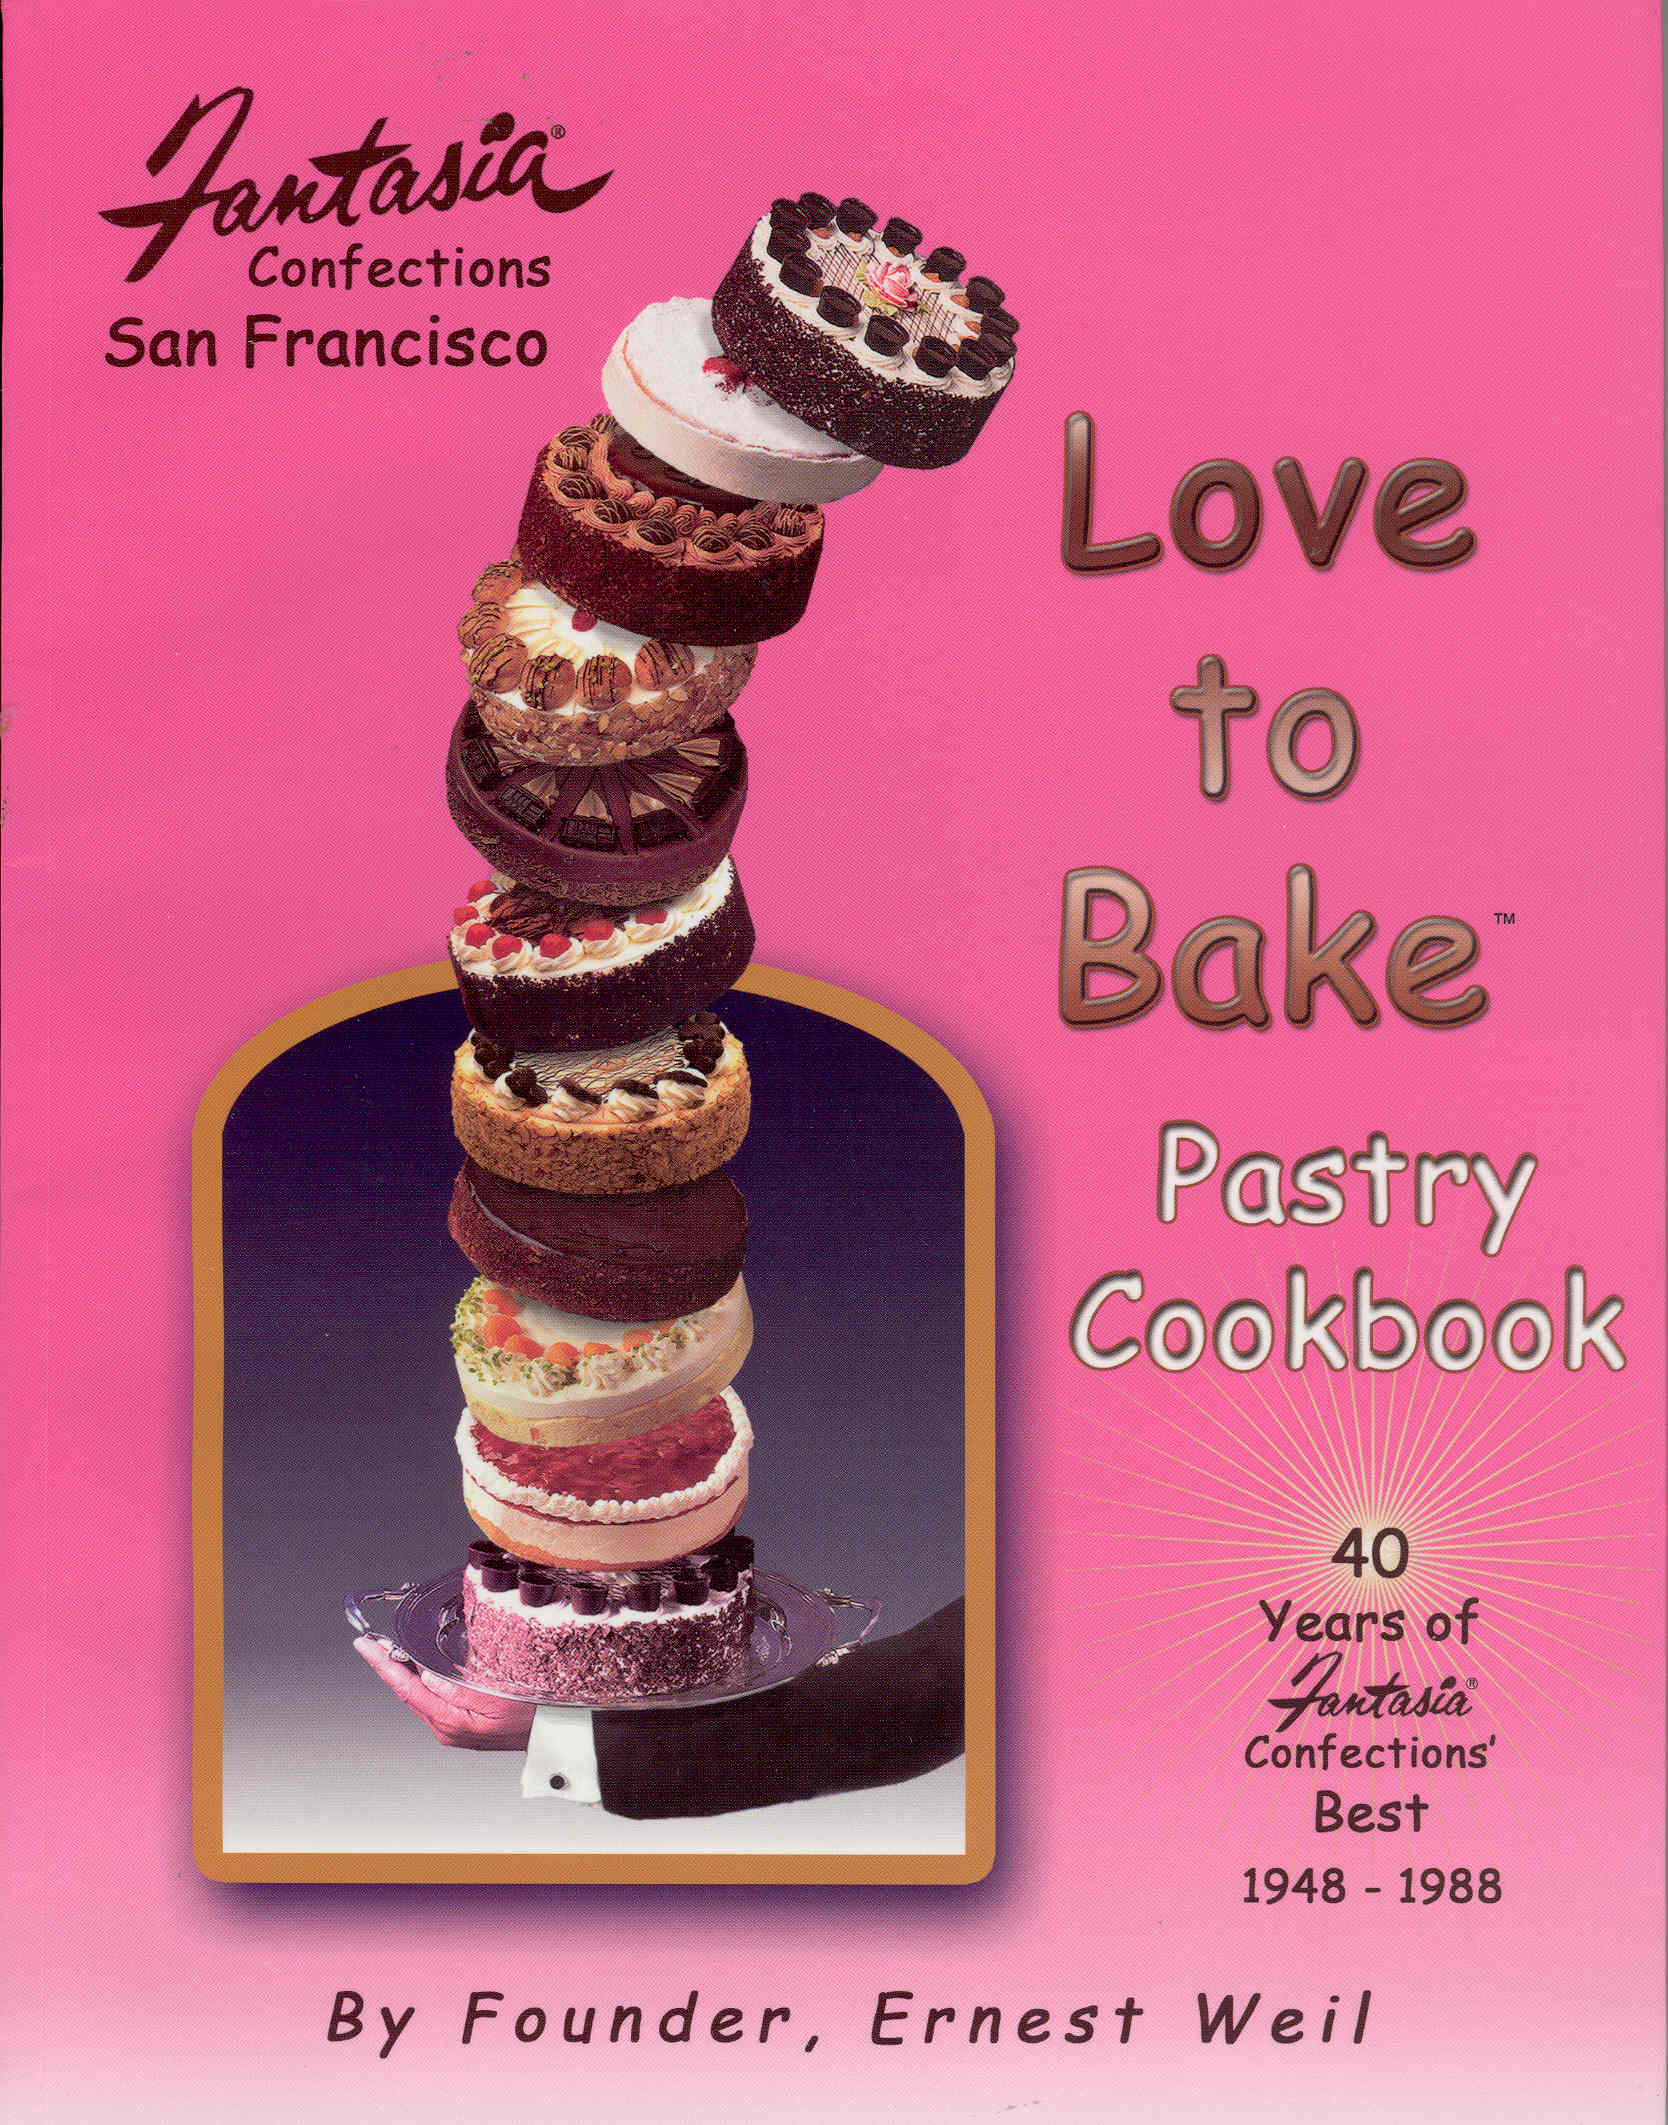
Fantasia Confections and a Stroll Down Memory Lane
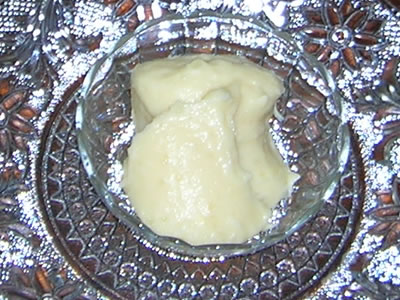
Tapioca Pudding, Chipotle BBQ Sauce, and Chipotle Spice Rub
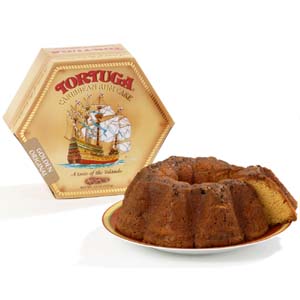
Tortuga Rum Cake
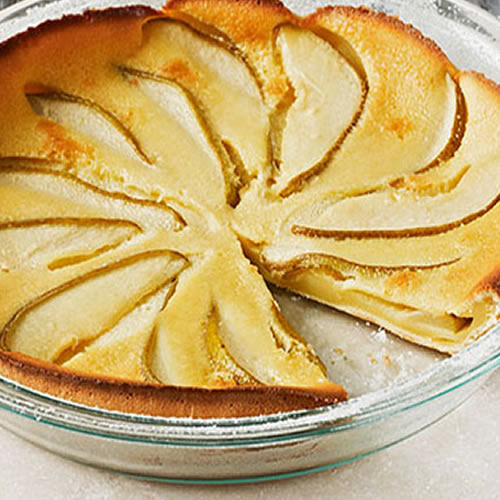
Apple Pear Clafouti
1
…
11
12
13
14