The Fabulous Food Blog
About Us
Live to Eat or Eat to Live?
James Beard – My Hero
10 Greatest Cooking Disasters
Cooking Tips
Conversions and Substitutions
Wedding Cake Data Chart
TJ Recipes
Tim’s Mom’s Cookbooks
Flour Power
Family & Friends
Family Reunion-1
Family Reunion-2
Little Gram’s Cookbook
Quick Meals
Recipes From The Heart
Holiday Cooking
Recipes from Villa Modica
Other Stuff
Search
The Fabulous Food Blog
About Us
Live to Eat or Eat to Live?
James Beard – My Hero
10 Greatest Cooking Disasters
Cooking Tips
Conversions and Substitutions
Wedding Cake Data Chart
Tim and Victor's Totally Joyous Recipes
Desserts
Cannoli Cake
Cassoulet and Apple Fig Coffee Cake
Sunday Dinner
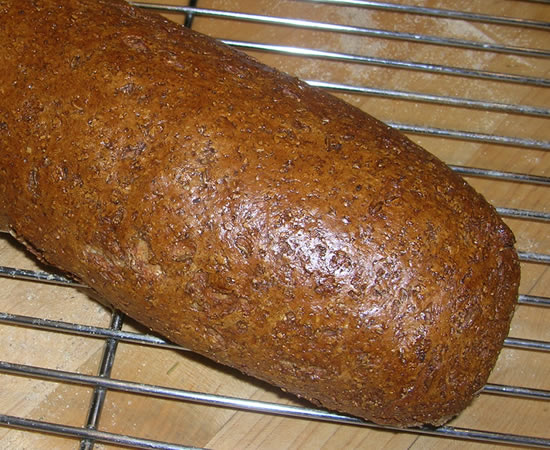
Pork Roast, Rye Bread, and an Apple Tart
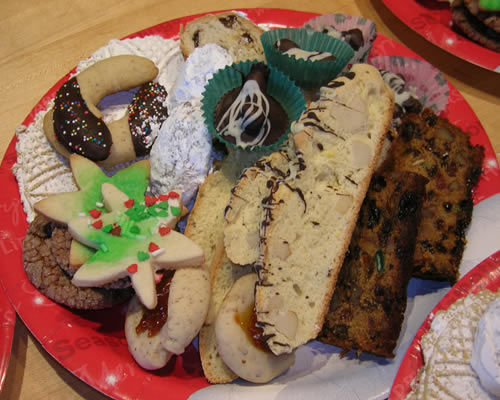
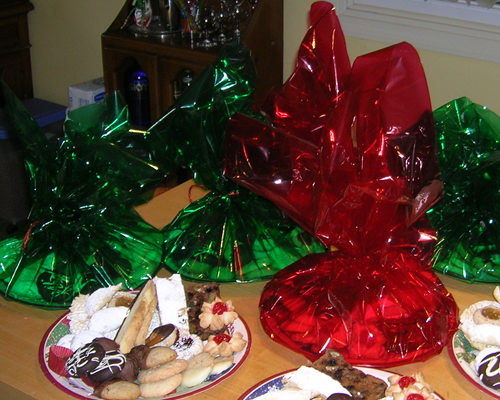
Cookie Trays
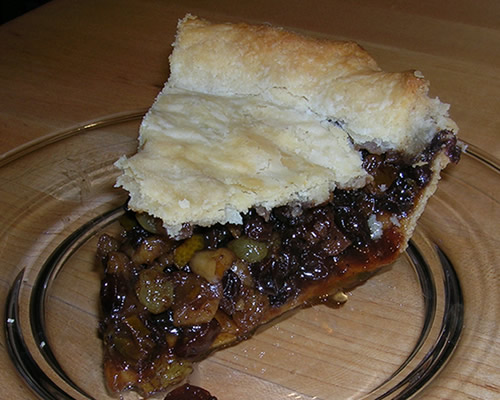
Mincemeat Pie
‘Tis The Season
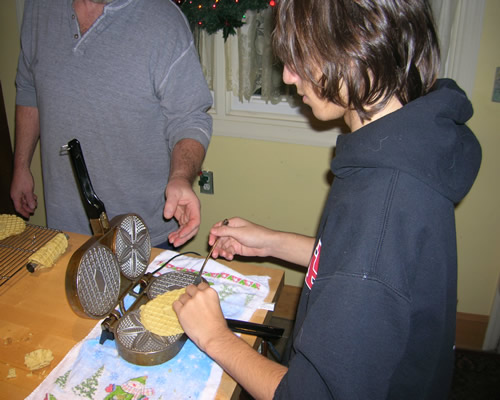
Cookie Baking Continues
Baking Cookies
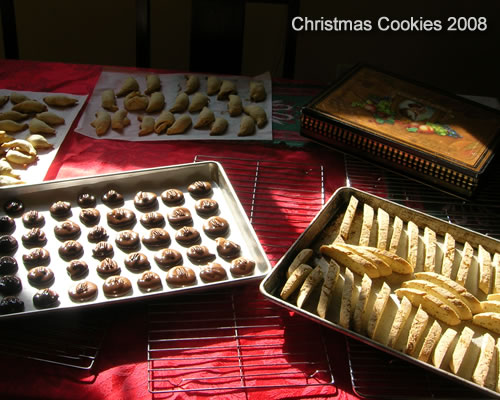
Christmas Cookies 2009
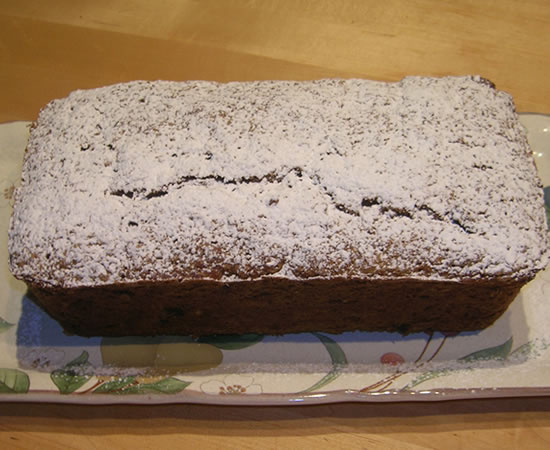
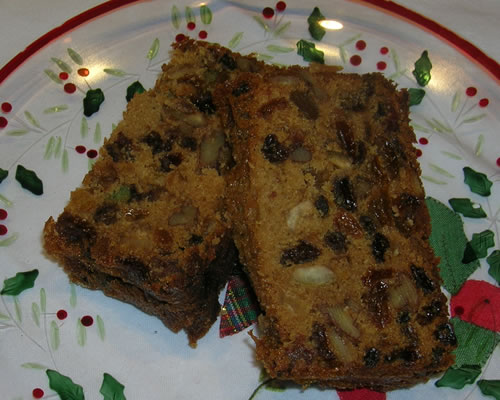
Christmas Fruitcake
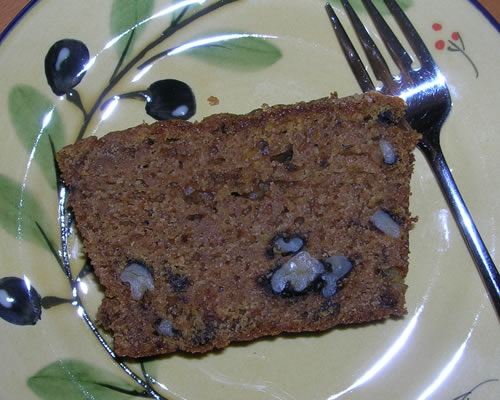
Sunday Supper and Saturday’s Dessert
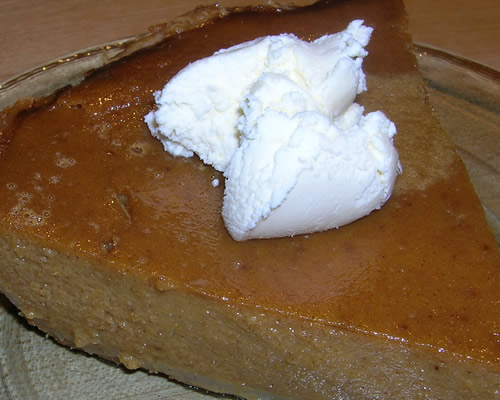
The First Pumpkin Pie of the Season
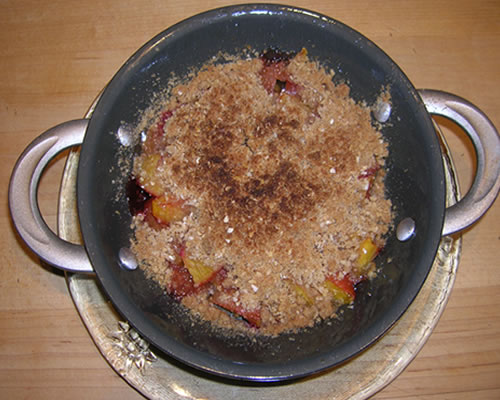
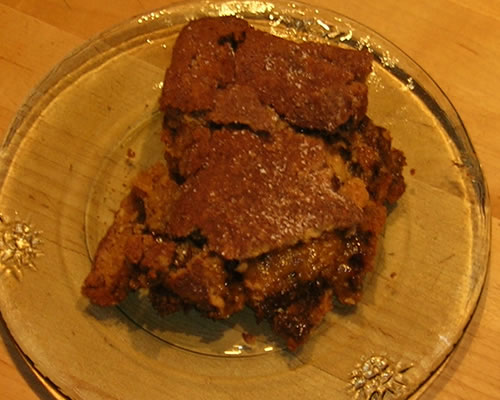
Delectable Dessert
Flourless Chocolate Cake
What’s Wrong With This Picture?
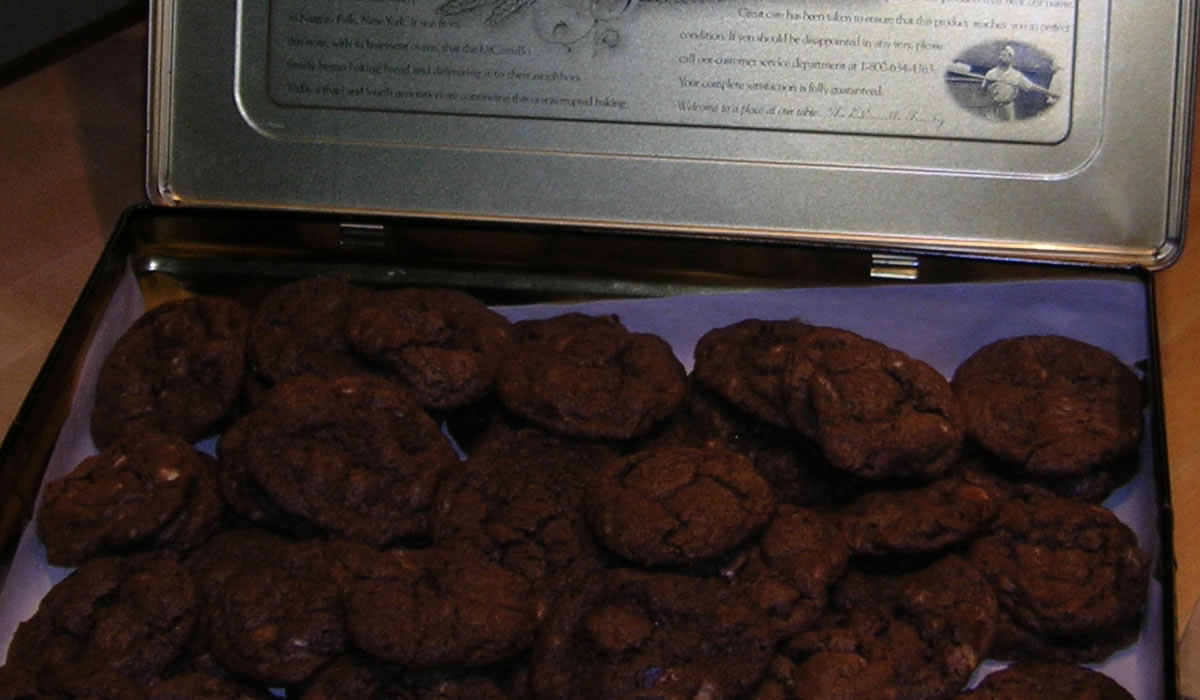
Chocolate Overload Cookies
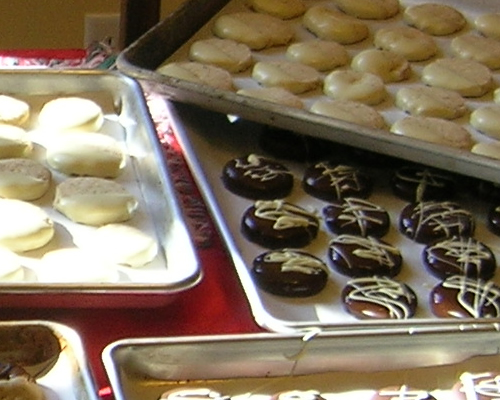
Covered in Chocolate
1
…
10
11
12
13
14