The Fabulous Food Blog
About Us
Live to Eat or Eat to Live?
James Beard – My Hero
10 Greatest Cooking Disasters
Cooking Tips
Conversions and Substitutions
Wedding Cake Data Chart
TJ Recipes
Tim’s Mom’s Cookbooks
Flour Power
Family & Friends
Family Reunion-1
Family Reunion-2
Little Gram’s Cookbook
Quick Meals
Recipes From The Heart
Holiday Cooking
Recipes from Villa Modica
Other Stuff
Search
The Fabulous Food Blog
About Us
Live to Eat or Eat to Live?
James Beard – My Hero
10 Greatest Cooking Disasters
Cooking Tips
Conversions and Substitutions
Wedding Cake Data Chart
Tim and Victor's Totally Joyous Recipes
Desserts
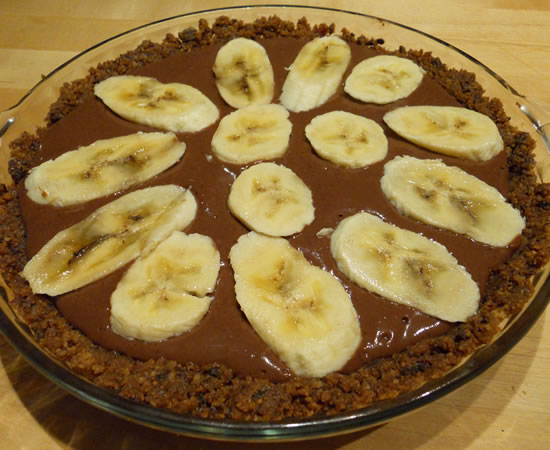
Chocolate Banana Pie
Peach and Almond Upside-Down Cake
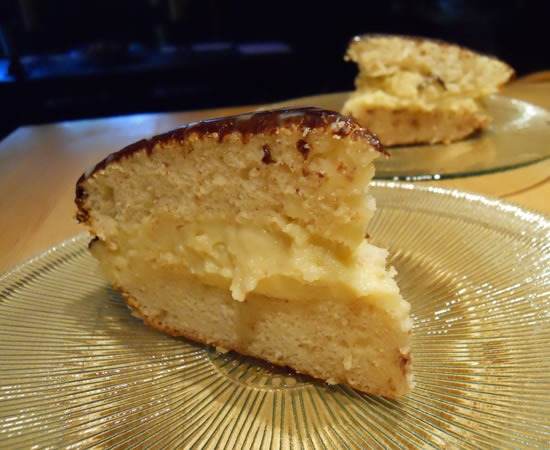
Boston Cream Pie
Chocolate Chip Cookies
Flourless Chocolate Cake
Raspberry Scrippelle
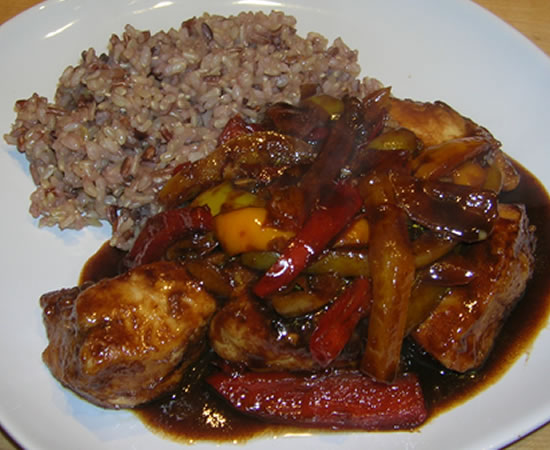
Leftovers
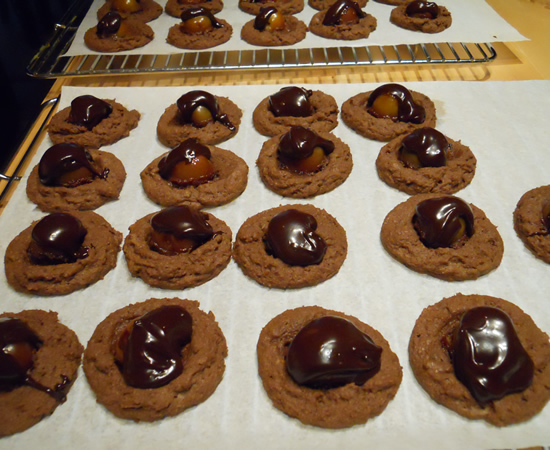
Chocolate Cherry Cookies
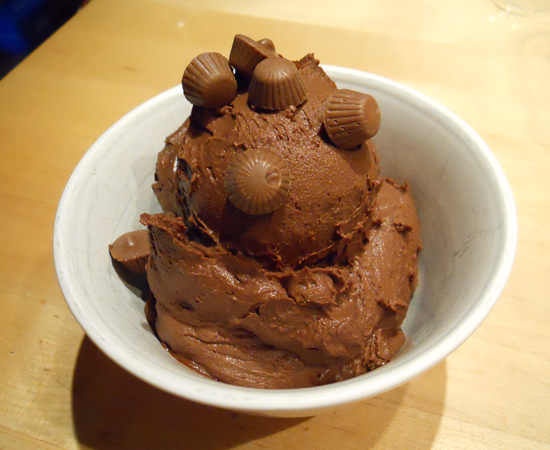
OMG Chocolate Ice Cream
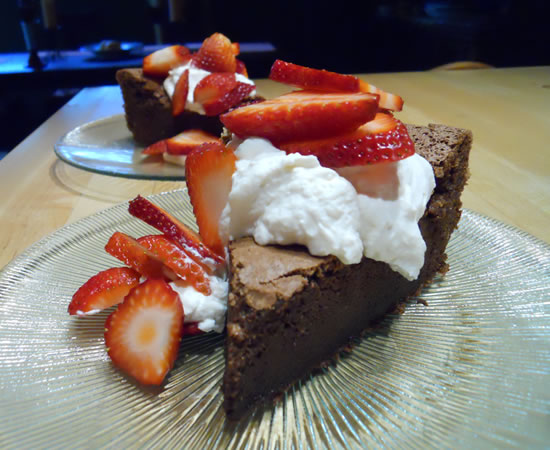
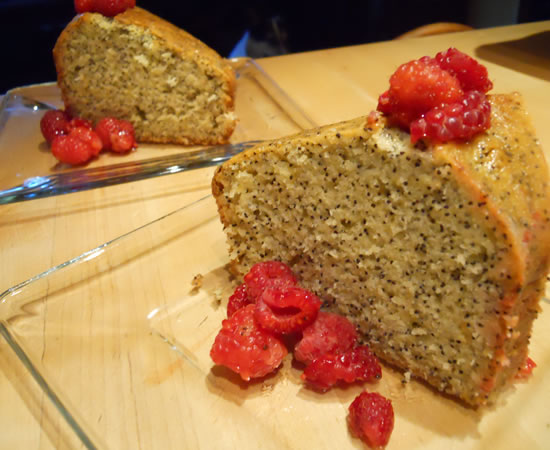
‘In Flanders Field’ Poppy Seed Cake With Lemon Glaze and Strawberries
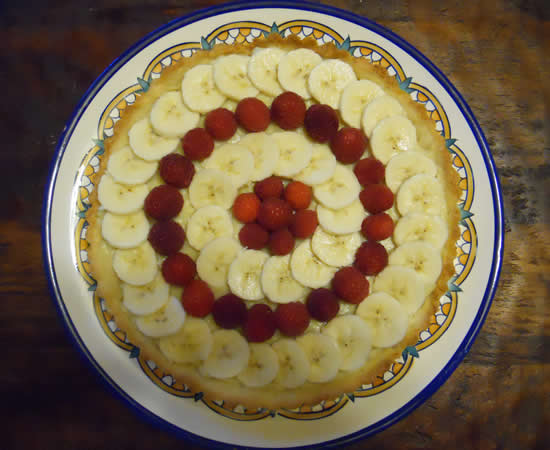
Raspberry and Banana Tart
Buttermilk Cake with Blackberries and Beaumes-de-Venise
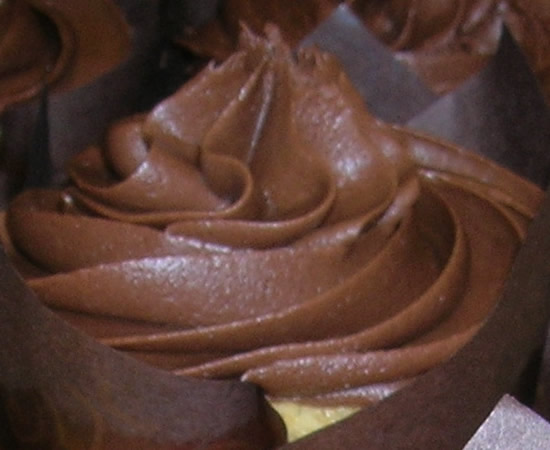
Cupcakes
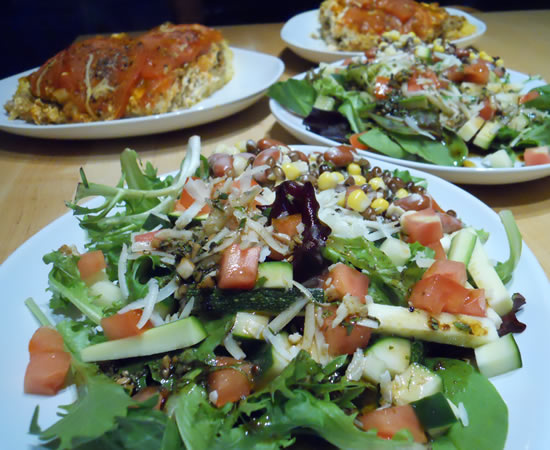
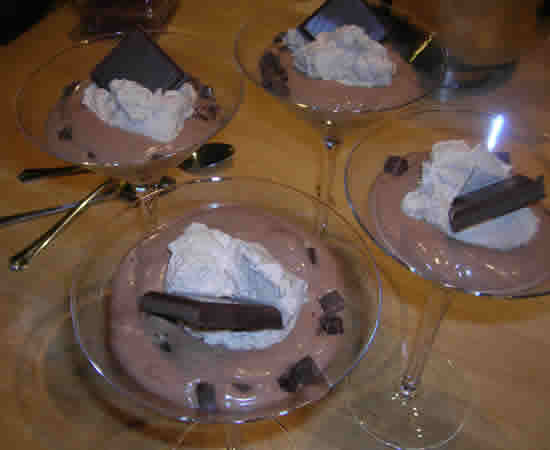
Salads and Chocolate Pudding
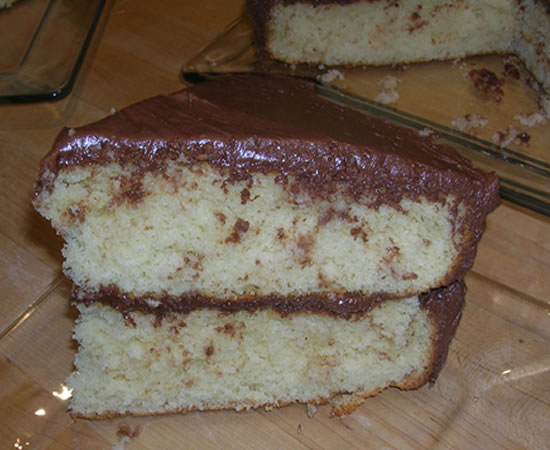
Yellow Cake Is calling
Bean Soup and Madeleines
Cooking in a Winter Wonderland
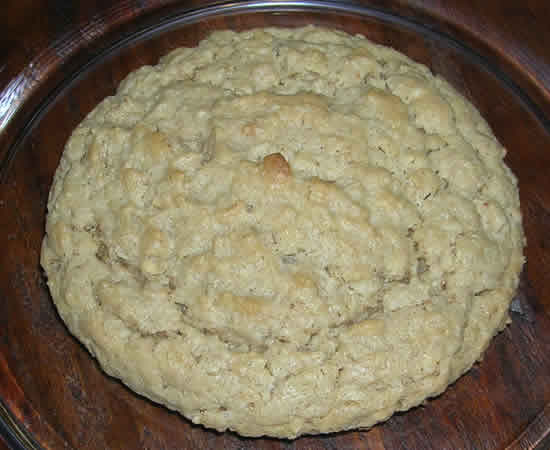
Oatmeal Peanut Butter Cookies
1
…
9
10
11
12
13
14