Cavatelli
Feeling lazy, I pulled some Italian Sausage out of the freezer, this morning. We have Victor's Pasta Sauce in the pantry, so I thought a simple spaghetti would suffice.
Victor had other plans...
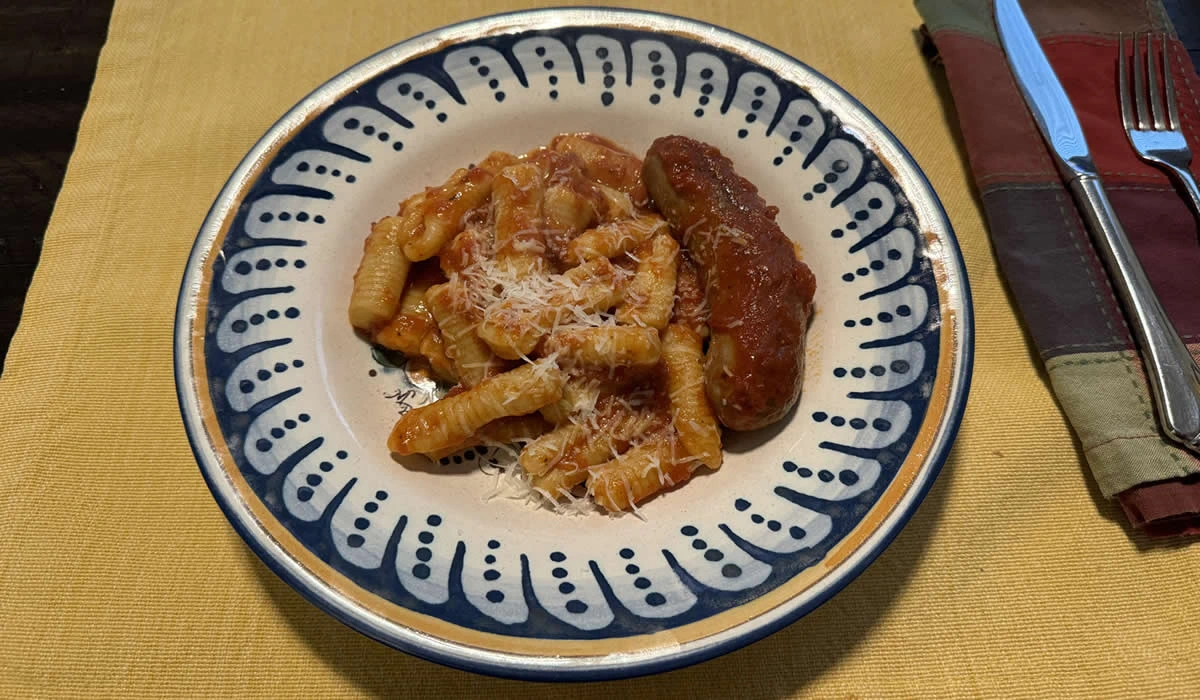
He said he'd brown the sausage and take care of the sauce, so I happily agreed. A while later, he asked if I'd like homemade cavatelli instead of spaghetti. I could not say "YES!" fast enough!
There really is something special about homemade pasta. Dried is just fine - better, I think, than 'fresh' pasta at the grocery store - but homemade?!? Molto Bene!
Since I was planning a lazy dinner, I didn't have a nice, crusty loaf of bread on hand, but the dinner didn't need it.
It was perfection on an Italian hand-painted-from-Florence, plate! (LOVE those dishes!)
Cavatelli
- 1 1/8 cup semolina flour
- 3/4 cup Tipo “00” flour
- 1/2 tsp salt
- 1/2 cup water
- 2 tbsp olive oil
Mix flours and salt on board. Make a well and add the water and oil. Slowly mix the liquid into the flour forming a dough. Knead about 5 minutes. Wrap and let rest about 30 minutes to an hour.
Roll pieces of dough into a thin rope and cut into 1/2″ pieces. Press and roll to make little shells.
Cook in salted boiling water. Drain and serve with your favorite sauce.
This was a higher semolina to 00 flour than Victor usually makes, and he - always critical of his own pastas - thought they were a bit heavy. I thought they were excellent, great flavor, great chew... extremely satisfying.
There were no leftovers.
Chicken Rice Soup with Lemon
Victor came into the office yesterday afternoon and said he was making a pot of soup.
He was looking after me because I had had a bit of a rough night with my legs keeping me tossing and turning for most of the night. [My hip replacement will not come soon enough!]
The caveat was I had to make some cornbread to go with it.
It was an offer I couldn't refuse.
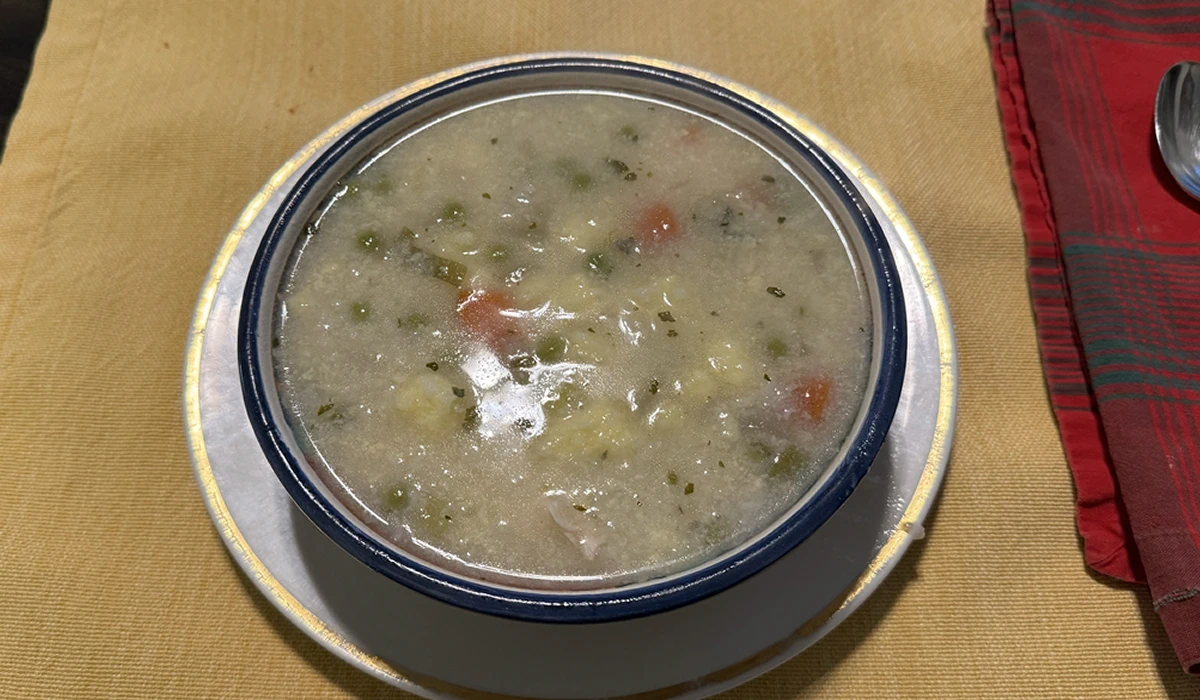
He had seen a soup on one of the cooking shows a while back - a Greek Chicken Soup with Rice, Lemon, and Egg. It may have said Greek, but it spoke to his Sicilian genes... Sans recipe, he headed to the kitchen.
Chicken Rice Soup with Lemon
- 1 1/2 lbs boneless chicken breast
- 3 qts chicken broth
- 1 1/2 cups rice
- Zest & juice of 2 lemons
- 1/2 tsp garlic powder
- 2 tsp Oregano
- 3 eggs
- Salt & Pepper, to taste
Place everything but eggs into a soup pot. Bring to boil, turn off heat, cover, and let sit for about 20 minutes for rice and chicken to cook.
Remove chicken and set aside to shred.
Place 1 cup of the rice in blender with the eggs. Blend until creamy smooth.
Return soup to a good simmer and add shredded chicken.
Stir egg/rice mixture into pot, stirring until well mixed and egg is cooked through.
Taste for seasoning, add salt and pepper, as desired. Squeeze additional lemon juice if desired.
Really good. Simple with clean flavors. And totally filling without being heavy.
The perfect dinner!
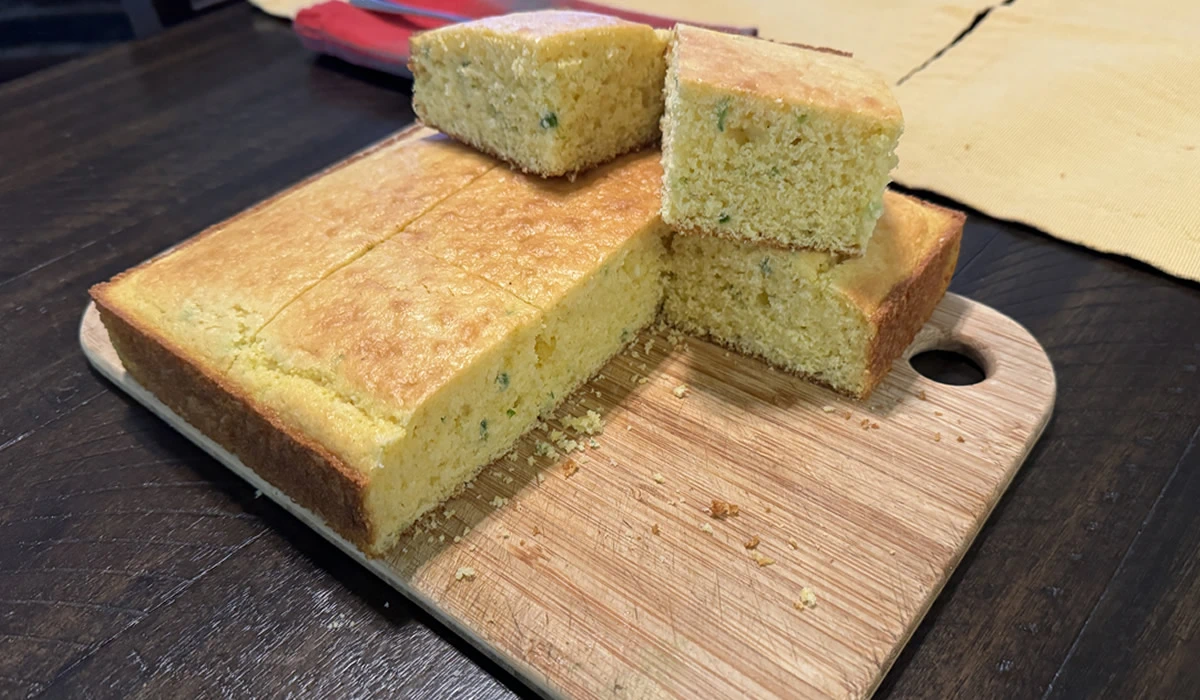
I cheated with the cornbread - my mobility is a bit lacking, at the moment - but I did doctor it enough to be better than just the box!
I always have a couple of boxes of Jiffy Corn Muffin Mix in the cupboard. It's like 55¢ a box at WinCo and ready in 20 minutes. I used buttermilk and added minced jalapeño. 2 boxes make a perfect 8x8 pan. It does the job quite well.
It was the perfect lunch, today, and I'm planning on finishing it for lunch, tomorrow.
My stomach is smiling!
Pear Blueberry Dutch Baby
He's done it, again!
Victor the Kitchen Magician has used his magical skills to create the perfect dessert!
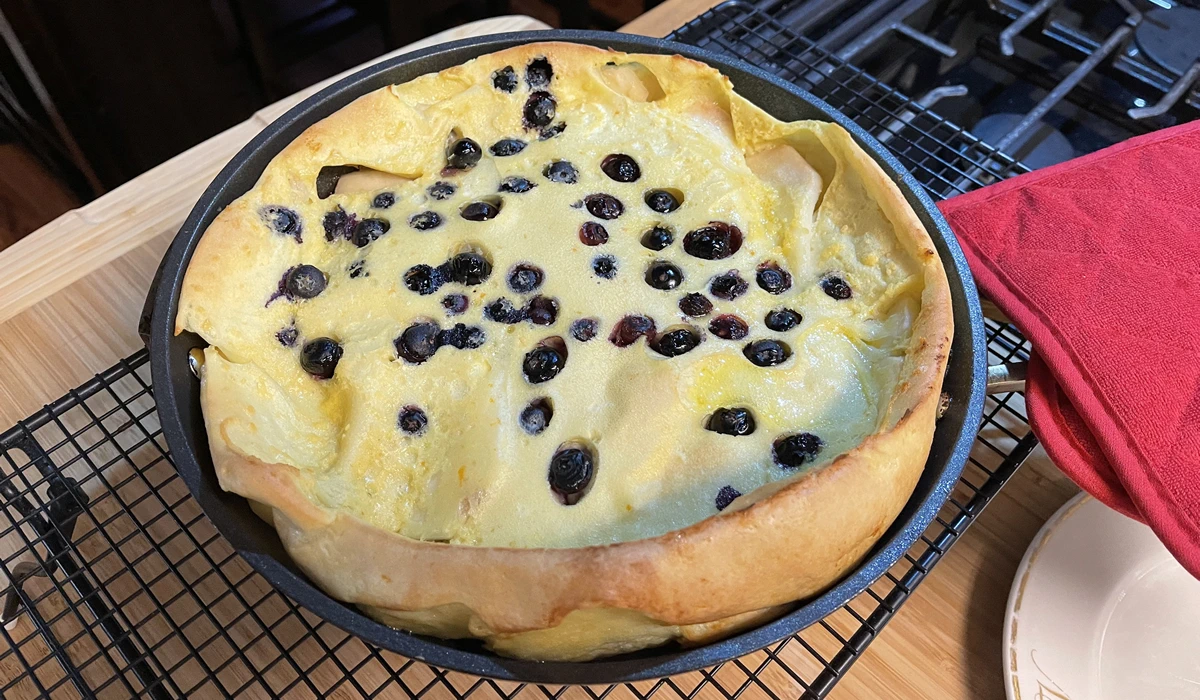
Dutch Baby's are one of the most versatile things to make. They can be sweet, they can be savory. Items can be mixed in or served on top after cooking. Victor took a basic formula and added orange zest, thinly sliced pears to the pan before adding the batter, and blueberries scattered on top to create a truly excellent dessert!
The delicate orange came through, the pears were sweet and tender, and the blueberries popped with juicy flavor!
Light and delicate - the perfect dessert!
Pear Blueberry Dutch Baby
- 3 large eggs
- 1/2 cup all-purpose flour, spooned into measuring cup and leveled-off
- 1/2 cup milk
- 1 tablespoon maple syrup, plus more for serving
- 1/4 teaspoon salt
- 1/2 teaspoon vanilla extract
- 2 tsp fresh orange zest
- 3 tablespoons unsalted butter
- 1 Bosc pear, thinly sliced
- 1/2 cup blueberries
- Confectioners' sugar, for serving (optional)
Preheat oven to 400°F and set an oven rack in the middle position. Put a 10-inch cast iron skillet or oven-safe nonstick pan into the oven and heat for at least 5 minutes.
In a blender, combine the eggs, flour, milk, 1 tablespoon maple syrup, the salt, orange zest, and vanilla. Blend until completely smooth, scraping down the sides of the blender jar as necessary, about 30 seconds.
Open the oven door and drop the butter into the preheated skillet. Close the oven and allow the butter to melt, about 2 minutes (do not let it burn).
Carefully remove the hot skillet from the oven and place the pears in pan. Pour the batter into the buttered skillet and scatter the blueberries on top.
Place the skillet back into the oven and bake for about 20 minutes, until puffed and golden.
Carefully remove the skillet from the oven.
Dust with confectioners' sugar and then cut into wedges.
Serve with maple syrup.
I'm thinking having a Breakfast for Dinner sometime soon with a savory version...
Stay tuned!
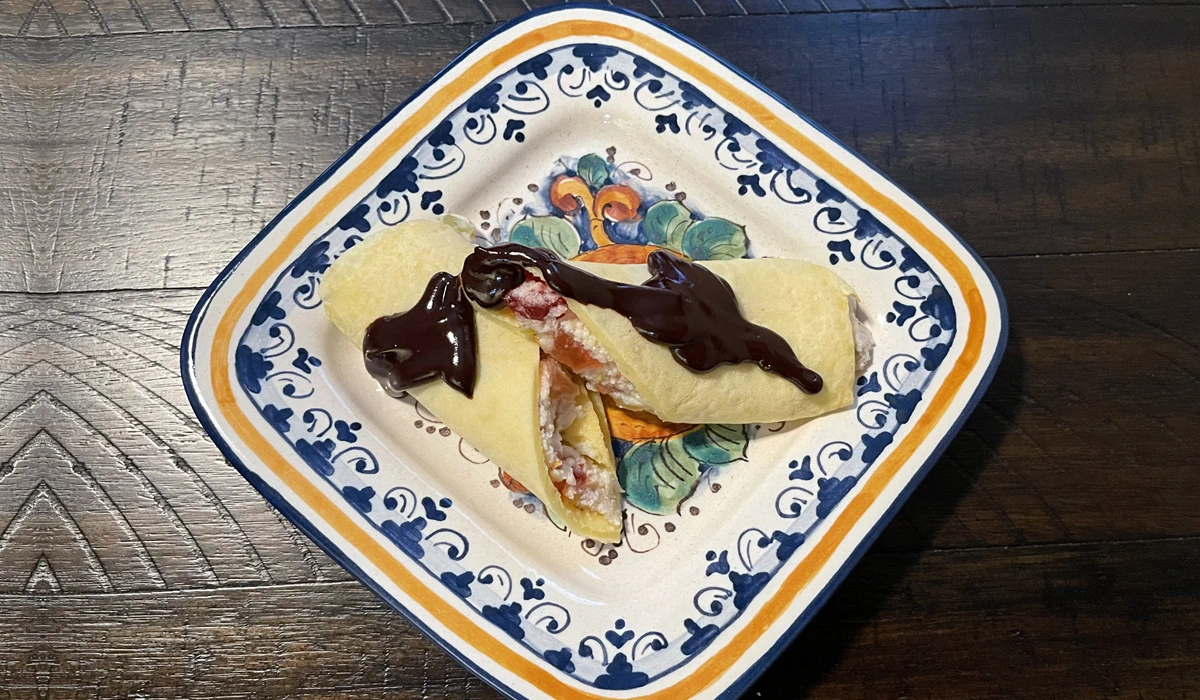
Cannoli Crepes
I was sitting in the office, minding my own business - more or less - when I heard a bit of clatter in the kitchen. The office is adjacent to the kitchen - it used to be the garage - so it's easy to listen in. (We have a very quirky house.)
ANYWAY...
I peek my head in and Victor is standing over the stove. I casually asked him what he was doing, and with a big smile, he said he was making Cannoli Crepes!
I swooned.
And after I tasted them, I swooned even more!
They were the perfect dessert and a perfect substitute for their much more complicated cousin.
Our sister-in-law Marie's mother made homemade cannoli into her 90s, and the last time we actually had a cannoli was at Mike's in Boston's North End.
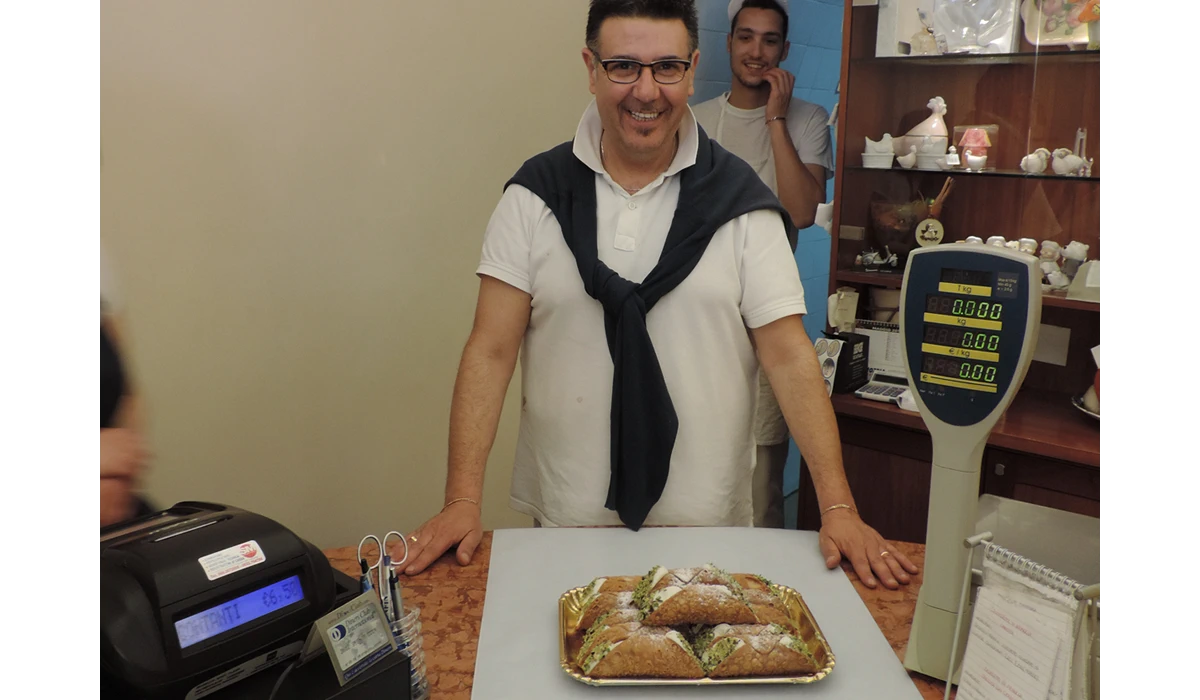
Big Gram's were better than Mikes, but the absolute best were in Modca, Sicily, at Pasticciera Chantilly. The pastries and chocolates were unbelievable! And the cannoli were perfection.
They were filled fresh right in front of us! The owner and his assistant were a lot of fun and really enjoyed our enthusiasm.
And they really were delish!
But I digress...
Cannoli shells are a pain in the ass to make, but I do think one of these days I may have to try it. In the meantime, their crepe cousin is a fantastic substitute.
Cannoli Crepes
Crepes
- 1 cup all-purpose flour
- 2 eggs
- ½ cup milk
- ½ cup water
- ¼ tsp salt
- 1 tsp sugar
Filling
- 1 15 oz container ricotta – drained (or ½ and ½ ricotta and mascarpone)
- 1/4 cup powdered sugar – (more or less to taste)
- 1 tsp vanilla extract
- Mini chocolate chips or grated chocolate.
- 1 tsp grated lemon or orange rind (I used both)
- Chopped pistachios (or almonds, walnuts, hazelnuts, etc...)
- Optional – candied fruit, cherries
For Crepes:
Mix all ingredients in a blender and process until smooth.
Heat a lightly buttered non-stick skillet over medium-high heat. Pour Scoop about 1/4 cup batter into yhe hot [an. for each crêpe. Tilt the panand swirl until pan is covered.
Cook until the top of the crepe is reasonably dry. Flip and cook until the other side is a light brown.
Repeat with remaining batter, stacking crepes and covering with a clean dish cloth.
For Filling:
Drain ricotta in a sieve for about an hour. Mix with mascarpone, if using.
Add powdered sugar and vanilla.
Add remaining ingredients and blend well.
To Assemble:
Place crepe on board. Spoon desired amount of filling in center and roll tightly with seam-side down.
Top with powdered sugar or chocolate sauce, if desired.
They were perfectly light, tons of flavor, great contrasts in texture... an absolutely perfect dessert!
And we have more for tonight!
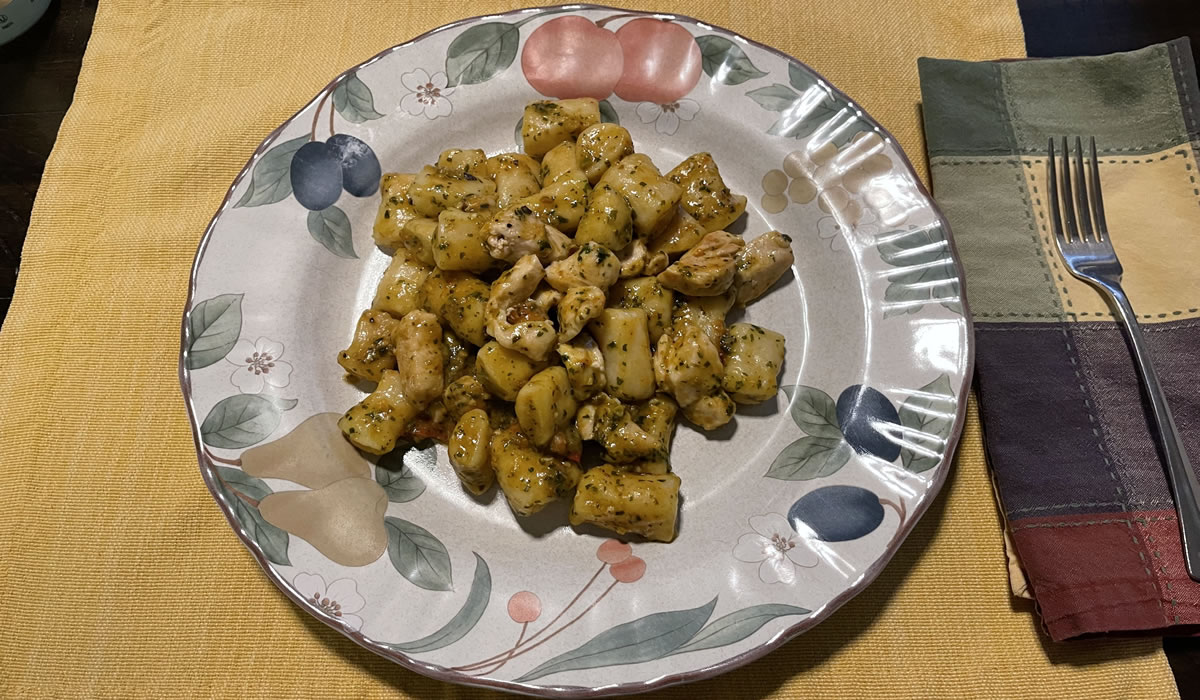
Ricotta Gnocchi with Pesto and Chicken
I took a chicken breast out of the freezer with no real idea of what I was going to make for dinner.
That's not entirely unusual - ofttimes I will have a plan when I hit the 'fridge. Other times, it's a gamble.
I never plan meals in advance because I really don't know on Sunday what I'll be in the mood for on Thursday. I know many people who do that - I'm just not one of them.
By the same token, I'm not always sure at 10am what I'm going to want at 6pm - more often than not, it depends on what's in the 'fridge and needs using up. Not wasting things is a great motivator - and when there are lots of spices and other things in the pantry, there can be endless possibilities.
All of that came to a screeching halt when Victor asks what I had planned for the chicken. My answer was nothing, and his reply was gnocchi.
I was no longer cooking! That means, no matter what, I'm going to enjoy dinner!
And enjoy, I did!
Light as a feather gnocchi with chunks of chicken in the last of last years pesto was perfection on a plate!
Ricotta Gnocchi
- 1 to 1 1/4 cups flour
- 1 cup ricotta - drained
- 1 cup freshly grated Parmigiano Reggiano
- 1 egg
- Pinch garlic powder
- Pinch S&P
Mix everything together with a light hand and refrigerate about an hour. Start with one cup of flour and add more, depending on how wet the dough is.
Remove from 'fridge and roll pieces of dough into a rope about a half-inch thick. Cut into pieces about an inch long.
Place into simmering salted water and lightly stir. When they rise to the surface, cook another 2 or so minutes.
Serve with your favorite sauce.
Victor sauteed the chicken and then added the pesto. When it was all cooked, he added the gnocchi and mixed it all together.
Dinner was served!
Tons of flavor and contrasting textures made for the perfect dish.
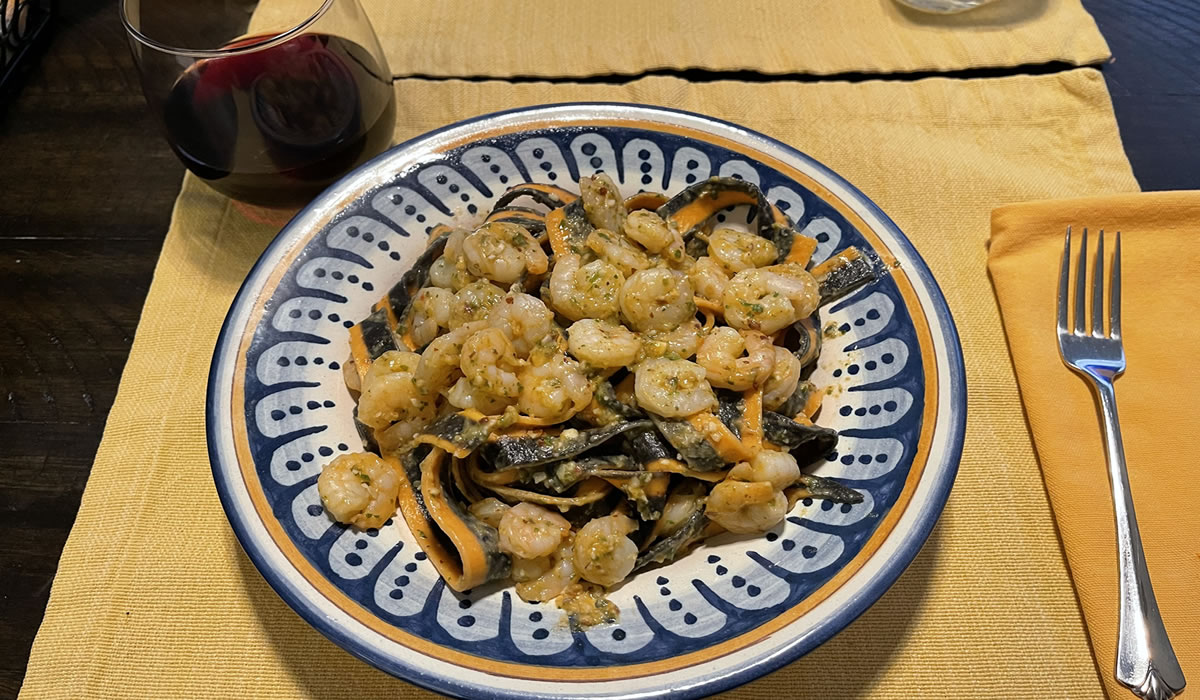
Pesto Pantesco with Shrimp
I love it when Victor heads into the kitchen! I know I'm in for a treat!
Our tomatoes are finally coming in at a pretty good rate - Not enough, yet, for a batch of sauce, but enough to have tomatoes at pretty much every meal. I made a tomato and bean salad Saturday night to serve with a flank steak, we had a tomato an hot pepper salsa over a grilled pork loin on Thursday. Both really good but they were both just throw-togethers - no recipes.
Victor had seen a recipe in The Washington Post for a pesto that used fresh Roma tomatoes, but... we've found out Roma's really don't do well in our area. That, of course, has never stopped us from creating something! The reality is, in just about any recipe, any good tomato will work - and if you are able to pick them from your own garden - even better!
Pesto Pantesco
adapted from The Washington Post
- 1 pound fresh tomatoes, peeled, if desired, and roughly chopped
- 1 cup (3 ounces) almonds, roughly chopped
- 3 tablespoons capers, rinsed and drained
- 1 cup (1 ounce) packed fresh basil leaves
- 1 cup (1 ounce) packed fresh mint leaves
- 2 cloves garlic
- 1/4 cup extra-virgin olive oil
- S&P, as desired
- 1 pound cooked pasta or a dozen crostini, for serving (optional)
Step 1 In a food processor or blender, pulse together the tomatoes, almonds, capers, basil, mint and garlic until chunky. With the machine running, slowly add the olive oil and process until smooth. Taste, and season with S&P, if desired.
Step 2 Toss with pasta, use as a topping for bruschetta, crostini, or serve as you’d like.
He did peel the tomatoes this time around. We have a bad-boy Ninja blender/food processor, so it can blend things a bit better than your basic budget Hamilton Beach, but it's still a personal preference. If you have the time, go for it. If not, don't worry about it.
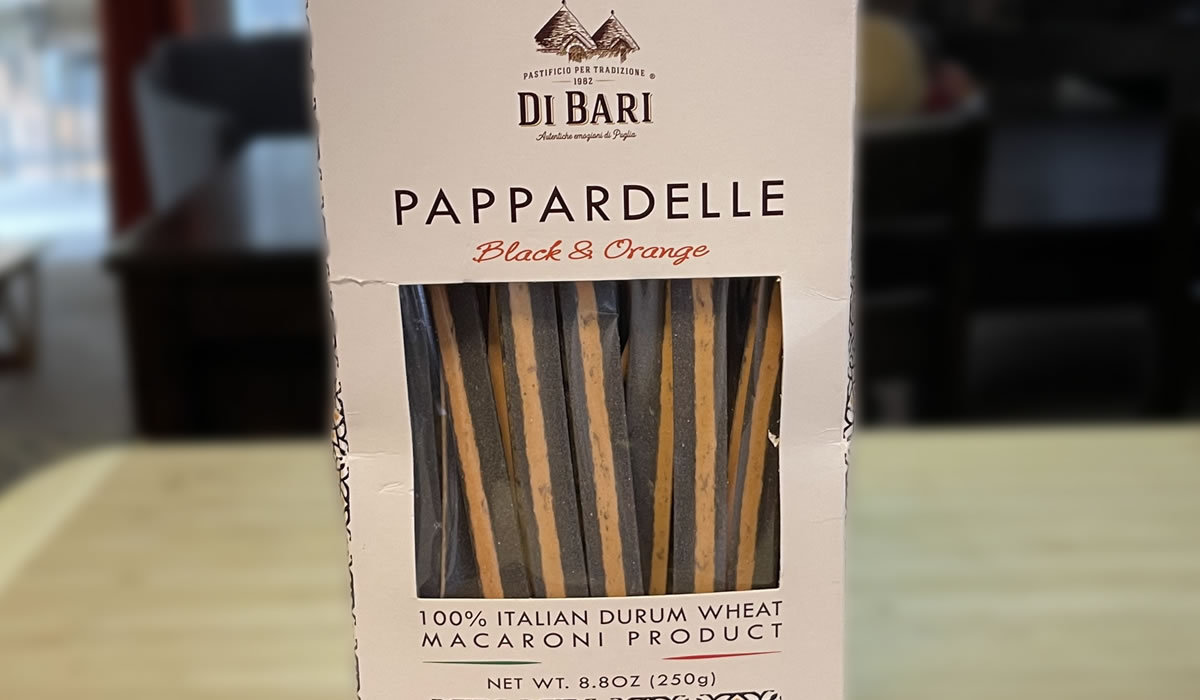
Victor knew it was going to go over pasta and thought he might make some - he does make some awesome pasta. We had a box of squid ink and pepper pappardelle, however, and he decided to add shrimp to the pesto and serve it with the pappardelle. I have absolutely no idea where we picked up the pasta, but it's been around for a while - just waiting for the right sauce. And this was definitely it!
The pesto screamed fresh tomatoes - it definitely was the prominent flavor - and, I think the peeled tomatoes may have helped enhance that fresh-from-the-garden flavor - totally contradicting my earlier claim, above.. And then, everything else came into play - the basil and mint, the garlic, the almonds in the background... Bold and subtle at the same time.
The pasta was the perfect foil, and the perfectly-cooked shrimp added another layer of flavor and texture.
The pesto recipe made about 2-2 1/2 cups - enough for dinner and enough to go into the freezer for another great meal or two - a little goes a long way.
And just for grins and giggles, here is the comic Pickles by Brian Crane.
It just described our refrigerator, perfectly. As I do the majority of the grocery shopping...
... Guilty, as charged.
Beef Stew
I am spoiled. Totally and completely spoiled.
And I love it!
Having my foot in a boot has been a real inconvenience. My foot doesn't really hurt as much as it's just sore. But Dr Victor has decried that I follow Drs orders and stay off of it as much as possible until my appointment with the orthopedist on Tuesday.
That means he's been doing all of the driving, shopping, and cooking - a total role-reversal for us.
I have to admit that it's been a bit strange, but Victor is a really really good cook, so I have not been suffering in the least!
I had actually planned on making dinner tonight - beef stew - because most of the time is unattended. A bit of prep, into a low oven, dinner is served.
Victor had other ideas.
He decided he was going to make the stew tonight, because he has never made a beef stew in his life! Knowing it was futile to argue and always ready for something new, I told him to go for it!
And am I ever glad he did!
He grabbed a recipe from the NY Times cooking section and went to work. Or, rather, he read through the recipe and then made his own version. He added some anchovy sauce we have, tomato paste... lots of red wine... all of those things that you won't taste individually, but add depth to the entire dish. It came out fanfrikkentastick!
Old Fashioned Beef Stew
adapted from the NY Times
- ¼ cup all-purpose flour
- ¼ teaspoon freshly ground pepper
- 1 pound beef stewing meat, trimmed and cut into inch cubes
- 5 teaspoons vegetable oil
- 2 tablespoons red wine vinegar
- 1 cup red wine
- 3½ cups beef broth, homemade or low-sodium canned
- 2 bay leaves
- 1 medium onion, peeled and chopped
- 5 medium carrots, peeled and cut into ¼-inch rounds
- 2 large baking potatoes, peeled and cut into ¾-inch cubes
- 2 teaspoons salt
Combine the flour and pepper in a bowl, add the beef and toss to coat well. Heat 3 teaspoons of the oil in a large pot. Add the beef a few pieces at a time; do not overcrowd. Cook, turning the pieces until beef is browned on all sides, about 5 minutes per batch; add more oil as needed between batches.
Remove the beef from the pot and add the vinegar and wine. Cook over medium-high heat, scraping the pan with a wooden spoon to loosen any browned bits. Add the beef, beef broth and bay leaves. Bring to a boil, then reduce to a slow simmer.
Cover and cook, skimming broth from time to time, until the beef is tender, about 1½ hours. Add the onions and carrots and simmer, covered, for 10 minutes. Add the potatoes and simmer until vegetables are tender, about 30 minutes more. Add broth or water if the stew is dry. Season with salt and pepper to taste.
In the immortal words of my sister, Eileen... my stomach is smiling.
And it will be smiling tomorrow at lunch!
Pappardelle, Peas, Prosciutto, and Parmesan
Ever notice that a few really good ingredients can make a fantastic meal? Overly complex meals with a few dozen ingredients and half of the spice cabinet definitely have their place at the table, but, sometimes, simple is best.
And simple but best was definitely dinner last night.
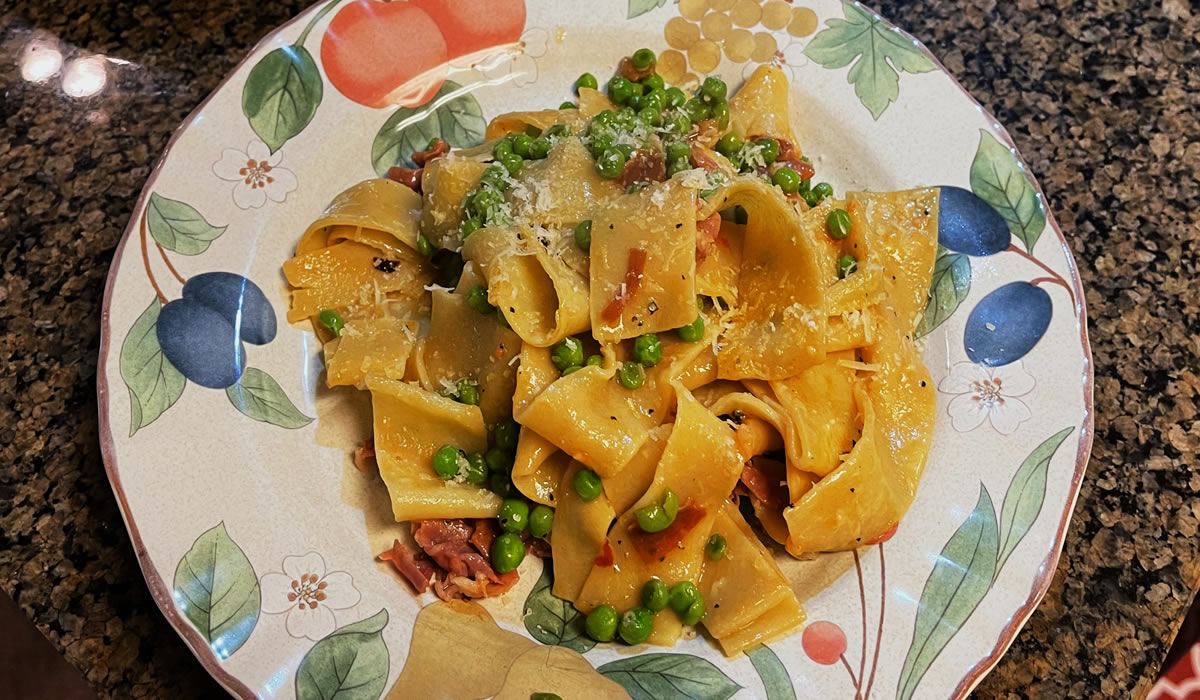
Homemade pappardelle pasta, peas, prosciutto, and parmesan cheese were the main players - and they played together well!
The pasta is easy to make and the sauce comes together in minutes - an easy weeknight meal or an elegant weekend dinner.
Pasta Dough
adapted from Alon Shaya
- 1 1/4 cup 00 flour
- 1/2 cup semolina
- 2 eggs
- 2 egg yolks
- 2 tsp olive oil
Mix flours. Make a well and add the eggs, egg yolks, and oil. Slowly mix in the flour and knead until smooth. Let rest 30 minutes before rolling to desired shape.
Pappardelle Pasta with Peas, Prosciutto, and Parmesan
- olive oil
- butter
- garlic
- prosciutto
- peas
- parmesan cheese
- crushed red pepper flakes
- salt and pepper
Lightly sauté chopped prosciutto in olive oil until it starts to brown a bit. Add the garlic and peas and cook until peas are warmed through. Add a pat of butter, and then stir in a pinch of crushed red pepper, black pepper, and a pinch of salt.
Cook pasta, drain, and reserve a cup of pasta water.
Add drained pasta to skillet. Mix well and add some freshly grated parmesan.
Next, add just enough pasta water to make a creamy sauce.
Plate and top with additional parmesan.
Simple and elegant.
Puff Pastry Quiche
While Victor was perusing the Washington Post the other day, he came across a recipe for a quiche that sounded so good, he had to make it! And I'm really glad he did!
I had recently been to the Produce Store - 185th Produce just a couple of miles from us - and we had plenty of good things to fill it with. Having a local produce store is great - it really beats the major supermarkets for price and local availability. And, they sell growlers of local beers!
To make it even better, in these Days of Covid, it's never wall-to-wall crowded. Lots of fresh air circulation and social distancing.
The premise of the recipe is pretty straightforward and there is a lot of flexibility to make it your own. The original recipe called for broccoli. We had half a head of cauliflower, so Victor started there.
Quiche with Cauliflower, Gorgonzola, and Walnuts
adapted from the Washington Post
Ingredients
- One (9-by-10-inch) sheet frozen puff pastry, thawed
- 1 cup cauliflower florets
- 4 ounces Gorgonzola cheese, crumbled (about 3/4 cup)
- 1 cup cherry or grape tomatoes, sliced in half
- 1/2 cup peas
- 1/4 cup (about 1 ounce) roughly chopped walnuts
- 4 green onions, chopped
- 1 teaspoon crushed red pepper flakes
- 1/3 cup light cream
- 4 large eggs
- Finely grated zest from 1 lemon
- 1 teaspoon fine sea salt
- 1 clove garlic, minced (about 1 teaspoon)
Assembly
Place rack in the center of the oven and preheat to 400°F. Line the bottom and sides of an 8-by-8-by-2-inch baking pan with parchment paper so you have a few inches of overhang. Roll the pastry sheet to a 12" square and place in pan with the dough come up the sides to hold the filling in.
Cut the cauliflower florets into bite-size pieces. Scatter the florets, peas, tomatoes, Gorgonzola, walnuts, green onions, and red pepper flakes evenly over the pastry.
In a medium bowl, whisk together the cream, eggs, lemon zest, salt and garlic, then pour the mixture over the quiche filling.
Place the pan in the oven and bake for about 30 minutes, until the pastry is cooked through and just starting to brown and the center of the quiche is slightly wobbly.
Remove from the oven and let the quiche rest in the pan for 10 minutes. Then, remove from pan, peel away the parchment, slice and serve warm or at room temperature.
We had half for dinner - warm - and half, today, for lunch - cold. It was excellent both ways.
I can see more of this in our future...
Butternut Squash Soup
Cooling fall weather calls for hot and filling soup!
I just got a new computer - the old monster was O.L.D. - and while I was busy reinstalling programs and moving files, Victor headed to the kitchen.
Soups are generally throw-together recipes, so there really aren't exact amounts of anything... And our new Ninja blender really made quick work with the pureeing - silky smooth in seconds!
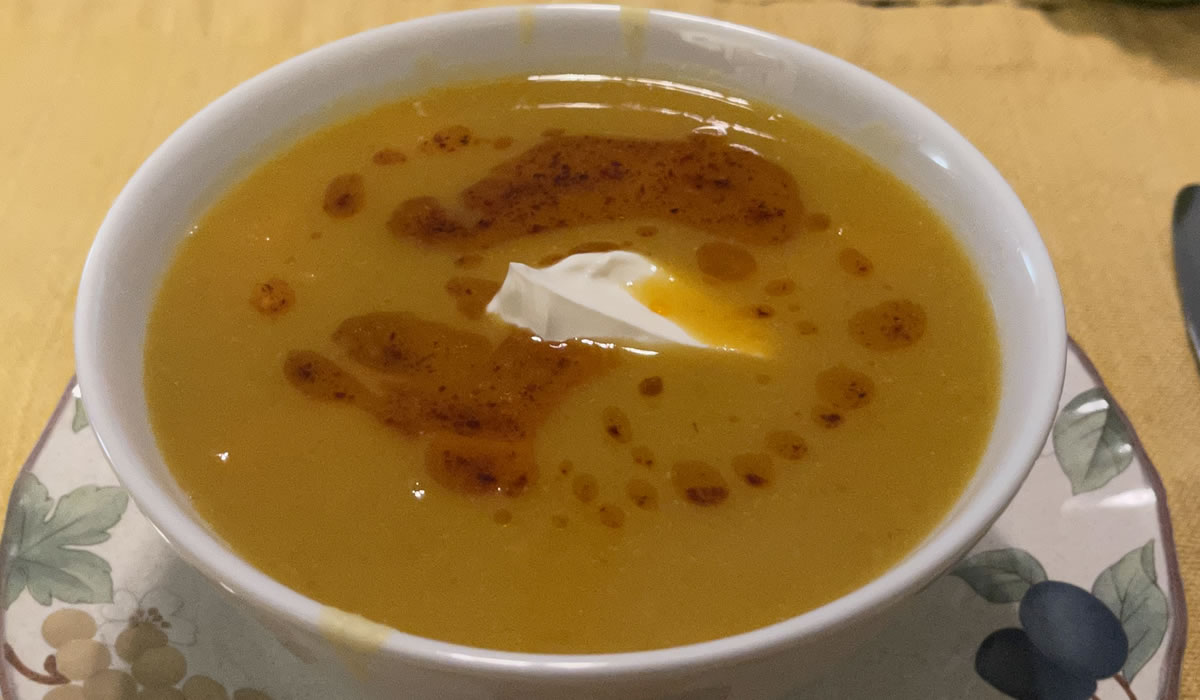
Victor also made Aleppo pepper oil to drizzle on top - Aleppo pepper and olive oil gently heated together.
Butternut Squash Soup
- butternut squash, peeled and seeded
- celery
- carrot
- onion
- garlic
- chicken broth
- canned beans, rinsed
- S&P
Start by sauteing the celery, carrot, onion, and garlic in a bit of butter. Cube the squash, and add 3/4ths to the pot with broth.
Simmer until squash is fall-apart tender.
Puree with blender or immersion blender until creamy smooth.
Add remaining squash and canned beans. Simmer until squash is tender.
Top with sour cream and Aleppo oil.
Totally simple and totally delish!
Shrimp Ravioli
Ah... the joys of a new kitchen...
After moving in, we found out that our kitchen counters were a millimeter too wide for Victor's pasta roller. Well... all but one tiny area that - when Victor wanted to make pasta - would mean moving the microwave and the cutting boards and work in a rather awkward position. Doable, yes, but we have been spoiled these past 26+ years. Neither of us want to rearrange the kitchen every time we want fresh pasta.
The solution, of course, was to get another pasta roller.
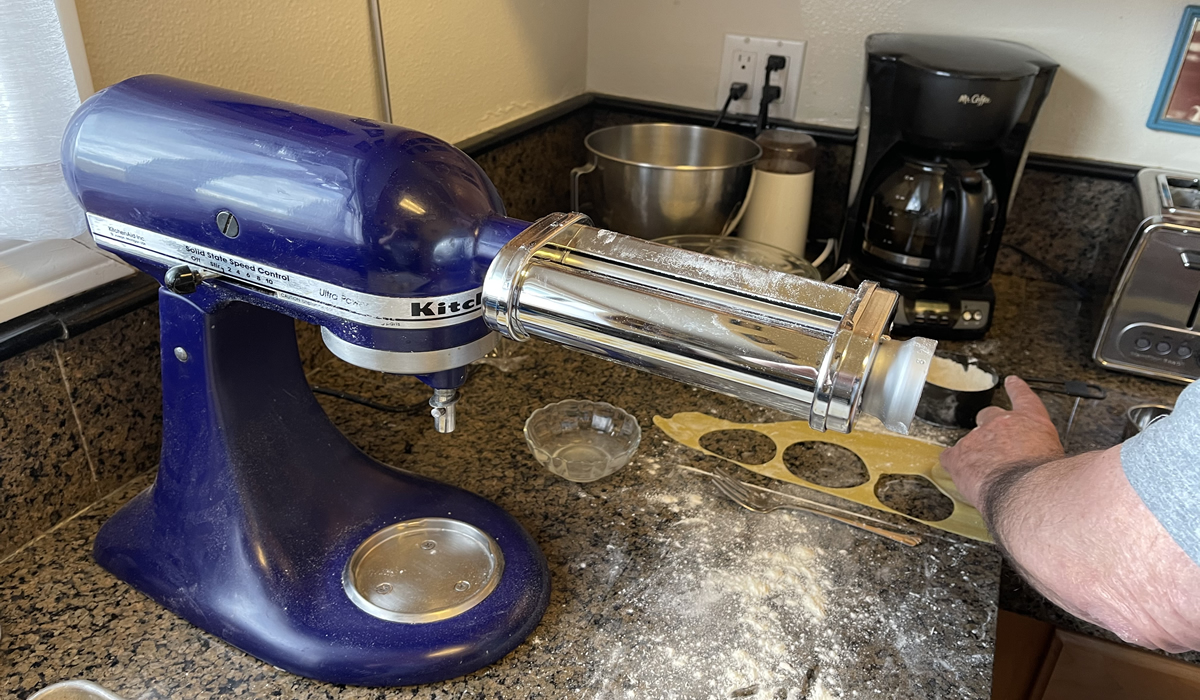
We have a KitchenAid mixer I bought sometime in the late '80s, and KitchenAid makes a pasta roller attachment. It seemed like the place to start.
What a game-changer!
First off, it's motorized! No more hand cranking with one hand while feeding the dough with the other. Second, it's higher! No more bending over while rolling it out! Total win/win.
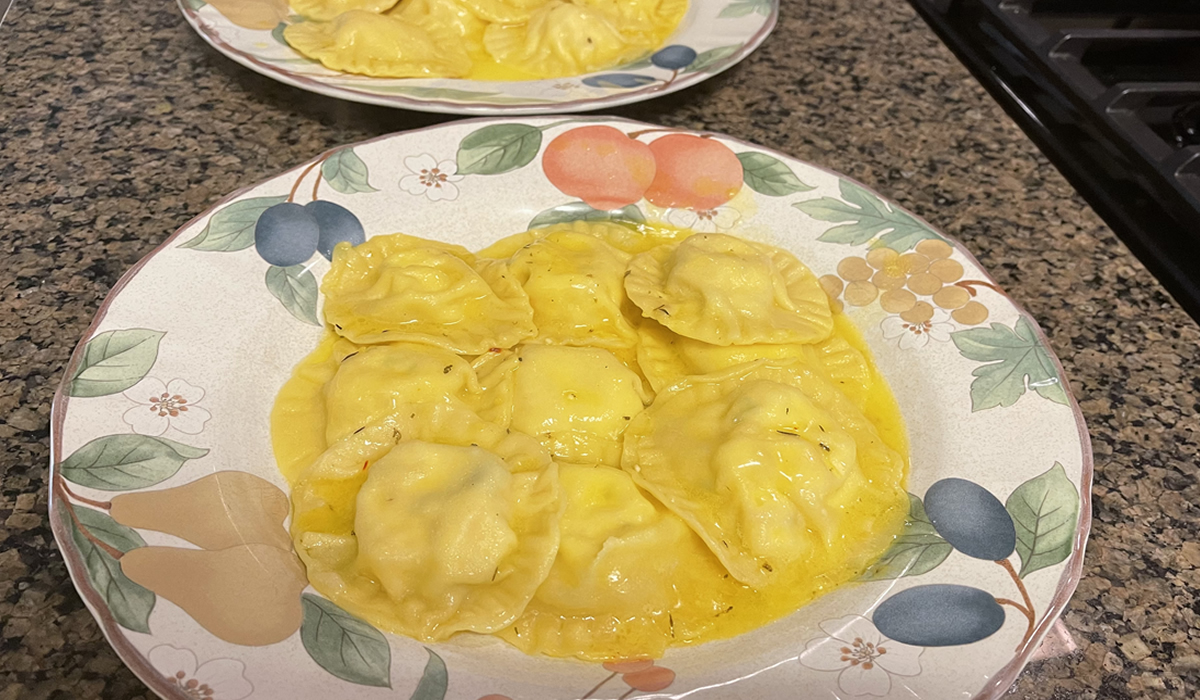
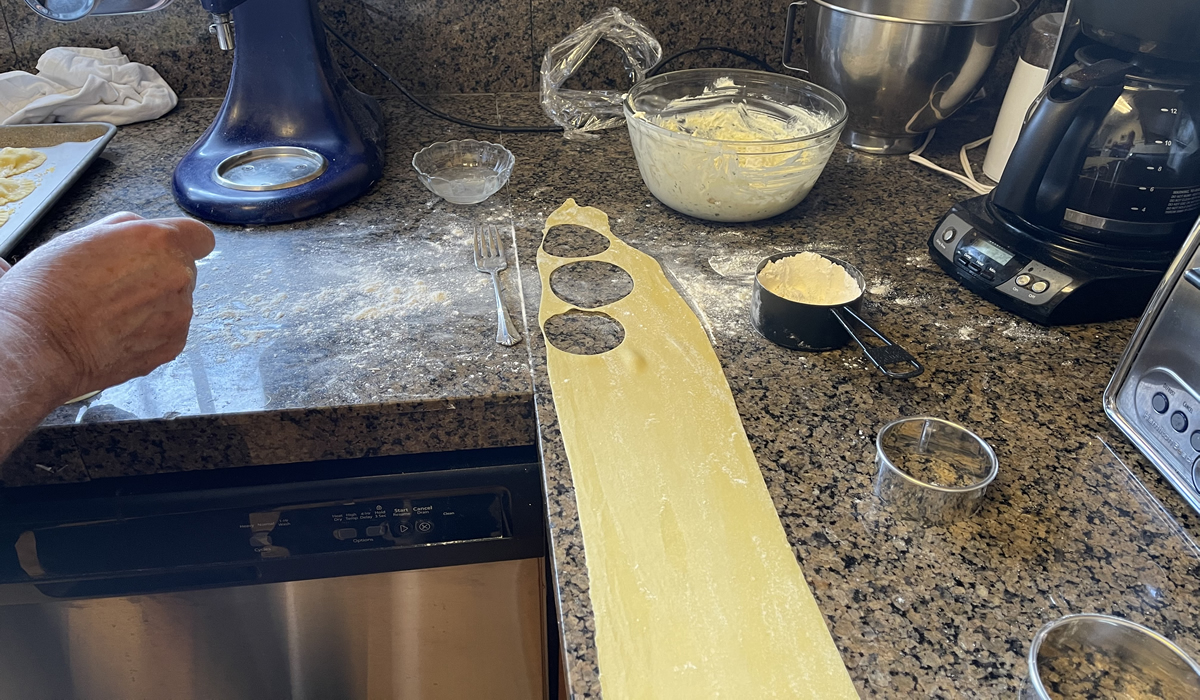
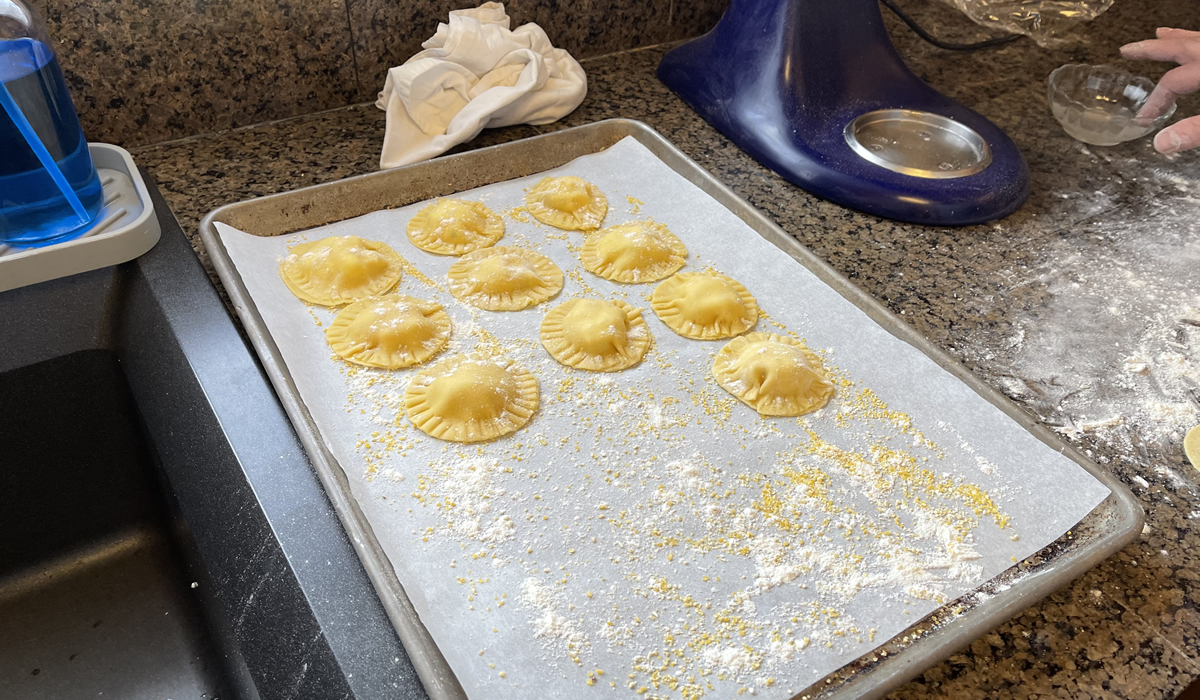
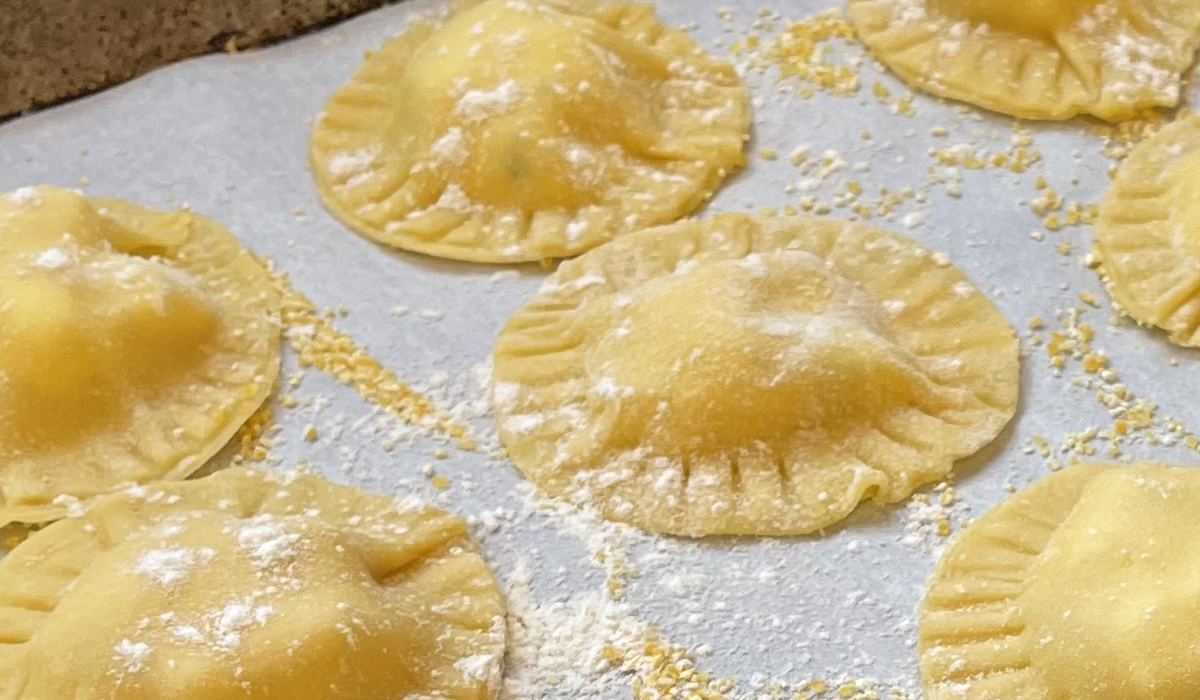
For its initial plunge, Victor decided on Ravioli.
And what a difference it made in ease of preparation!
The pasta dough is from Alon Shaya - it's become Victor's go-to.
Pasta Dough
adapted from Alon Shaya
- 1 1/4 cup 00 flour
- 1/2 cup semolina
- 2 eggs
- 2 egg yolks
- 2 tsp olive oil
Mix flours. Make a well and add the eggs, egg yolks, and oil. Slowly mix in the flour and knead until smooth. Let rest 30 minutes before rolling to desired shape.
The filling was excellent. No amounts, because it really depends on how much you're making.
Shrimp Filling
- shrimp
- ricotta
- egg
- parmigiano reggiano
- lemon zest and juice
- salt & pepper
And, finally, a sauce of
Butter Sauce
- butter
- thyme
- lemon
Very simple – and ridiculously flavorful.
Here's to modern technology!
Orange Olive Oil Cake
Ah... Valentine's Day...
I have to admit that after 26 years, Valentine's Day does not have the same significance it did when we first met... There's no need to show one another how much we love one another by buying overpriced roses, expensive chocolates, or overpriced diamonds...
No... today, it's little things. Like baking a cake.
We both have a penchant for desserts, and while I tend to get most of the credit for baking, Victor is a great baker - and I have never been displeased with what he has made.
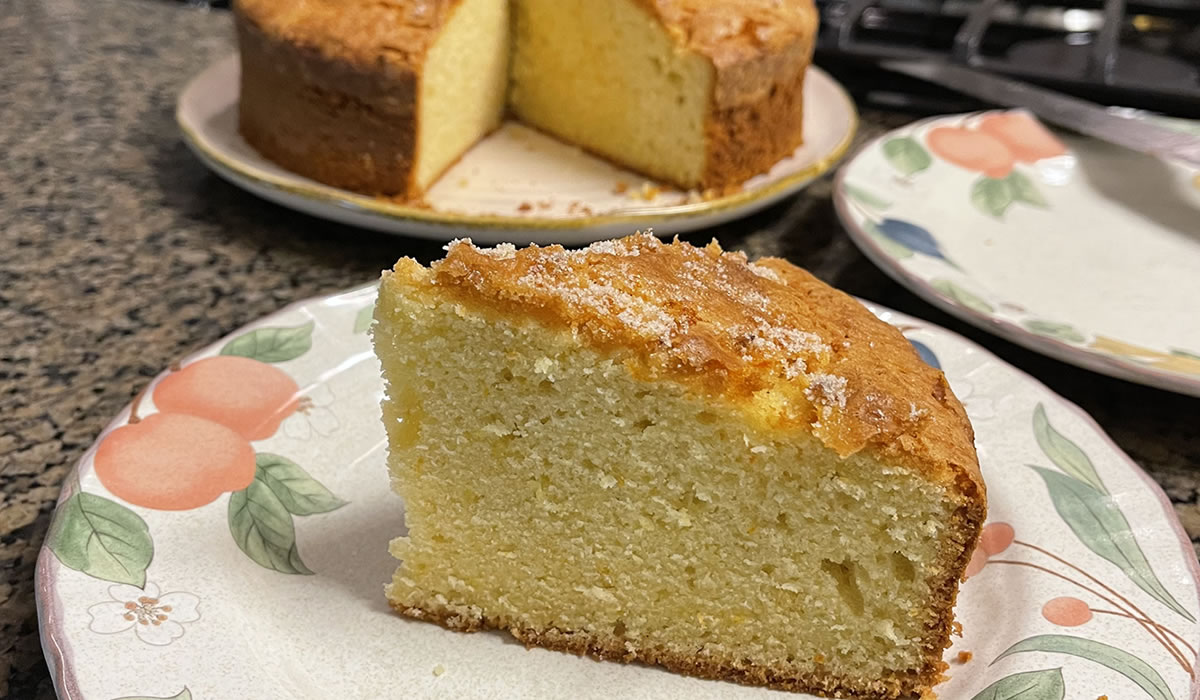
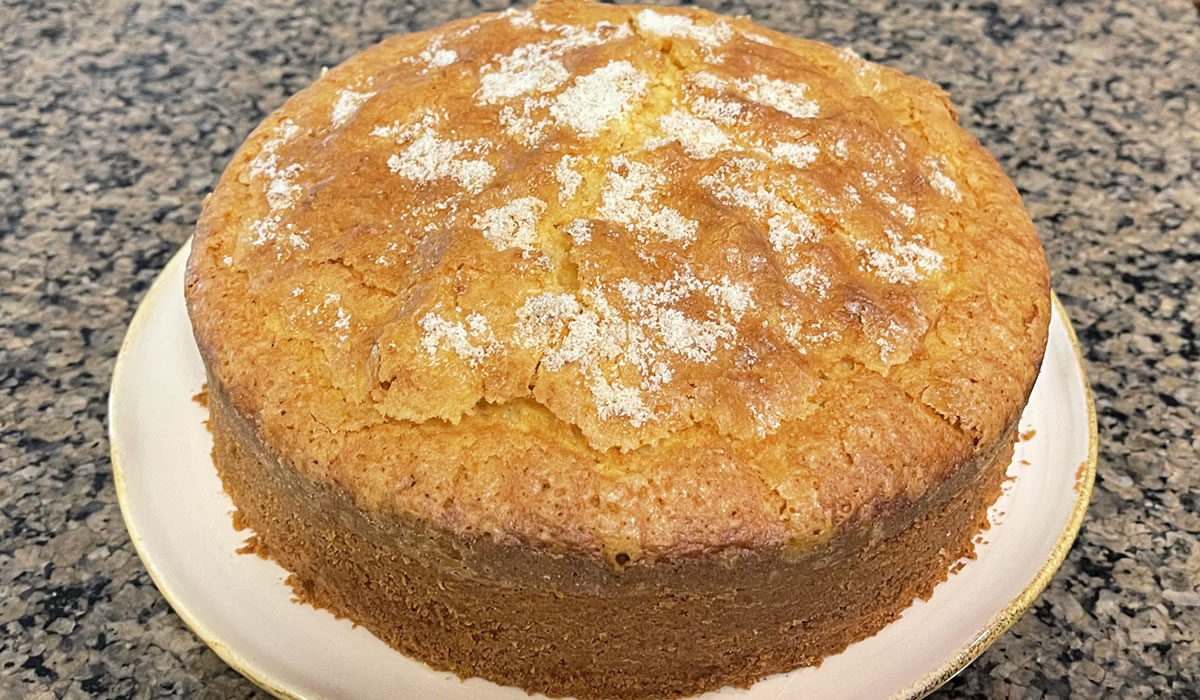
Case in point: Orange Olive Oil Cake.
We usually have a couple of stray oranges in the fruit bowl this time of year, so Victor grabbed them and went to work.
Orange Olive Oil Cake
Ingredients
- 2 cups all-purpose flour
- 1/2 teaspoon salt
- 1 teaspoon baking powder
- 3 large eggs, room temperature
- 1 1/4 cups granulated sugar
- zest from 2 oranges, preferably organic
- 3/4 cup extra-virgin olive oil, good quality
- 1/2 cup whole milk
- 1/2 cup fresh orange juice, strained (2-3 oranges)
- 2 tablespoons coarse or granulated sugar for topping
Instructions
Preheat oven to 325°F for 8" pan or 350°F for 9" pan. Lightly grease and flour the bottom and sides of the pan.
In a small bowl combine the flour, salt and baking powder. Set aside.
Fit a stand mixer with the whisk attachment. Whip the eggs on medium speed until foamy. Add the granulated sugar and orange zest and whip on high speed until the mixture is fluffy and pale in color, about 3 minutes. Reduce the speed to medium, and with the mixer running, slowly add the olive oil. Mix until the oil is completely incorporated.
Add half the flour mixture and mix on low speed until blended. Scrape down the sides and bottom of the bowl as needed. Add the milk and orange juice and mix on low until blended. Add the remaining flour and mix just until incorporated.
Pour the batter into the prepared pan and sprinkle 2 tablespoons coarse sugar on top. Bake 8" cake in preheated 325°F oven for 60-70 minutes or 9" cake at 350°F for 45 to 55 minutes until the top is lightly browned and a toothpick inserted in the center comes out with a few crumbs attached.
Cool the cake on a wire rack for at least 30 minutes before removing the sides.
The cake is rich, flavorful, not too sweet, and the perfect after-dinner - or mid-afternoon - snack!
The perfect Valentine Gift!

