A New Batch of Sauce

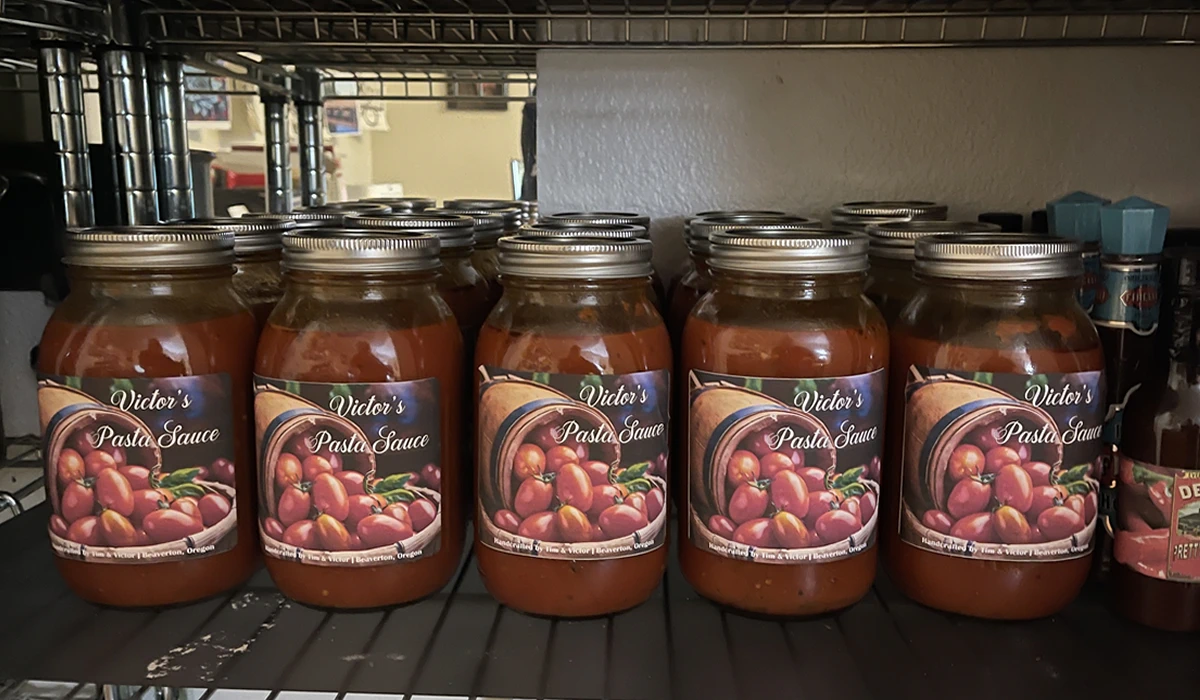
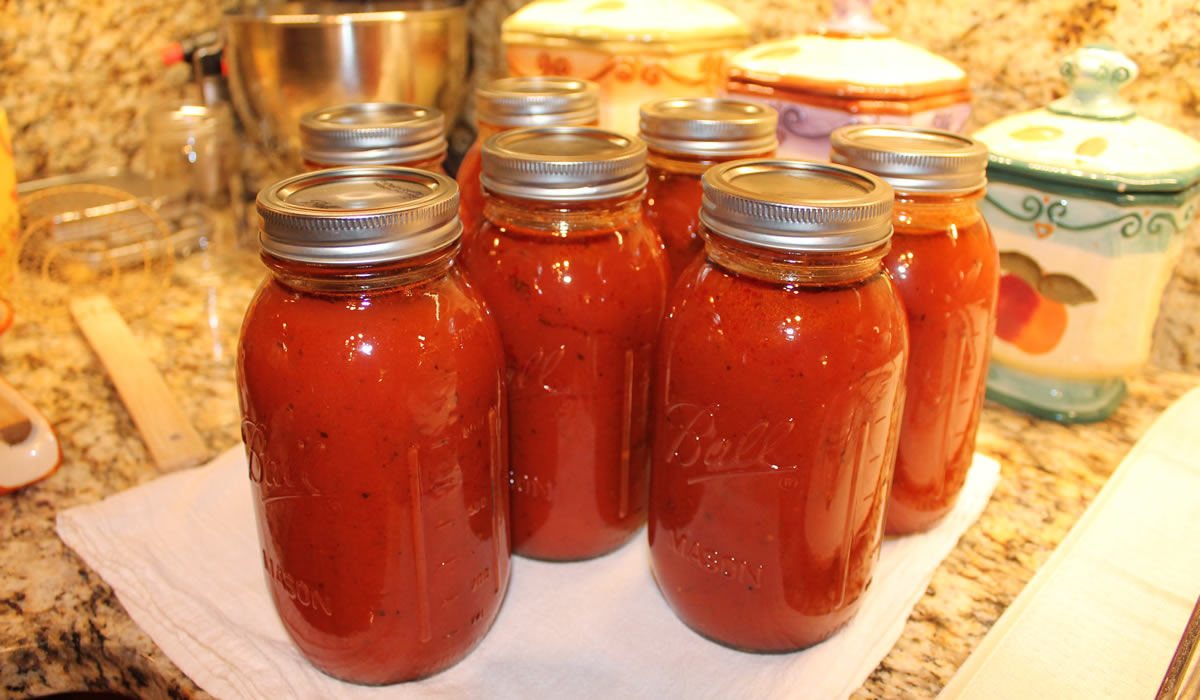
Ah... the perfect way to start the New Year - 15 quarts of Pasta Sauce!

I do love this stuff - and I do love having it on the shelf to use whenever it strikes my fancy!

12 28oz cans of San Marzano tomatoes, a full bottle of a good Chianti, bone-in pork chops... Obviously, we make a bit more than the following recipe.

Granted, making sauce like this costs more than buying a quart of Ragu, but, oh, what a difference... You definitely get what you pay for.


Victor’s Pasta Sauce

  • 2 – 28oz cans of crushed tomatoes
  • 1 – Sm can tomato paste
  • 1-2 cloves of garlic (or to taste if you like more) chopped fine
  • Olive oil
  • Dried Italian seasonings
  • Hot red pepper flakes (a tsp or more or less to taste)
  • Salt and Pepper to taste
  • Red wine (always cook with a decent wine, never “cooking” wine) about a cup or cup and a half
  • Meat – such as Italian sausage or some nice beef or pork ribs or pork chops

Ok…I ALWAYS make my sauce with meat, so start with a deep, heavy pot and add about 3-4 TBS of olive oil. On high heat, once the oil is hot, start frying the sausage or pork, Let the meat get good and caramelized although you don’t have to cook it all the way through because you’ll add it back to the sauce to finish. Once the meat is browned take it out of the pot, put it on a plate and set aside.

Lower the heat to medium and sauté the tomato paste for a couple of minutes until it begins to “melt”. Add the chopped garlic and sauté with the tomato paste for just a minute (no longer or it will burn). Then add about a cup of the red wine and deglaze the pan with it, scrapping up all the good bits that stuck to the bottom when cooking the meat.

When the wine reduces by about ½ start adding the canned tomatoes.  Add one can of hot water for every can of tomatoes you use.

Now start adding the dried Italian seasonings.  I eyeball it but I would guess a good 2 TBS is fine.  Add about another ½ cup of red wine, with red pepper flakes, salt and pepper. Stir everything into the sauce. It will be very thin at this point.

Add back the cooked meat. Now this is important….at the bottom of the plate you let the meat rest on will be some of the oil and juices that seeped out. Pour that back into the pot. It has a lot of flavor in it.

Bring the sauce back to a boil then turn the heat down low and let it simmer for at least 1 and a half hours, stirring every 15 to 20 minutes to keep it from burning. It should reduce by about a third or a little less and get thicker. The meat will absorb the sauce and get very tender.

When I make meatballs, I don’t fry them, I bake them on a sheet pan. When I do, I add them to the simmering sauce when they’re done so they also absorb the flavor.

I usually make the sauce early in the day and after it’s done, just let it sit on the stove until dinner then I re-heat it. This should make enough sauce for a couple of dinners or good sized lasagna.


Part of the fun of canning is making labels for things. This is the latest one for sauce - I have a lot of them on file, but like to come up with new ones now and again.

Our pressure canner holds 7 quarts at a time, so I canned two batches and part of the 15th quart became last night's dinner - Pork Chops Parmesan - using the chops that had simmered in the sauce. I didn't get a photo, but it came out pretty good with some shell pasta on the side.

An excellent dinner and sauce to last us through the Winter.

Life is good... [urp!]


Cherry Jam

Cherry Jam

Life is just a bowl of cherries So live and laugh at it all...

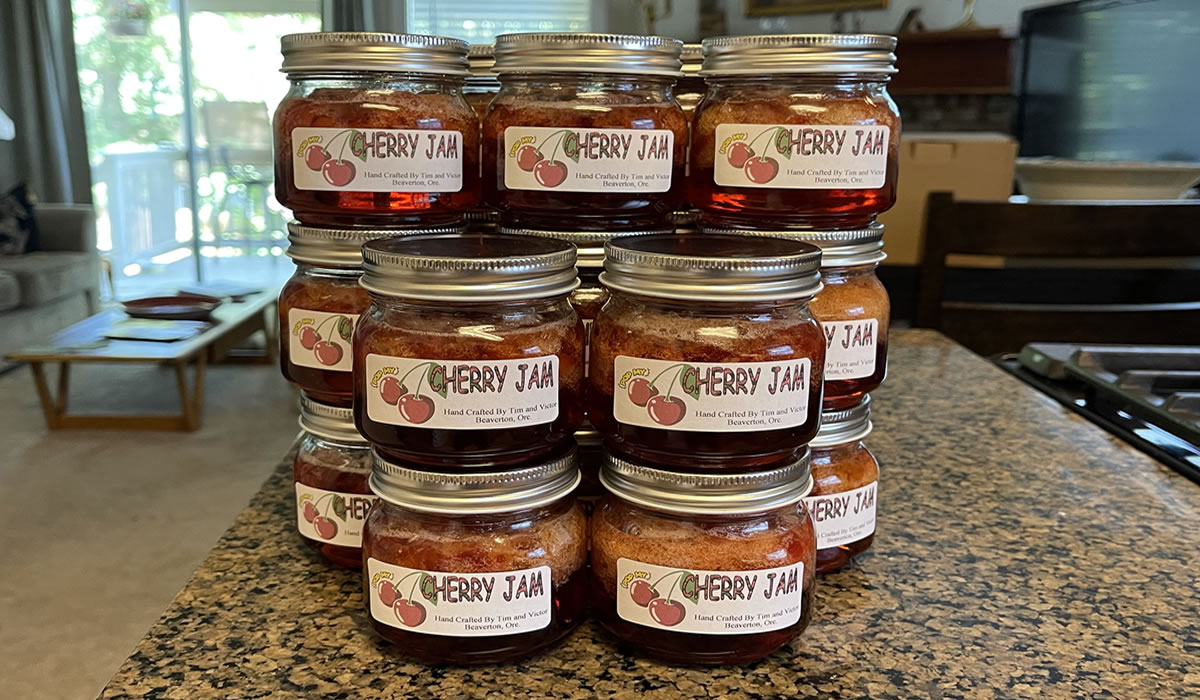
I'm definitely laughing. Today's bowl is a jar of cherries - and sugar and pectin and lemon juice - because when you have a cherry tree in your front yard, you need a sense of humor - and a wee bit of creativity.

They are coming in faster than we can use them, so the next round is freezing them. Not in my wildest dreams did I think we would have a crop like this! And thank the gods for the new cherry pitter. I never would have been able to handle these with the little hand-held pitter we have.

Today's jam is about as basic as you can get - no fancy ingredients to mar the taste of the cherries.

Cherry Jam

  • 3 lbs cherries (you need 4 cups chopped)
  • 1 1.75 ounce package regular powdered fruit pectin
  • 1 tsp finely grated lemon zest
  • 1/4 cup lemon juice
  • 5 cups sugar

Wash and pit cherries. Coarsely chop.

In a  heavy pot combine the cherries, pectin, lemon zest, and lemon juice. Bring to a boil, stirring constantly. Add sugar, stirring to combine. Bring mixture to a full rolling boil, stirring constantly. Boil hard for 1 minute, stirring constantly. Remove from heat. Skim off foam.

Ladle hot jam into hot, sterilized half-pint canning jars, leaving a 1/2-inch headspace.

Process filled jars in a hot water bath for 5 minutes.

Cherry Jam

We tripled the recipe - 15 cups of sugar!!! - but it came out tasting great!

I see a cherry pie coming up soon...


Canning Dried Beans

Canning Dried Beans

When I was at the grocery store last week, I went to grab a couple of cans of beans. In the grande scheme of things, I'd rather cook my own, but you can't deny the convenience of having them cooked and ready to go at a moments notice.

And then I looked over and saw dried beans for 79¢ per pound. Canned beans are 79¢ a can. My immediate response was I'm retired, I have all the time in the world, I'll can my own. I mean... why not, right?!?

I did a quick search on Chef Google and found a score of recipes - all identical. It seems there really is only one way to do this. Okay, two. The National Center for Home Food Preservation states to cook the beans for 30 minutes after soaking overnight. Every recipe I saw stated that cooking the beans made them too mushy.

I brine-soaked the beans, drained them, placed them in the jars, covered with boiling water, and processed. You need to pressure can these. You cannot do a water bath.


Canning Dried Beans

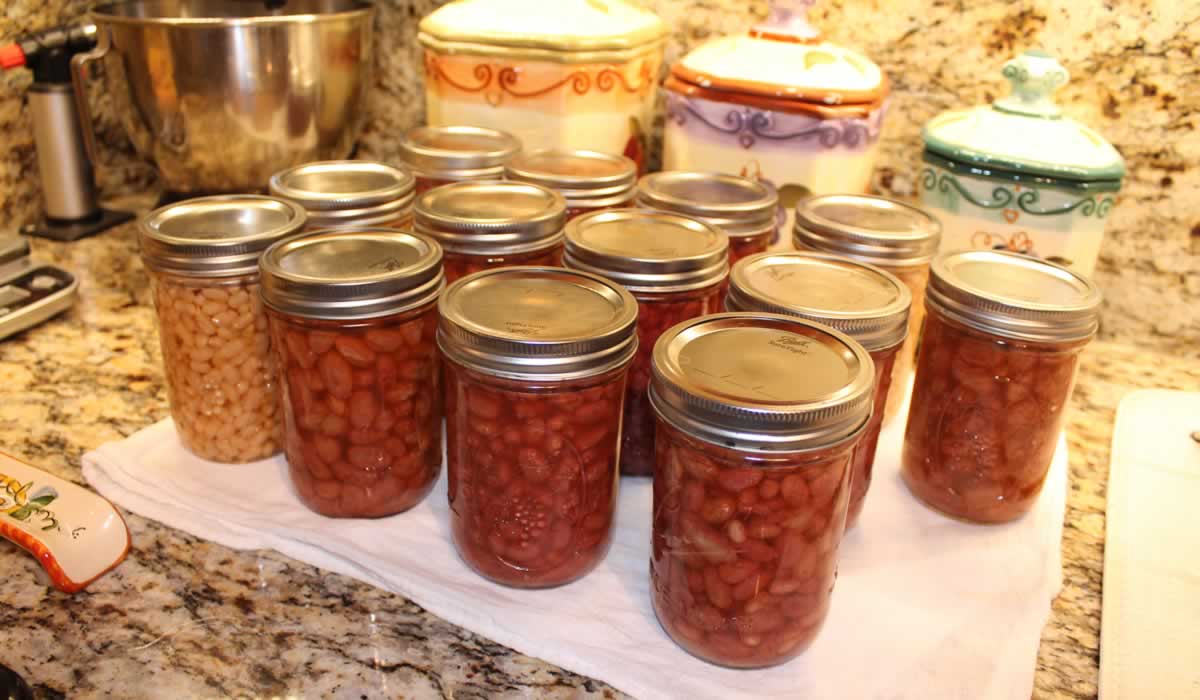
A pound of beans should give you three pints of cooked beans. I had 13 pint jars and could have used 15. I didn't process the cannellini beans since Victor is using some of them for dinner, tonight. I just cooked them normally, pulled out some for dinner, and the rest went into the fridge for soup later in the week.

The other beans were small white beans, pink beans. roman beans, and red beans.

Canning Dried Beans

Procedure: Place dried beans or peas in a large pot and cover with water. Soak 12 to 18 hours in a cool place. Drain water. To quickly hydrate beans, you may cover sorted and washed beans with boiling water in a saucepan. Boil 2 minutes, remove from heat, soak 1 hour and drain. Cover beans soaked by either method with fresh water and boil 30 minutes. Add ½ teaspoon of salt per pint or 1 teaspoon per quart to the jar, if desired. Fill jars with beans or peas and cooking water, leaving 1-inch headspace.

Adjust lids and process at 11 lbs for 90 minutes for quarts or 75 minutes for pints.

As I mentioned earlier, following recommendations on numerous websites, I didn't cook the beans for the additional 30 minutes prior to canning, and placed the soaked beans directly into the hot jars and covered with boiling water. But, I'm giving you the official recipe. You may do as you see fit.

Canning Dried Beans

I think this is going to be a nice addition to the pantry!


Chicken Stock

Chicken Stock

Last night, as I was making my shopping list, Victor said, if you get a couple of chickens I'll make chicken stock and you can can it. With an offer like that, how could I refuse?!?

We both prefer homemade stock, but lack the freezer space to make and freeze it. I honestly never thought of canning it, but it was a brilliant idea - and easy as 1-2-3!

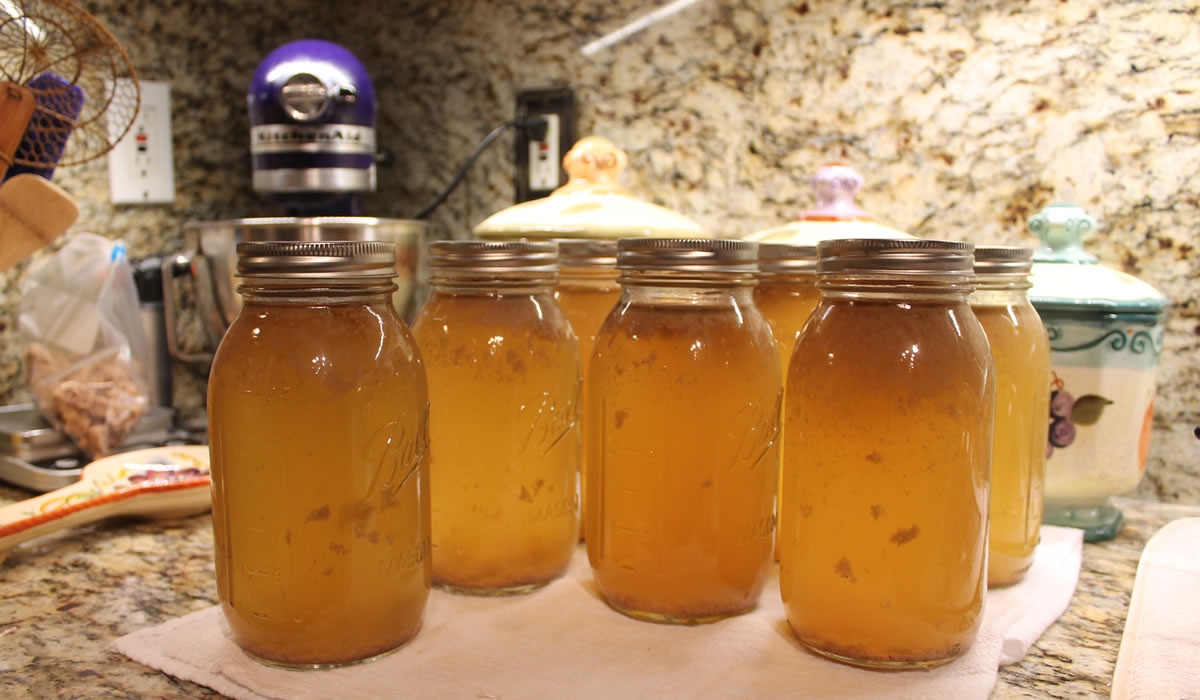
I spent $12 for 2 chickens - 99¢/lb at 6 pounds each. Chicken stock is $1.99/qt. I got 9 quarts and all that cooked chicken. Even with using a bottle of wine and the vegetables, I'm ahead of the game, for sure!

We broke out the big pot and into it went two whole chickens, 2 onions, quartered - skins and all. 6 carrots, halved - skins and all. 6 celery stalks - leaves and all. 3 bay leaves, 6 garlic cloves, a handful of peppercorns, a bottle of pinot grigio, and some salt. And then filled it with water.

Put it on high to boil and then let it boil away for about 3 hours.

I strain it and then skimmed the fat. Into hot sterilized jars, and then into the canner.

This was seriously too easy.

I didn't filter it so it's not crystal clear, but I don't really care about that. The flavor is fantastic - and that's the important part.

I think this is our new normal!

And... because I had broth and chicken, I made soup!


Tomatoes

Tomato Sauce

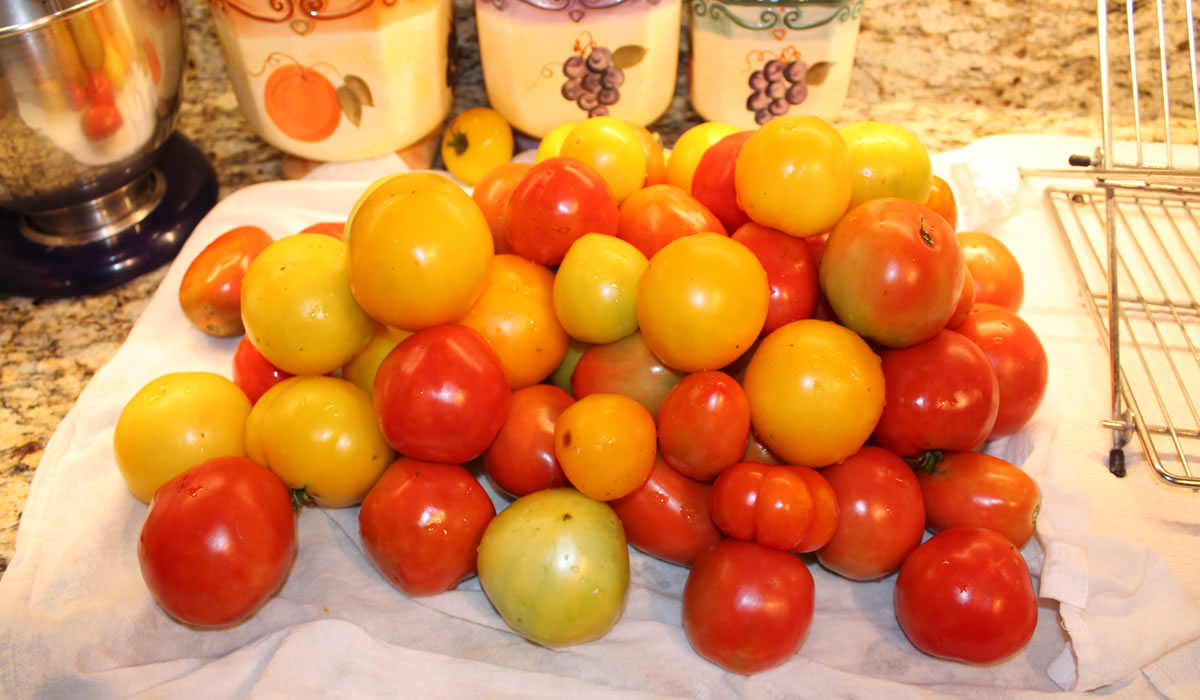
It seems the weather has finally started cooperating - we're getting tomatoes! We went out to do some yard cleanup and a bit of harvesting - and the bit of harvesting was 20 pints of tomato sauce - 16 canned and down stairs, 4 in the refrigerator. I can only can 16 pints at a time...

The sauce is just a plain tomato sauce - a bit of red wine and a bit of salt and pepper - but nothing else. We will be able to use it for anything we want!

It was really a simple process - i pureed all of the tomatoes in the blender and then cooked them down a bit...

Tomato sauce

Whenever I break out the big blue pot, I always think of Macbeth... Double, double toil and trouble, fire burn and caldron bubble. The pressure canner is just slightly larger - double the pleasure, double the fun... I think I'll stop, now...

tomato sauce

I'm thinking this will be making some good soups and stews, this winter...


Limoncello

Limoncello

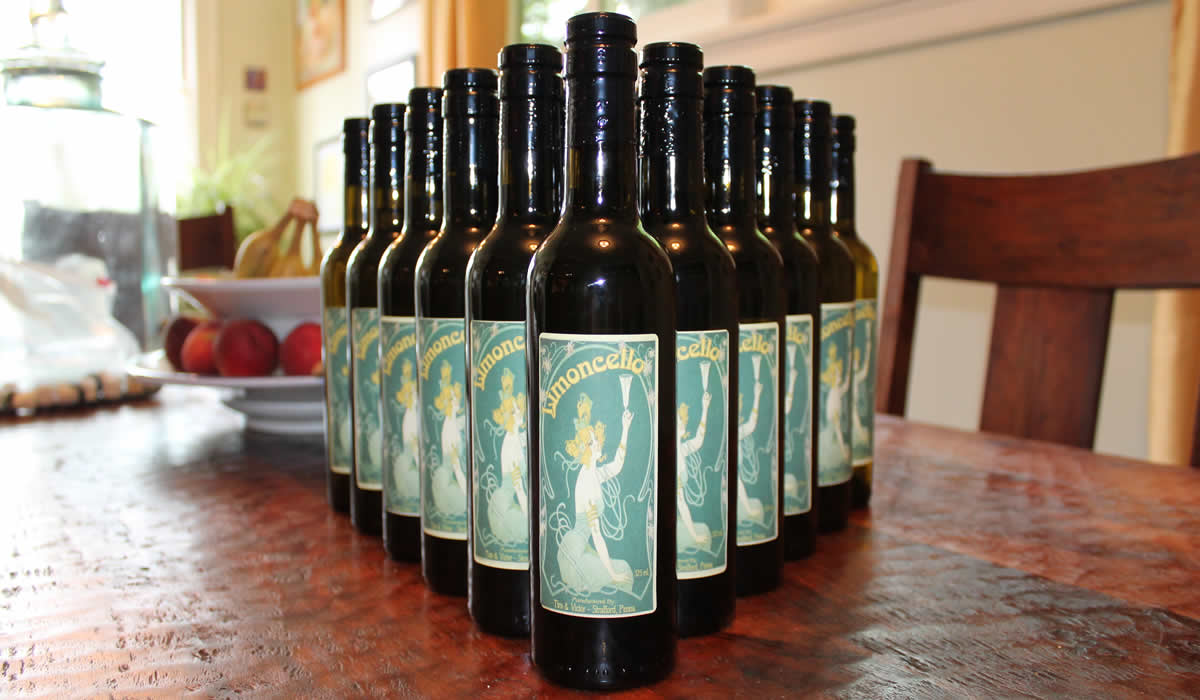
When life hands you lemons, it's time to make Limoncello!

As we all must surely know by now, Limoncello is an Italian cordial - but what we may or may not know, is that it's a relative newcomer to the game. There is no historical documentation regarding the use of Limoncello before the beginning of the twentieth century, and outside of a handful of families and social circles, few drank it before 1988, when the entrepreneur Massimo Canale of Capri registered the trademark “Limoncello di Capri.” The rest, as they say, is history.

The lemons of Southern Italy are what makes Limoncello so extraordinary... It is assigned the denomination of Indicazione geografica tipica (IGP), using the characteristic oval lemons from Sorrento. This lemon must be produced in one of the town districts of the area that spans from Vico Equense to Massa Lubrense and the island of Capri.

Who knew there were regulations on the types of lemons?!? But, unlike the USofA, Europe takes their food seriously.

This is one of those items that is relatively easy to make at home. You're probably not going to easily find fresh Italian lemons - although they are available in the USofA - so use a good organic lemon. Organic, because you're using the peel to make this and you don't want pesticides in your beverage.

**since originally coming up with this recipe in 2006, we have cut back the sugar tremendously. This is the revised recipe.

Limoncello

  • 15 organic lemons, well scrubbed
  • 1 1.75 liter bottle vodka (80 or 100 proof - higher proof=stronger)
  • 1 cup sugar
  • 1 cup water

Wash the lemons well and pat dry. Carefully zest the lemons with a zester or vegetable peeler so there is no white pith on the peel.

Step One:
In a large glass jar (1-gallon jar), add the vodka and the lemon zest. Cover the jar and let sit at room temperature for at least 10 days and up to 40 days in a cool dark place. The longer it rests, the better the taste will be. (There is no need to stir – all you have to do is wait.) As the limoncello sits, the vodka slowly take on the flavor and rich yellow color of the lemon zest.

Step Two:
In a large saucepan, combine the sugar and water; cook until thick and syrupy, approximately 5 to 7 minutes. Cool the syrup and then stir into the limoncello mixture. Allow to rest for another 10 to 40 days.

Step Three:
After the rest period, strain and bottle: discarding the lemon zest. Keep in the freezer until ready to serve.

It's a process - and takes a couple of months to do it right - but it's well worth the wait!

Limoncello

It's also fun to make a lot of it and share it with family and friends!

I get my bottles and other supplies at Fillmore Container in Lancaster! Great prices and a great staff!


Dried Pepper Hot Sauce

When I was at Gentile's, yesterday, I saw a bunch of dried peppers hanging by the register. My impulse buys of the morning were Guajillo peppers, Pasilla peppers, and Chipotle peppers. I had also picked up a couple of fresh poblanos - with no firm plan as to what to do with them.

This morning, hot sauce came to mind...

The hot sauce I made from our garden peppers last October came out great - and we're down to the last bottle. There's no way I can replicate the last batch - we have different peppers growing this year - so it's time to make something new!

I started off by simmering the dried peppers for about 30 minutes.

I then fried up onions, garlic, and the poblano peppers...

As soon as the peppers cooled, I removed the stems to get ready for pureeing them in the blender with the poblanos and onions. I also added a couple of small cans of mild green peppers just for the hell of it. I had to do numerous batches - I made a lot more than I was planning to...

I was a good boy. I wore gloves! Seeds and all went into the blender, and then I strained everything into a pot, using the soaking water to thin.

I added about a cup of tequilla, 2 cups of vinegar, a cup of sugar, a hefty amount of oregano, and salt and pepper, and let it come to a boil and then boiled it for 10 minutes.

Meanwhile, I had my bottles boiling away on another burner.

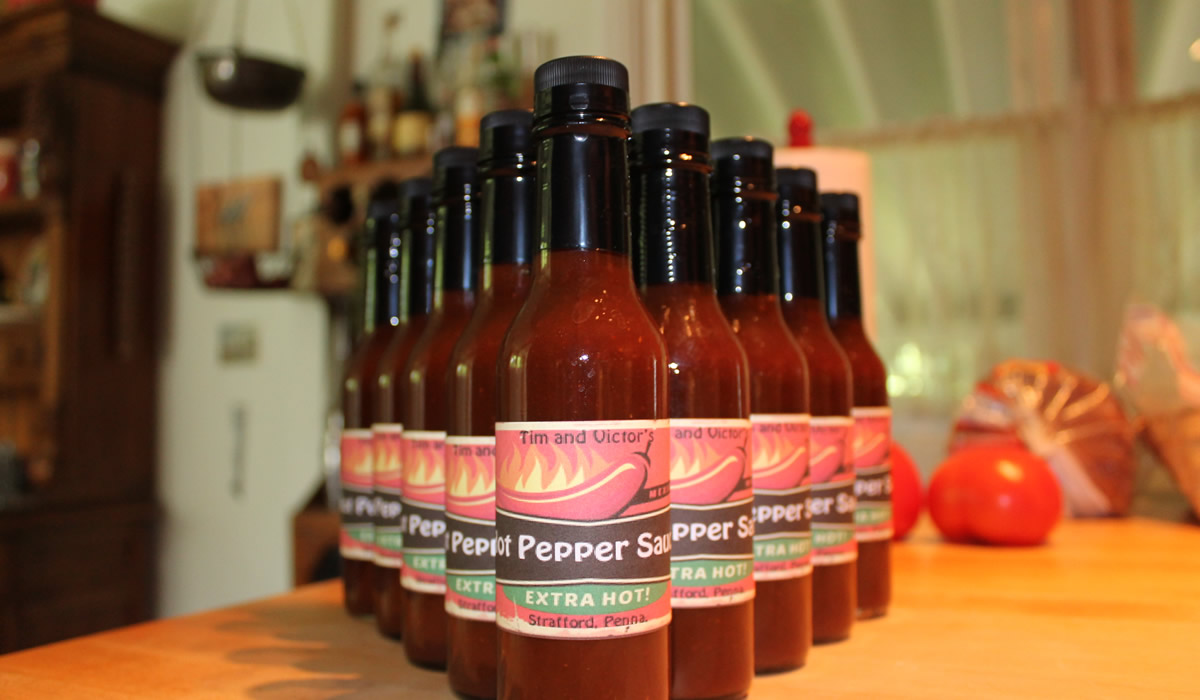
I filled the hot bottles, capped them, sealed them, and labelled them.

We're set until the summer peppers are ready!


Strawberry Jam

Strawberry Jam

I brought home a 4-pound package of strawberries. Four pounds. Like Victor and I could possibly eat four pounds of strawberries before they turned to mold. It was one of those I know I shouldn't do this but they look too good to pass up moments.

It wasn't exactly a rare occurrence - I'm often an impulse-food-shopper. It's what makes me creative in the kitchen because once it's purchased, it has to be used. There's no such thing as throwing food away in our house.

I think that strawberry jam started weaving its way into my psyche before I made it home because when I did get home, it was the first thing I decided to make.

Jams are really not difficult to make and since they're canned in a water-bath and not pressure canned, anyone can do it at home with pots already in the house.

They're also really easy to play with and make your own.

A fairly basic ratio is merely equal weights of sugar and fruit, along with some lemon juice and pectin, depending upon the type of fruit you're using. The recipe on the back of the pectin box will give you excellent results.

But you can play... I switched out half of my lemon juice for balsamic vinegar. Not enough to really change the flavor - but enough to go hmmmmm...

Peach brandy added to peach jam, prosecco added to grape jelly... It's yours. You get to play - or keep it simple.

Strawberry Jam

  • 3 lbs crushed strawberries
  • 2 tbsp lemon juice
  • 2 tbsp good balsamic vinegar
  • 1 pkg Pectin
  • 3 1/2 lbs granulated sugar

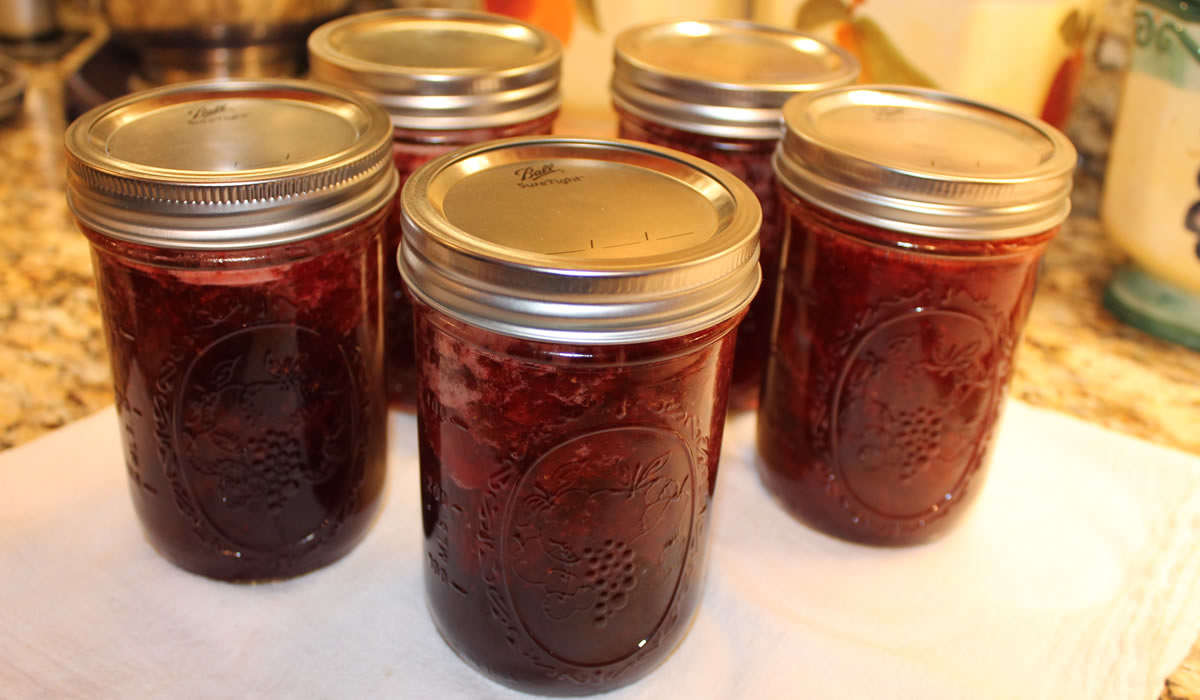
Prepare your jars - I used 6 pint jars.

Crush strawberries with a potato masher. Do not use a food processor as it breaks down the natural pectin.

Place in a heavy pot and stir in the pectin, lemon juice, and balsamic. Bring to a rolling boil.

Add sugar all at once, stir to dissolve, and bring back to a rolling boil - stirring often. Boil hard for one minute - keep stirring!

Fill your hot, prepared jars and process in a water bath for about 15 minutes.

And if you're a bit unsure about canning... here's a great sheet from the University of Georgia giving you the basics.

Have fun - and buy those berries!


Breaking Out the Big Pots

While I was toiling away at work, today, Victor was at home making a big batch of sauce. We haven't had any sauce downstairs for weeks - and I can't tell you how much I've missed it. I really get the concept and convenience of jarred pasta sauce - I've just never found one I liked well enough to actually buy. And the sauce Victor makes is just perfection. It can be used as-is or played with for any number of different dishes.

Perfection in a quart jar.

Contrary to popular belief, canning really is easy. It takes about an hour to can 7 quarts of sauce - the maximum amount of quart jars that fit in my pressure canner - and most of it is unattended. During the 15 minute actual pressure-cooking time, the most important thing is merely making sure the pressure stays at 11 pounds - and all that takes is adjusting the flame under the pot.

Not difficult - and the payoff is spectacular.

There are scores of websites out there with great information, starting with The National Center for Home Food Preservation at the University of Georgia. It has the USDA Complete Guide to Home Canning, 2015 revision. I don't know if there is a more recent version, but considering the state of our government, right now, I'm mildly surprised there's still a 2015 version online. Lots of good information.

Victor made 11 quarts of sauce, but since the canner only holds seven, I set three aside to freeze and we had one for dinner, tonight.

Victor puts pork or sausage in his sauce and this time around, he used some pork chops. I shredded one of them up to add to our dinner, tonight, and the other three will go with the three quarts in the freezer.

Total instant dinner.

I can't wait for the garden to start producing. I see a lot of canning happening this summer.


Pistachio Liqueur in Bulk

The Pistachio Liqueur was such a success, I decided I needed to make a lot of it. Christmas is rapidly approaching and just about every gift we give is food-related and homemade. The liqueur was relatively easy to make. The only tedious part is the straining. It needs numerous strains though first cheesecloth and then coffee filters to get as much of the sediment out as possible - especially 8 liters worth!

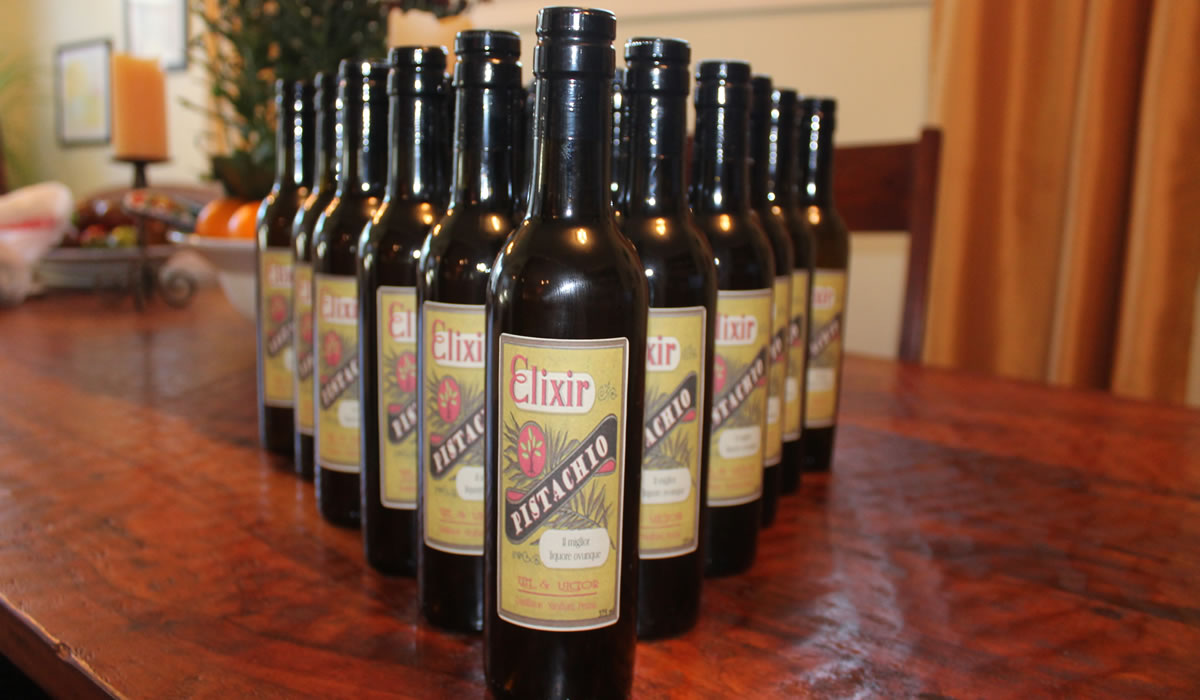
I made 22 375ml bottles. Not a bad afternoon's work. The only change I made from the first batch was this time I soaked the pistachios in Everclear instead of Vodka. It's definitely stronger than the first batch we made, but that pistachio flavor is still right there.

I started off with 10 pounds of pistachios and 4 1.75 liter bottles of everclear as the base.

The original recipe is here - I'm sure you don't want to make a vat of it - but if you do - just multiply it out.

Pistachio Liqueur

  • 8 oz roasted pistachios
  • 3 cups vodka
  • 1/2 cup raisins
  • 1 cup simple syrup

Coarsely chop pistachios and place in a mason jar. Add raisins and vodka. Seal and let sit about 2 weeks, shaking now and a gain.

Strain pistachios very well through a cheesecloth-lined sieve. Strain, again, through a coffee filter.

Make a simple syrup with 1 cup water and 1 cup sugar. Cool.

Mix syrup with pistachio vodka. Pour into a 750ml bottle and enjoy!

I also came up with what I think is a great label and really had fun putting it together. It's worth the time.

Really.


Baba Ghanoush

Yesterday's it's just allergies acting up turned into today's shit, I have a cold.  A doozy of a cold. I'll spare you the details of a non-stop running nose with a moustache and beard. Yes, a doozy of a cold.

I tried staying in bed but lying prone does not help the aforementioned issue. Against my protesting body's wishes, I got up.

We all know that I'm not a great patient. Victor has learned to just let me be. When I'm ready to be civil, I'm civil. So after a cup of coffee and a check of the email, I was bordering civility. We decided to head out to the garden and see if there was anything worth salvaging since we're pulling it all out tomorrow.

The tomatoes were pretty worthless, we had a dozen bell peppers, a big handful of tabasco peppers, a few jalapeños, and a dozen eggplants. Twelve more flippin' eggplants. I like eggplant. I like eggplant a lot. I just wasn't ready to see another dozen of them after the season we've had. I'm reasonably certain that had I felt better, seeing a dozen eggplants on a glorious sunny day would have made my culinary heart swell. Today, it was @#$%&  eggplants... 

But I also wasn't about to let them go to waste.

I knew that with this many eggplants, whatever I made had to be something that I could can. As I already have my caponata and other eggplant things downstairs, I needed something different. I hadn't made baba ghanoush in a while, so baba, it was.

The USDA does not recommend canning baba ghanoush because it's too thick and there are dangers of it not reaching temperature. I did find a site where a woman regularly cans hers at 10 lbs pressure for 45 minutes with no problems.

I decided to go for it.

The recipe is fairly basic, except I like some spice in mine so I added some tabasco peppers. I had to have Victor keep tasting it since the aforementioned cold was blocking my ability to taste properly.

Baba Ghanoush

  • 10 lbs eggplant
  • 1 full head garlic
  • 1 cup tahini
  • 8 tabasco peppers
  • 1 cup olive oil
  • 2 tbsp sumac
  • 2/3 cup lemon juice
  • salt & pepper

Roast eggplants on grill until collapsing. Cool slightly and then place pulp in a colander to drain for about 30 minutes.

Process in batches with food processor, adding bits of the various ingredients as you go. Mix everything well and place in 8 oz jars.

Process at 10 lbs pressure for 45 minutes.

It came out just fine. A dozen 12 oz jars now await some chips...

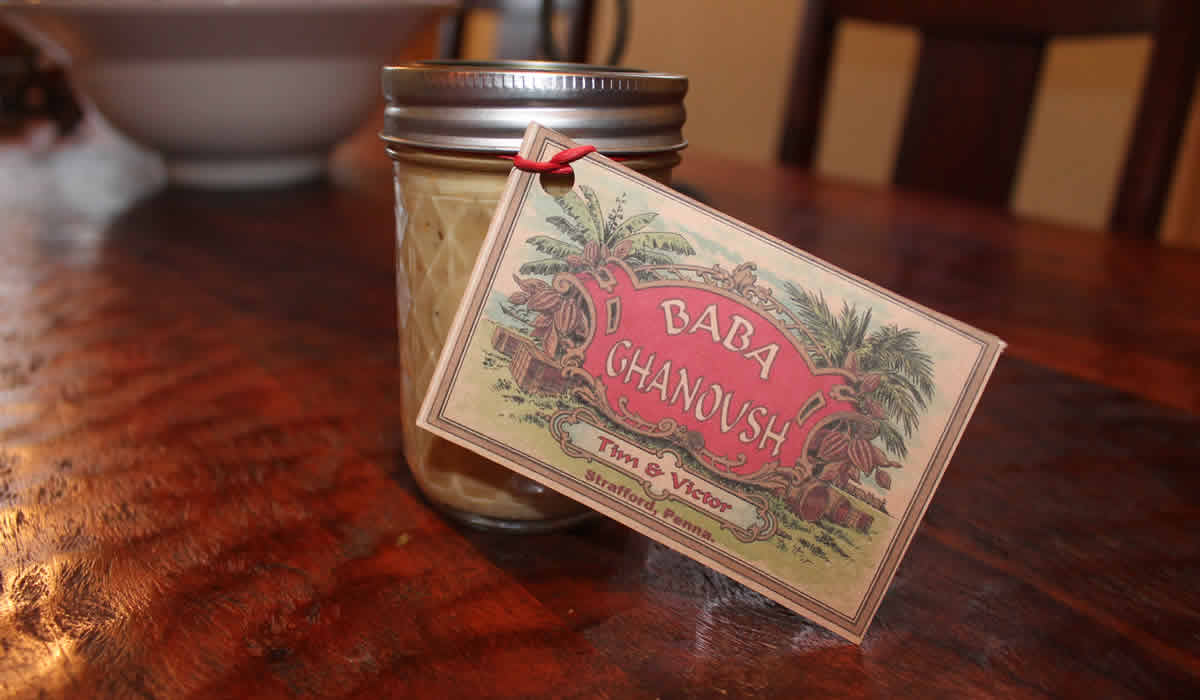
Part of the fun of making these things is creating labels for them. I usually do a Google search for different antique labels and then manipulate them for my own use. They're old, public domain images that usually have no relation to what it is I change them to. Plus, I'm not selling anything, not making any money from any of this. It's all fun.

Sadly, I can't use a stick-on label on textured jars, so these have a label tied to them. I had thought of doing a round label on the metal lid, but decided I didn't want to cut out circles. Maybe I'll buy some round labels one of these days and see how they work...

In the meantime, though, the baba ghanoush came out great - even with my limited tasting ability.

Now... if I could only stop coughing...


Hot Pepper Sauce

I've wanted to make a hot pepper sauce for the longest time. Today, I finally did it!

The concept is pretty simple, but the ways of going about it are more varied and complex than I ever thought possible.

My all-time favorite hot sauce is Tabasco. I love it. It has just the right amount of heat, I like the flavor... It's what I was weaned on. It is also the most difficult and complex to make - fermenting pepper mash literally for years, to begin with. I was looking for something a bit quicker.

After looking at a score of recipes - I bought a hot sauce cookbook a few years ago - I decided to just wing it.

I had gathered maybe two pounds of assorted hot peppers from the yard - mostly tabasco and jalapeno with a few others thrown in - and started to work.

I stemmed the peppers and put them in the blender - seeds and all - with white vinegar. I also added about 8 dried guajillo peppers that I bought for something I never made. I did a few batches, making it all as smooth as possible. Into the pot I added sugar, water, salt, and a tiny bottle of Fuoco dell' Etna liqueur we picked up in Sicily that's just been hanging around collecting dust. And then some Absolut Peppar Vodka because, why not?!? It's been hanging around for years - no one drinks it - so it's time to put it to use, as well.

I brought everything to a boil, cooked it a bit, strained it, and bottled it.

The end result is pretty damned good. It's slightly sweet and slightly vinegary at first - and then the heat hits.

And it has some heat!

This is one of those things that will never be replicated but that's okay. This should get us through the winter.