The Fabulous Food Blog
About Us
Live to Eat or Eat to Live?
James Beard – My Hero
10 Greatest Cooking Disasters
Cooking Tips
Conversions and Substitutions
Wedding Cake Data Chart
TJ Recipes
Tim’s Mom’s Cookbooks
Flour Power
Family & Friends
Family Reunion-1
Family Reunion-2
Little Gram’s Cookbook
Quick Meals
Recipes From The Heart
Holiday Cooking
Recipes from Villa Modica
Other Stuff
Search
The Fabulous Food Blog
About Us
Live to Eat or Eat to Live?
James Beard – My Hero
10 Greatest Cooking Disasters
Cooking Tips
Conversions and Substitutions
Wedding Cake Data Chart
Tim and Victor's Totally Joyous Recipes
Desserts
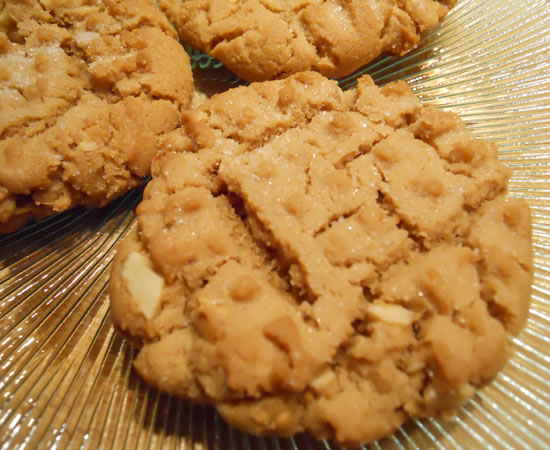
Peanut Butter Cookies
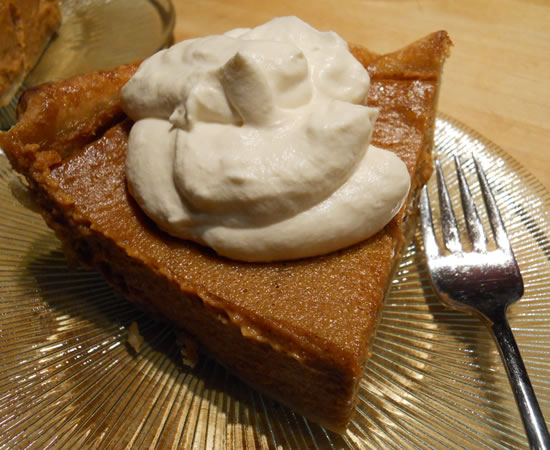
Perfect Pumpkin Pie
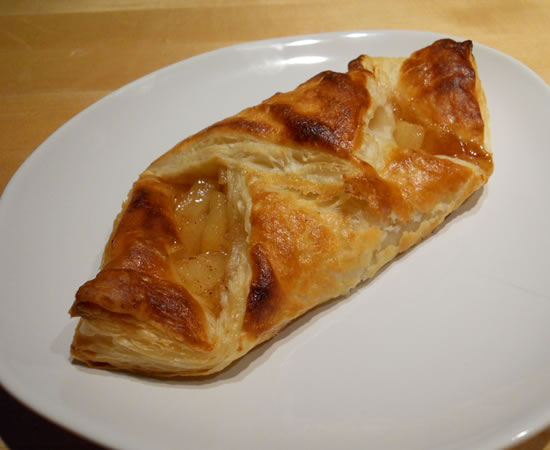
Pear Pastry
Room Service
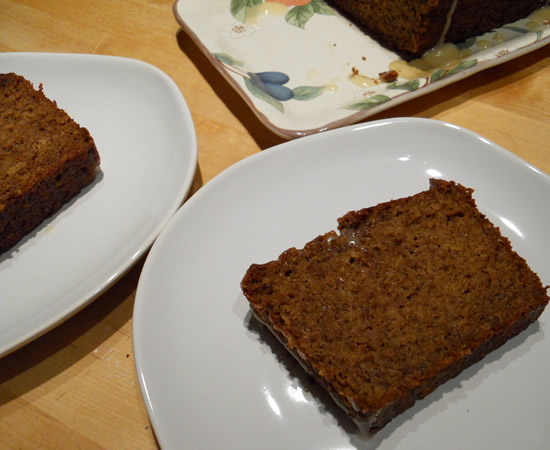
Bananas Foster Bread
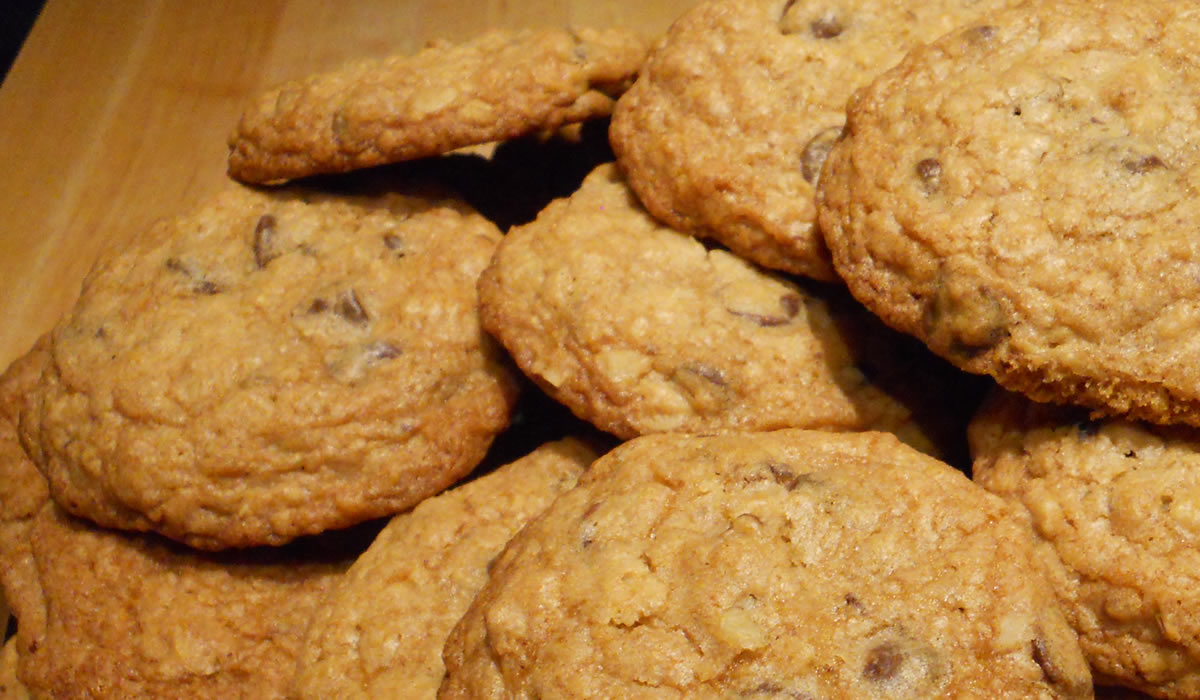
Oatmeal Chocolate Chip Cookies
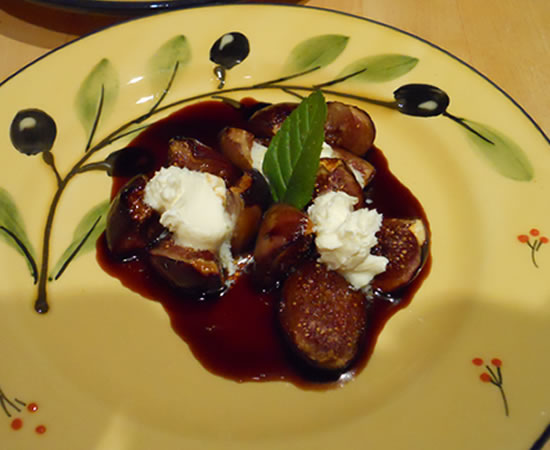
Roasted Figs
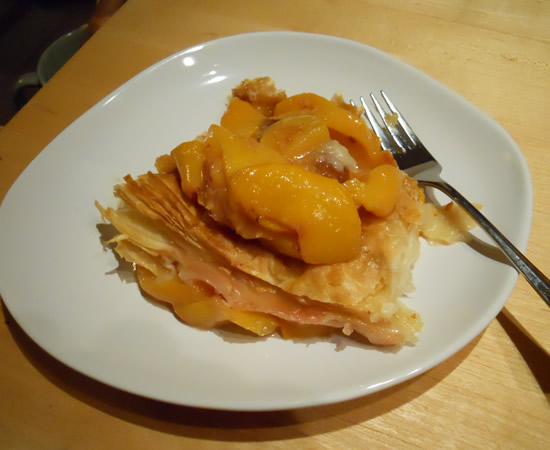
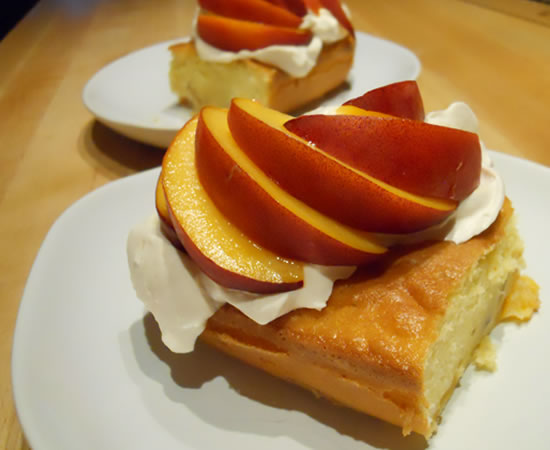
Peaches and Puff Pastry
Homemade Ice Cream
Moosewood Muffins
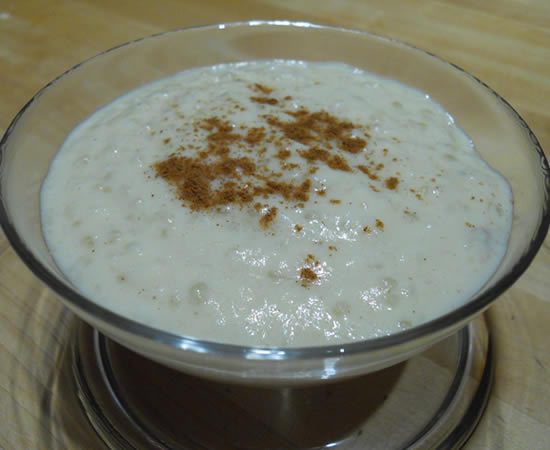
Coconut Tapioca Pudding
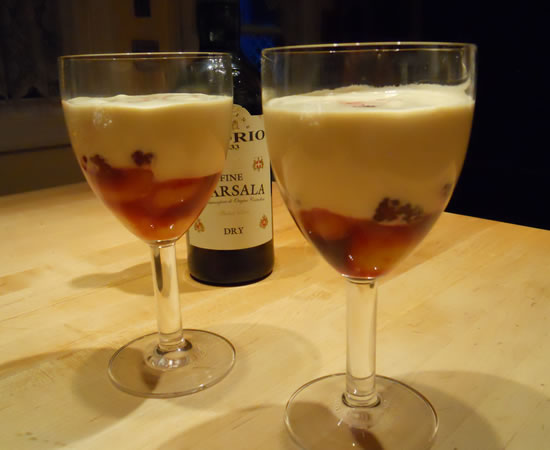
Balsamic Zabaglione
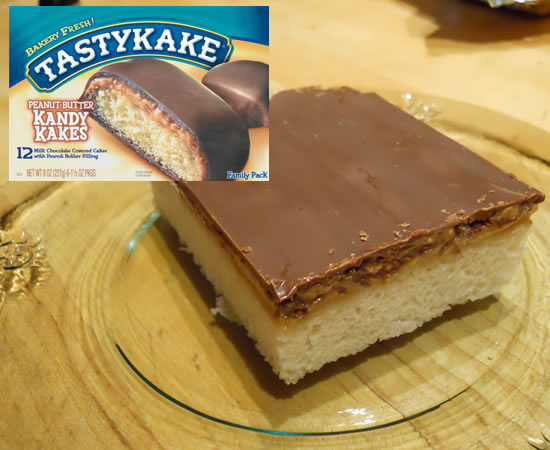
TastyKakes and Sunday Dinner
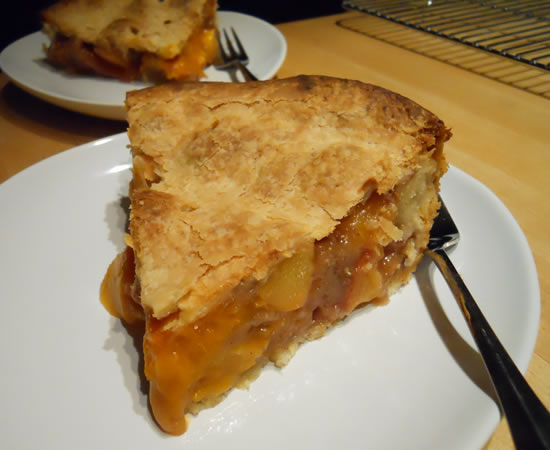
Peach Pie
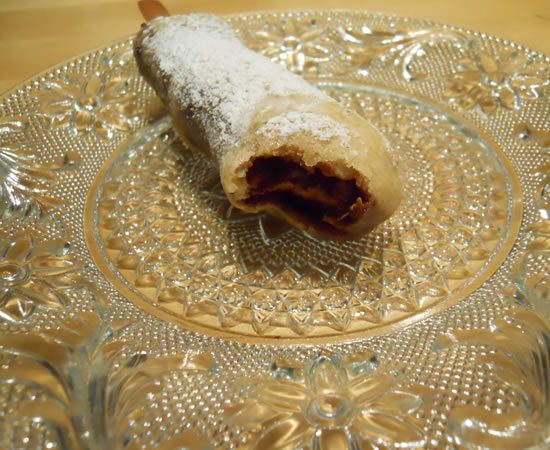
Deep-Fried Snickers Bar
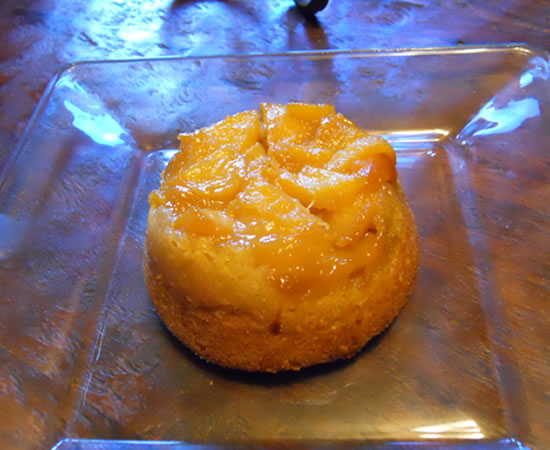
Caramelized Peach Upside-Down Cake
Grilled Pork Chops and Banana Cake
Feed-A-Cold Peach Cake
1
…
8
9
10
11
12
…
14