The Fabulous Food Blog
About Us
Live to Eat or Eat to Live?
James Beard – My Hero
10 Greatest Cooking Disasters
Cooking Tips
Conversions and Substitutions
Wedding Cake Data Chart
TJ Recipes
Tim’s Mom’s Cookbooks
Flour Power
Family & Friends
Family Reunion-1
Family Reunion-2
Little Gram’s Cookbook
Quick Meals
Recipes From The Heart
Holiday Cooking
Recipes from Villa Modica
Other Stuff
Search
The Fabulous Food Blog
About Us
Live to Eat or Eat to Live?
James Beard – My Hero
10 Greatest Cooking Disasters
Cooking Tips
Conversions and Substitutions
Wedding Cake Data Chart
Tim and Victor's Totally Joyous Recipes
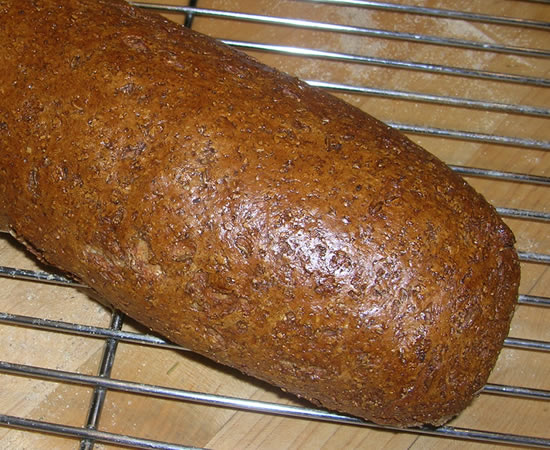
Bread
Pork Roast, Rye Bread, and an Apple Tart
A Loaf and a Bowl
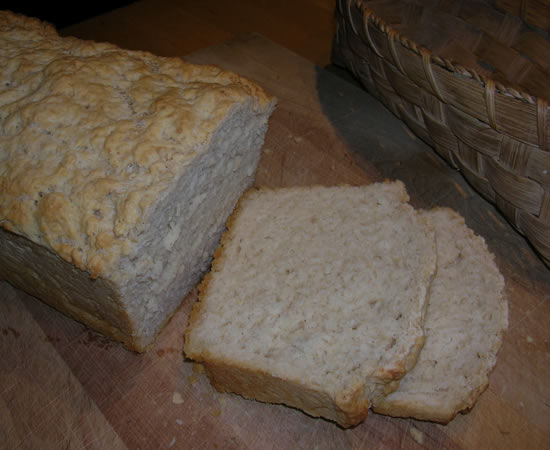
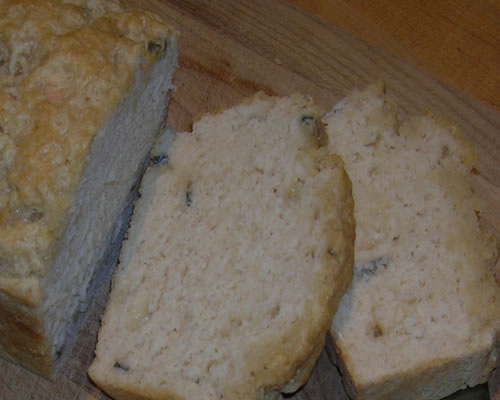
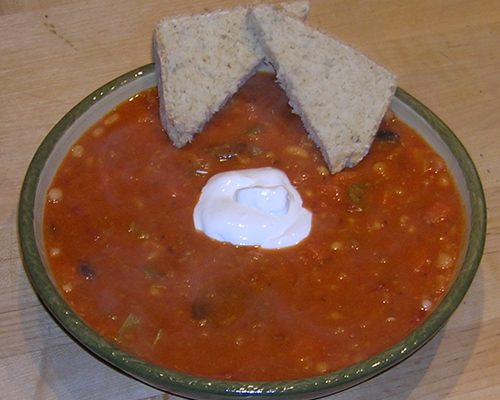
Bean Soup and Beer Bread
Our Biannual Dinner with Linda and David
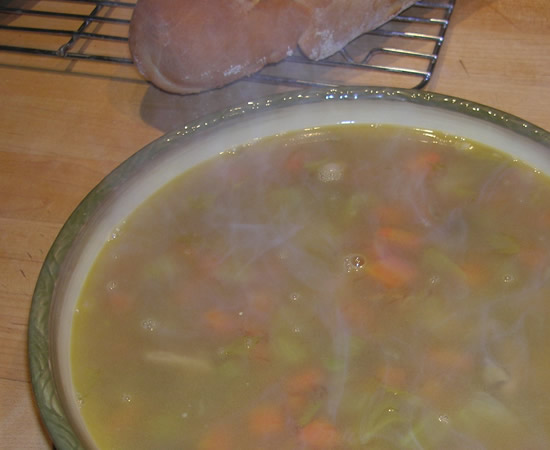
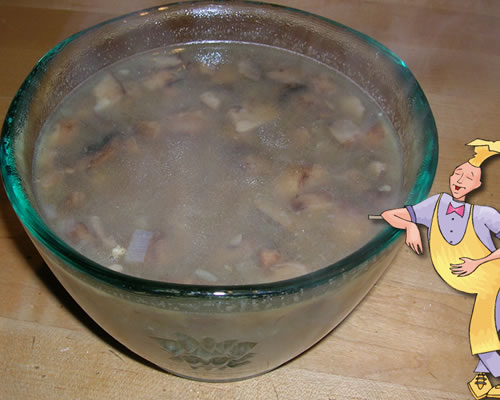
Lentil Soup and Fresh-Baked Bread
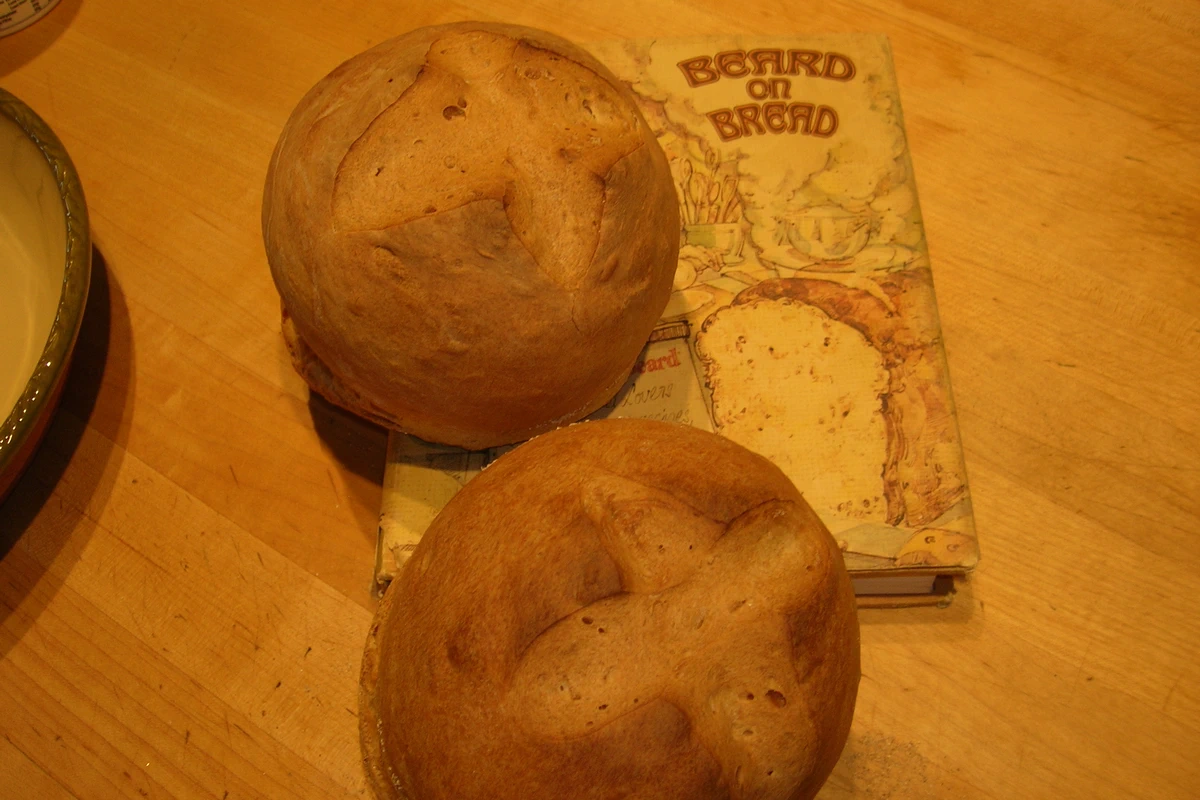
Beard on Bread, Tim on Chili
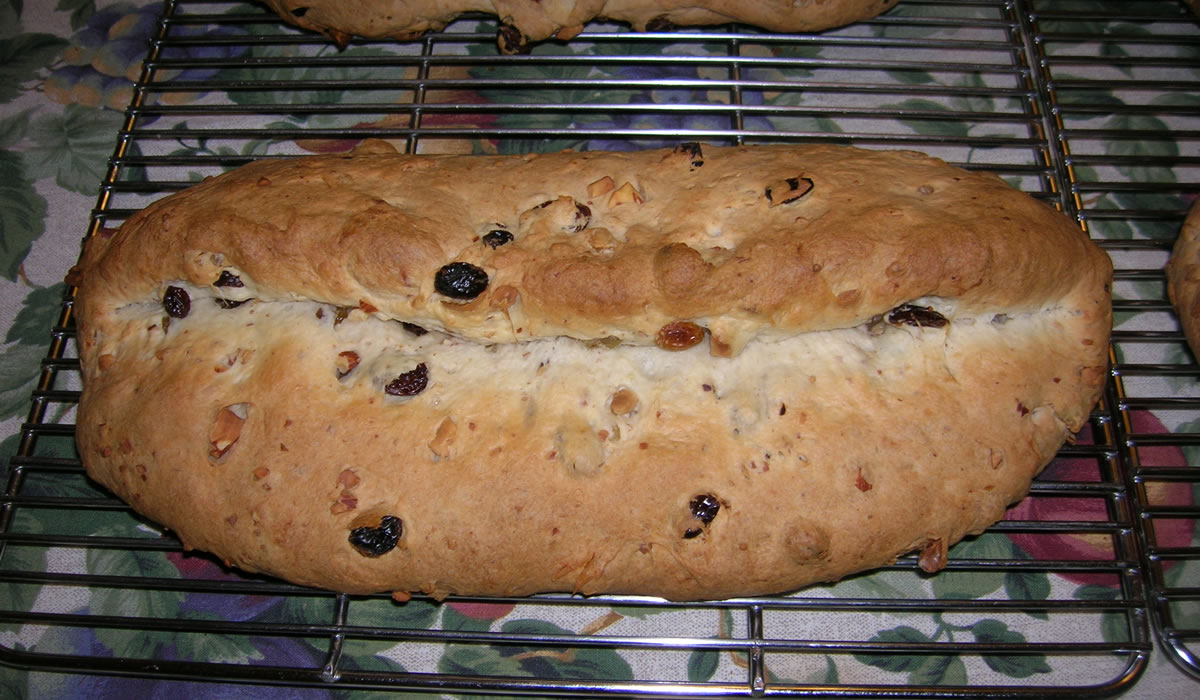
Oma’s Christmas Stollen
Sunny Sunday Bread and Soup
Bread and Butter (and a bowl of soup!)
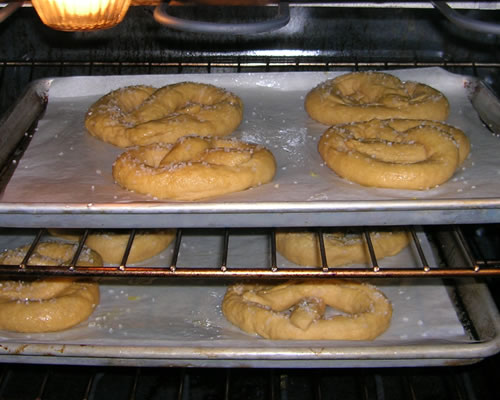
Soft Pretzels
Bean Soup and Beer Bread
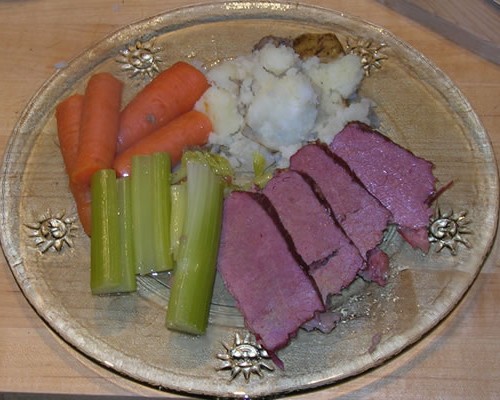
Corned Beef – No Cabbage. Bread, Instead.
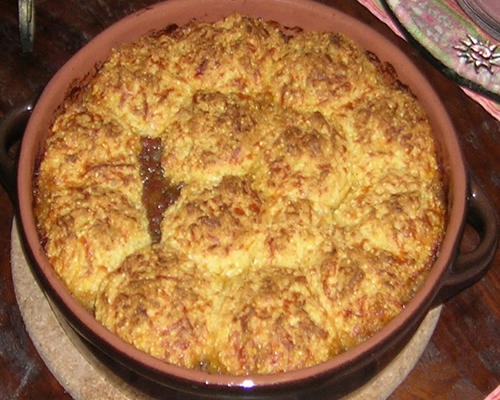
Spiced Beef Cornbread Cobbler
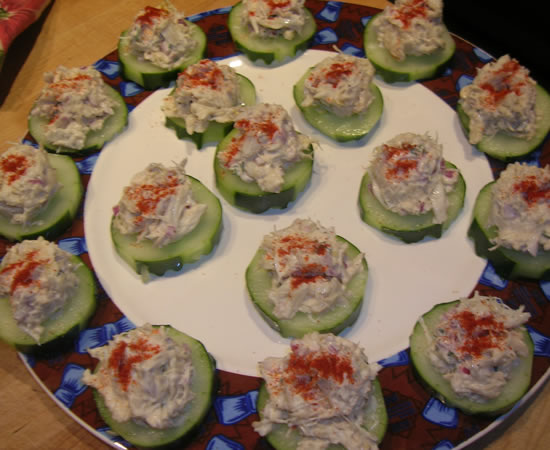
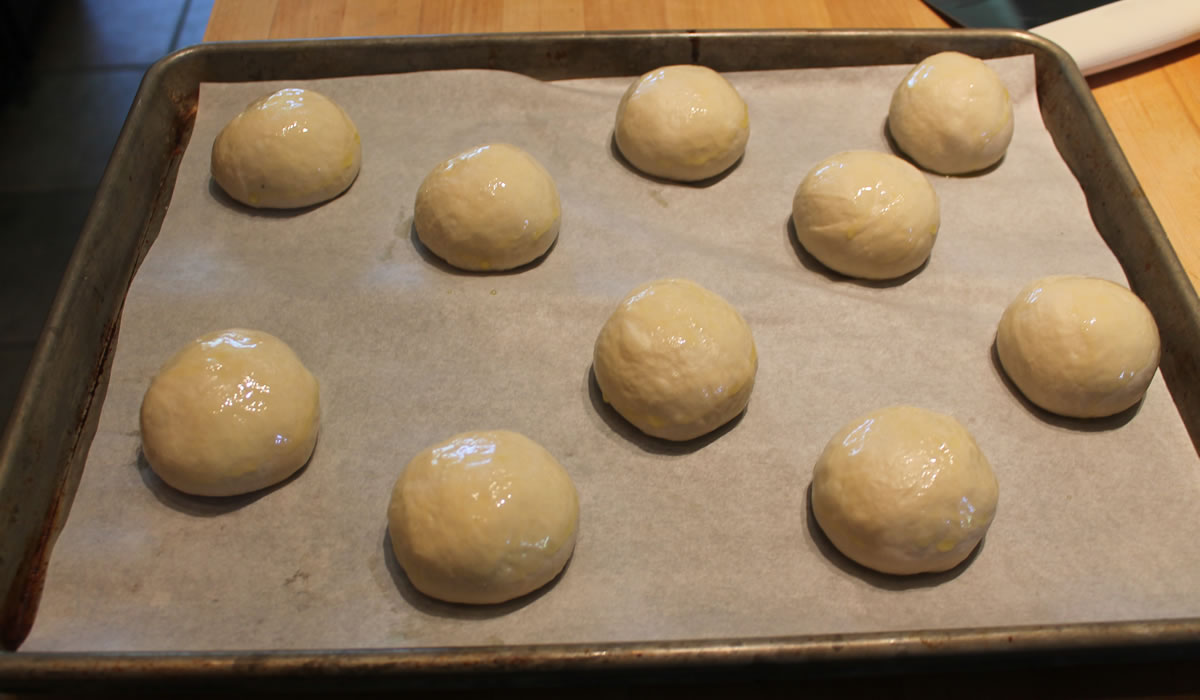
Pugliese Rolls
Pane Italiano, parte due
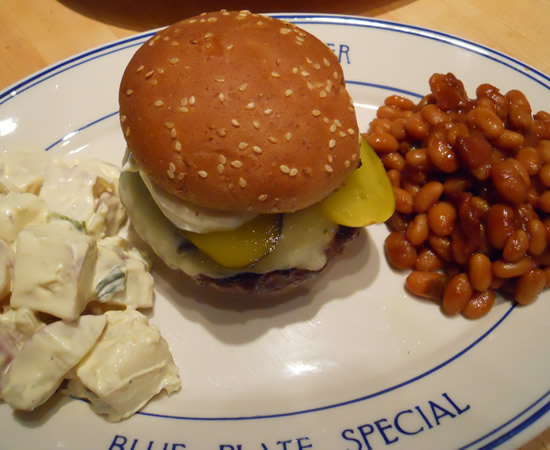
Bacon Bleu Cheese Burger
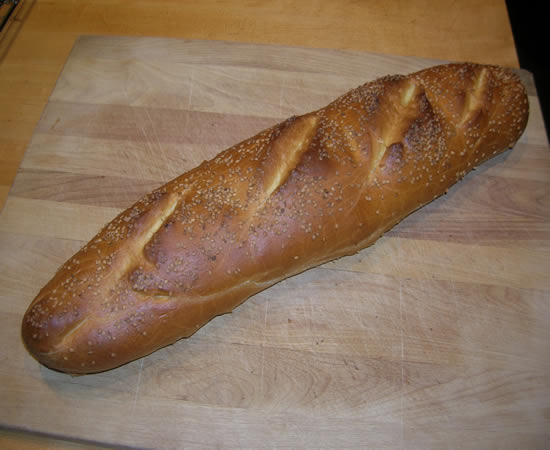
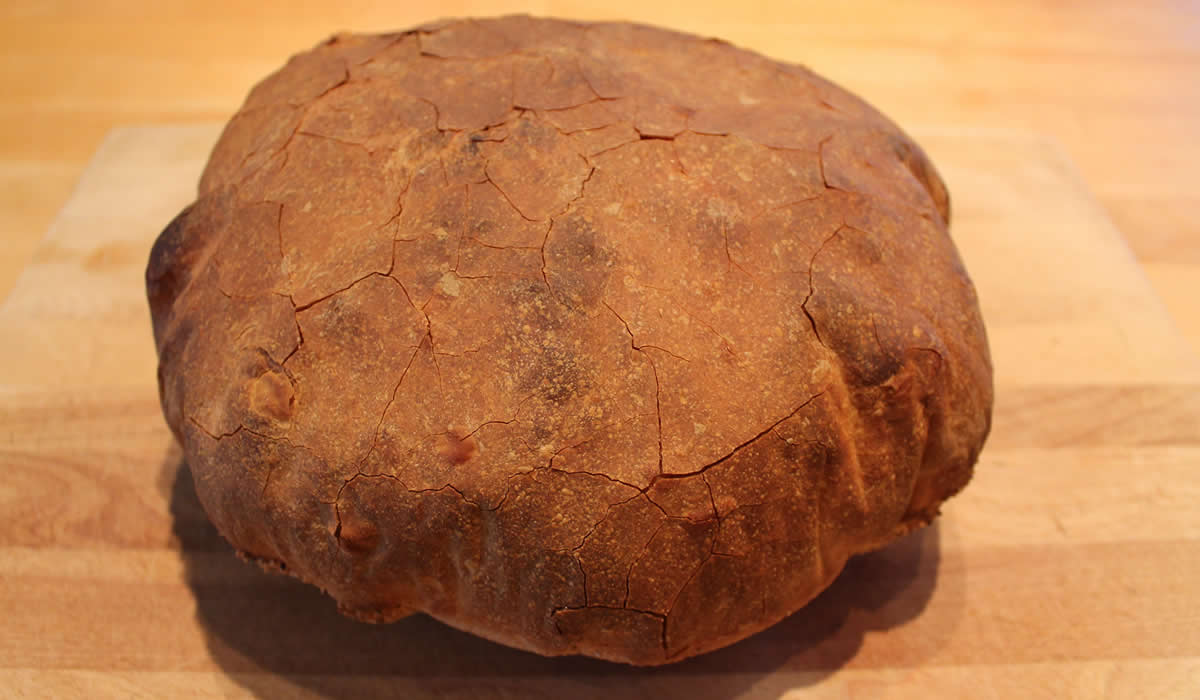
Italian Bread
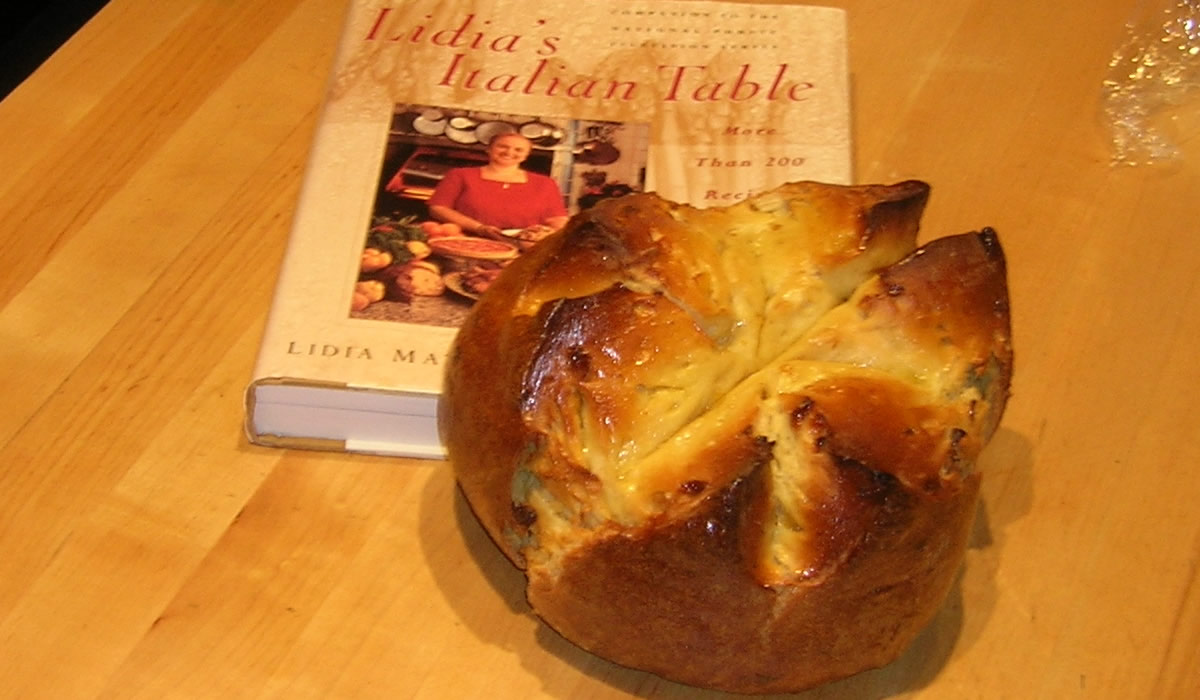
Italian Easter Bread (Pinza)
1
…
8
9
10
11