The Fabulous Food Blog
About Us
Live to Eat or Eat to Live?
James Beard – My Hero
10 Greatest Cooking Disasters
Cooking Tips
Conversions and Substitutions
Wedding Cake Data Chart
TJ Recipes
Tim’s Mom’s Cookbooks
Flour Power
Family & Friends
Family Reunion-1
Family Reunion-2
Little Gram’s Cookbook
Quick Meals
Recipes From The Heart
Holiday Cooking
Recipes from Villa Modica
Other Stuff
Search
The Fabulous Food Blog
About Us
Live to Eat or Eat to Live?
James Beard – My Hero
10 Greatest Cooking Disasters
Cooking Tips
Conversions and Substitutions
Wedding Cake Data Chart
Tim and Victor's Totally Joyous Recipes
Tim in the Kitchen
Bean Soup and Madeleines
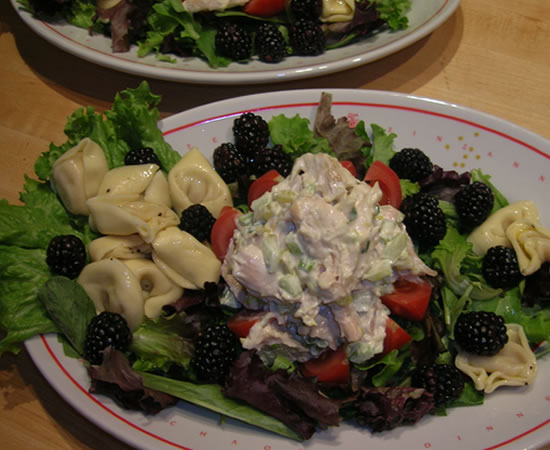
Chicken Salad Salad
Steaks and Bread
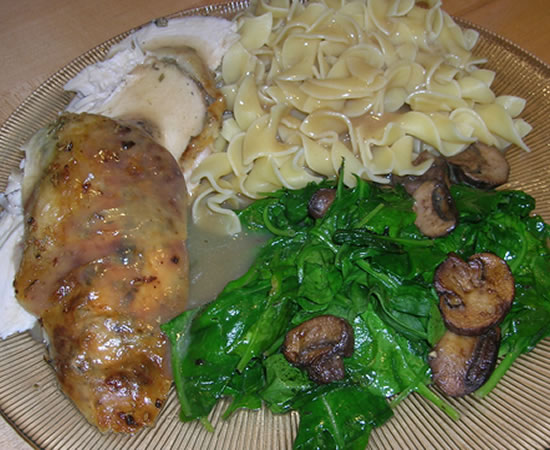
Sunday Roast Chicken
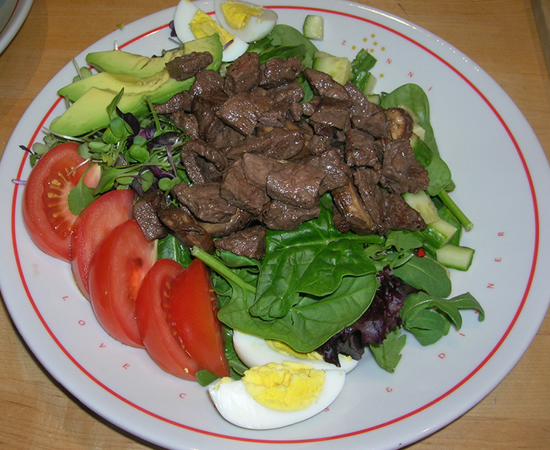
Salad Weather!
Chipotle Chicken Sandwich
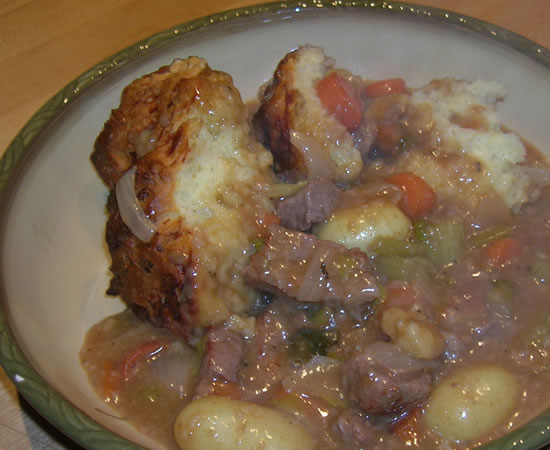
Beef Stew and Biscuits
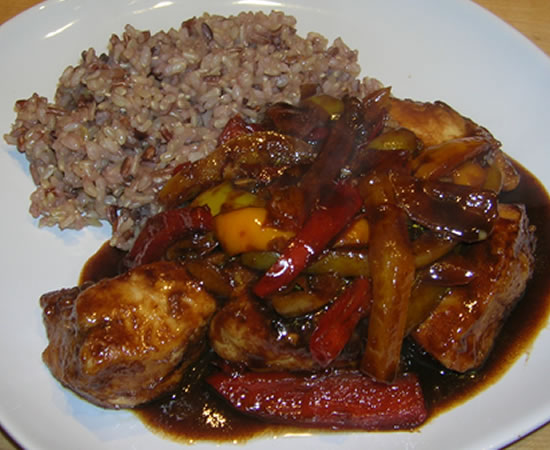
Chicken, Figs, and Rice Cakes
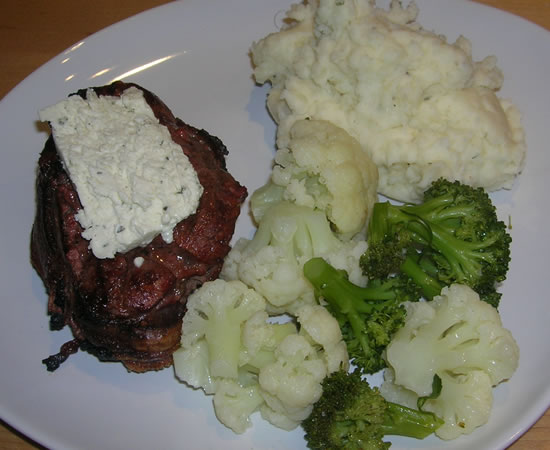
Steaks on the Barbie
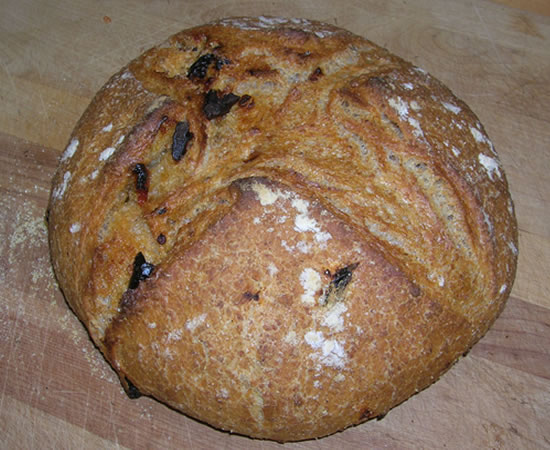
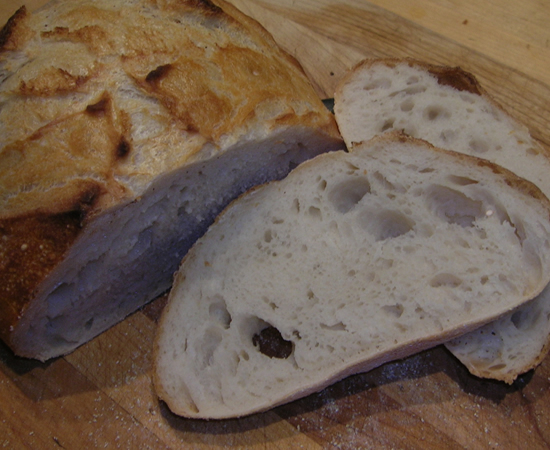
Loafing, Again
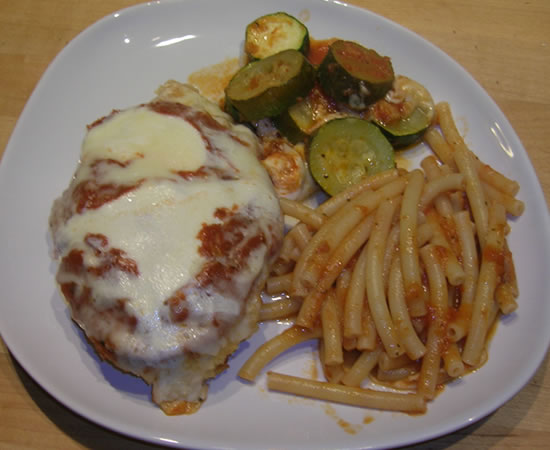
Stuffed Pork Loin and Roasted Cauliflower
Glenhardie Dinner Club
Cooking in a Winter Wonderland
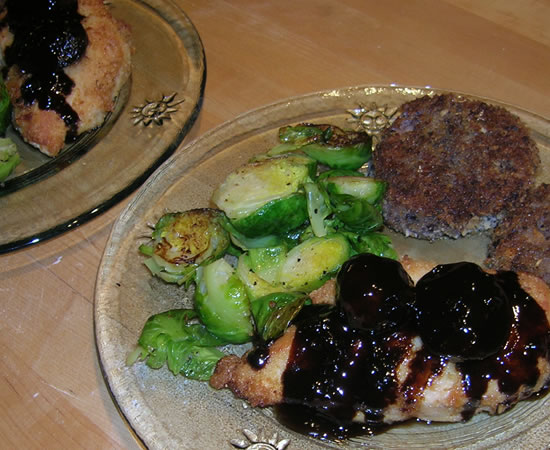
Debbie’s Chicken
Sunday Dinner
Creamy Chicken and Mashed Potatoes
Vellutata di asparagi
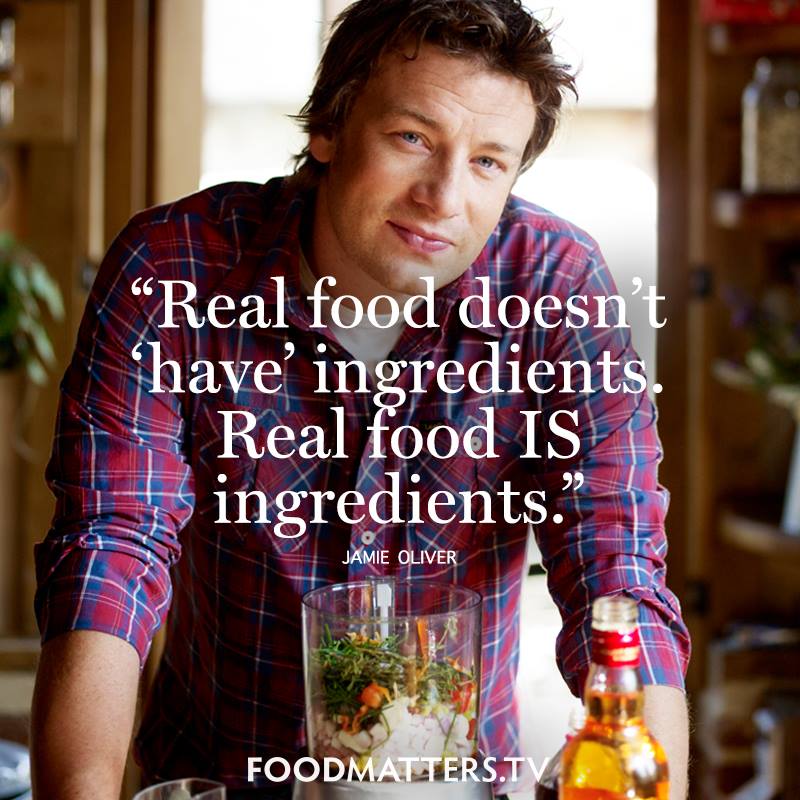
Jamie Oliver on Obesity in the United States
1
…
76
77
78
79
80
…
93