The Fabulous Food Blog
About Us
Live to Eat or Eat to Live?
James Beard – My Hero
10 Greatest Cooking Disasters
Cooking Tips
Conversions and Substitutions
Wedding Cake Data Chart
TJ Recipes
Tim’s Mom’s Cookbooks
Flour Power
Family & Friends
Family Reunion-1
Family Reunion-2
Little Gram’s Cookbook
Quick Meals
Recipes From The Heart
Holiday Cooking
Recipes from Villa Modica
Other Stuff
Search
The Fabulous Food Blog
About Us
Live to Eat or Eat to Live?
James Beard – My Hero
10 Greatest Cooking Disasters
Cooking Tips
Conversions and Substitutions
Wedding Cake Data Chart
Tim and Victor's Totally Joyous Recipes
Tim in the Kitchen
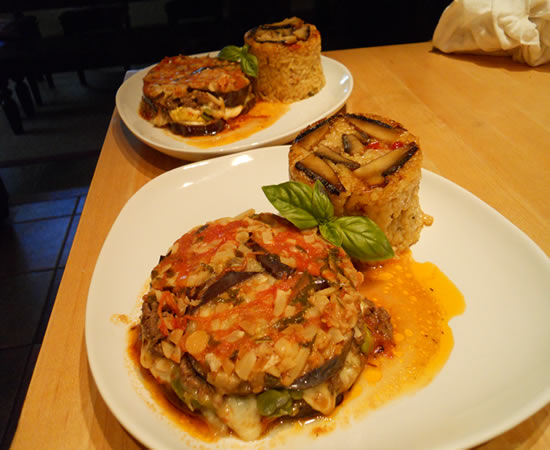
That’s Italian!
Atlantic Spice Company
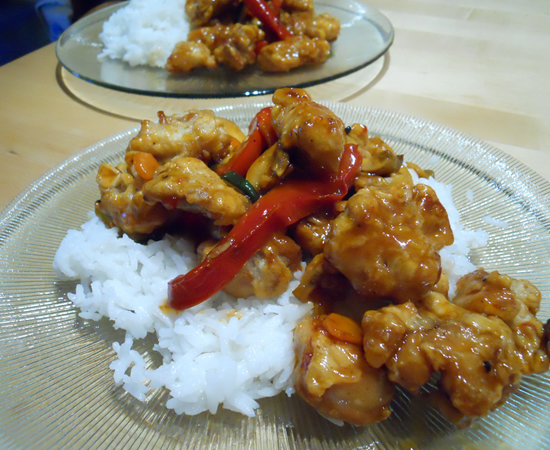
Vaguely Chinese
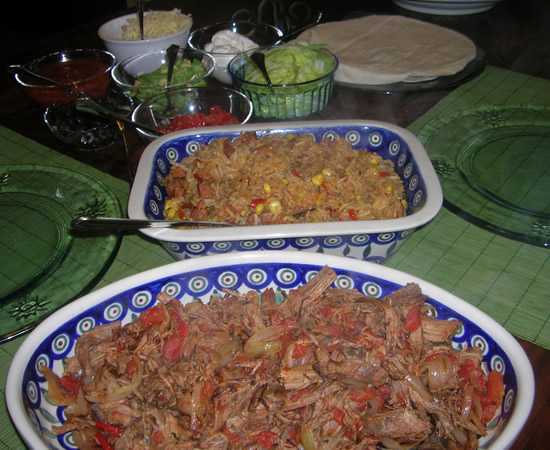
BBQ Brisket
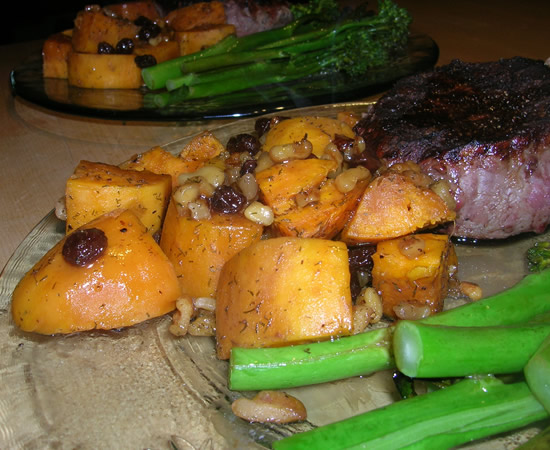
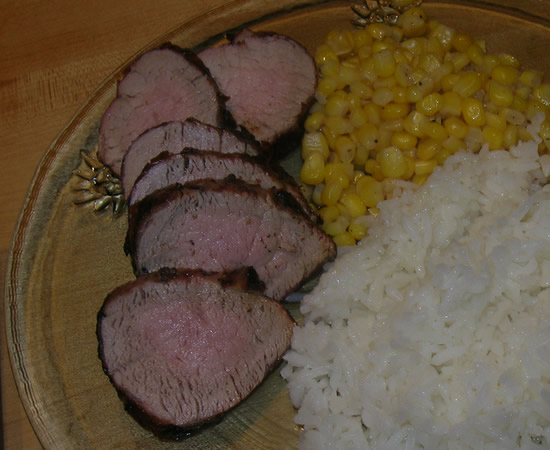
Steaks on the Barbie
Meatloaf Sandwiches
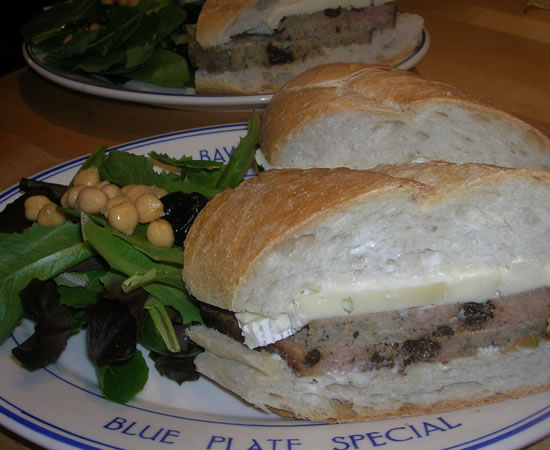
French Rustic Meatloaf
Birthday Weekend Part Trois
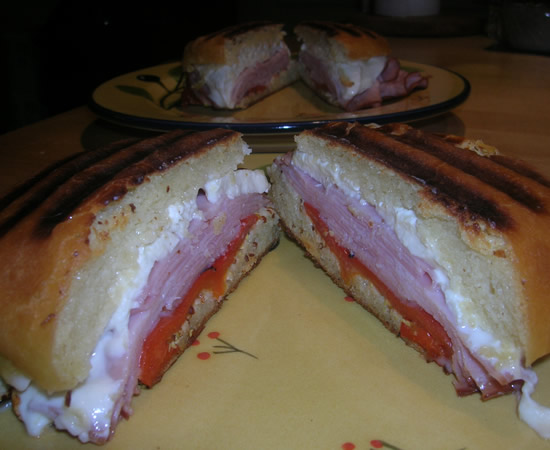
Panini
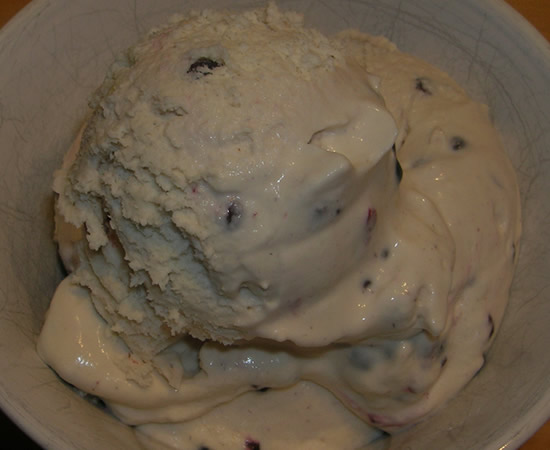
Blackberry Ice Cream
Birthday Weekend Part Deux
Let The Birthday Weekend Begin!
Back Home
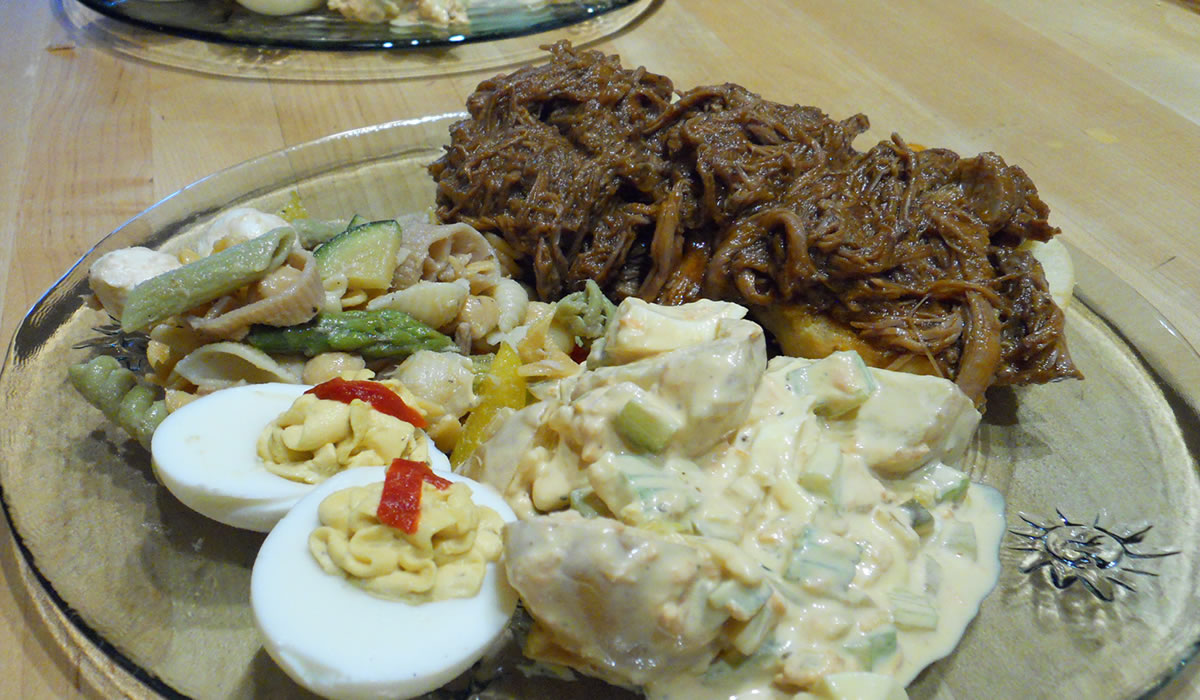
The Last Supper
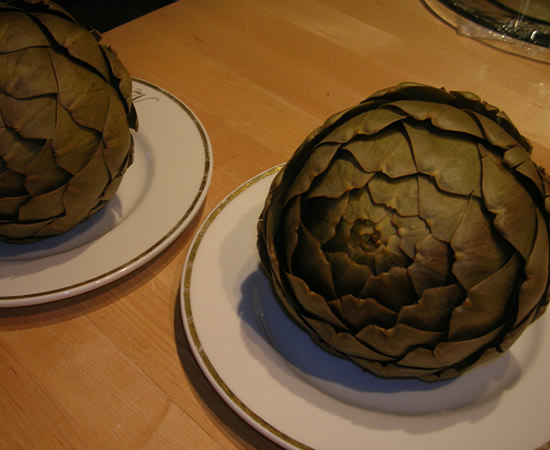
Artichokes
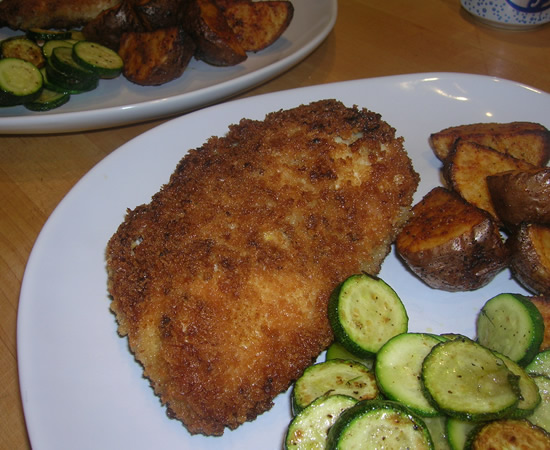
Panko Chicken
Rice Salad and Focaccia
BBQ and Broadway
1
…
74
75
76
77
78
…
93