The Fabulous Food Blog
About Us
Live to Eat or Eat to Live?
James Beard – My Hero
10 Greatest Cooking Disasters
Cooking Tips
Conversions and Substitutions
Wedding Cake Data Chart
TJ Recipes
Tim’s Mom’s Cookbooks
Flour Power
Family & Friends
Family Reunion-1
Family Reunion-2
Little Gram’s Cookbook
Quick Meals
Recipes From The Heart
Holiday Cooking
Recipes from Villa Modica
Other Stuff
Search
The Fabulous Food Blog
About Us
Live to Eat or Eat to Live?
James Beard – My Hero
10 Greatest Cooking Disasters
Cooking Tips
Conversions and Substitutions
Wedding Cake Data Chart
Tim and Victor's Totally Joyous Recipes
Victor in the Kitchen
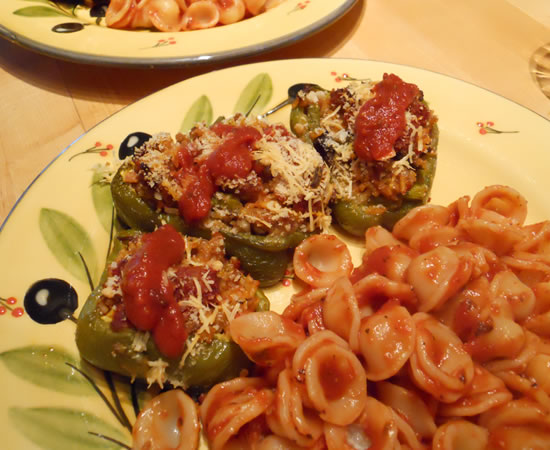
Stuffed Peppers
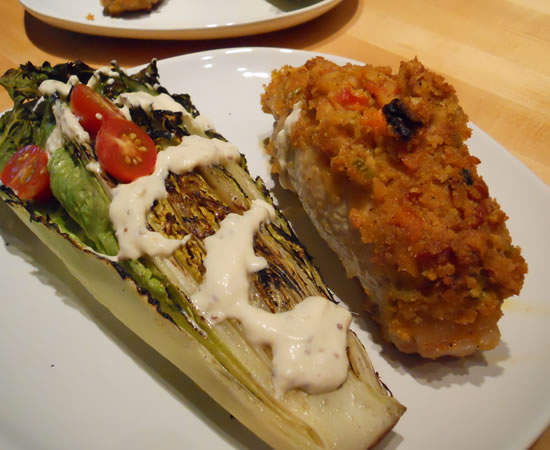
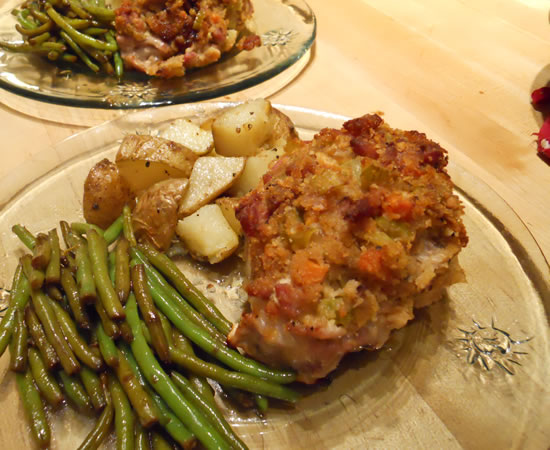
Stuffed Pork Chops and Grilled Romaine
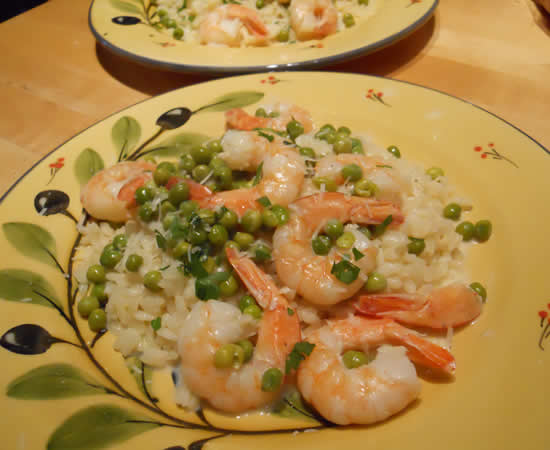
Rice and Shrimp
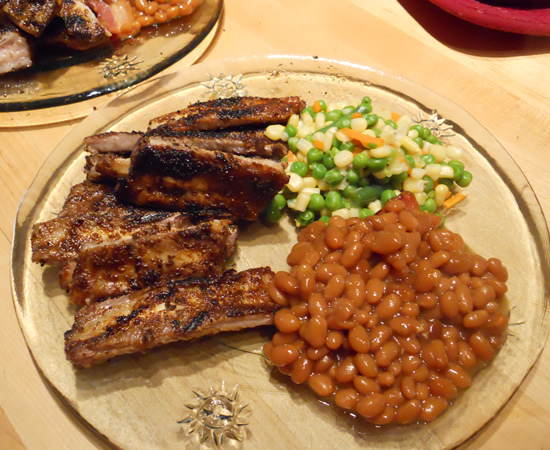
Peanut Butter BBQ Sauce
Lyle’s Chinese Chicken
My First Texas Tommy
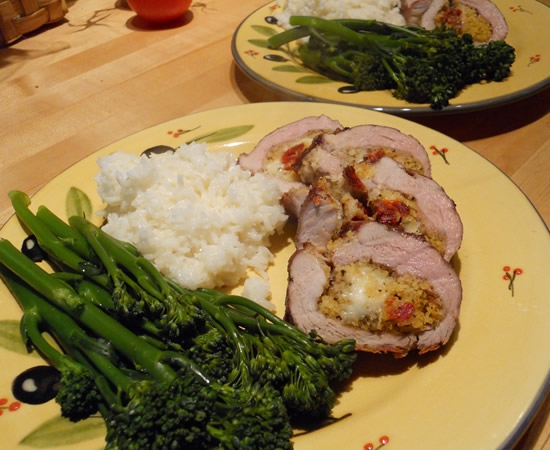
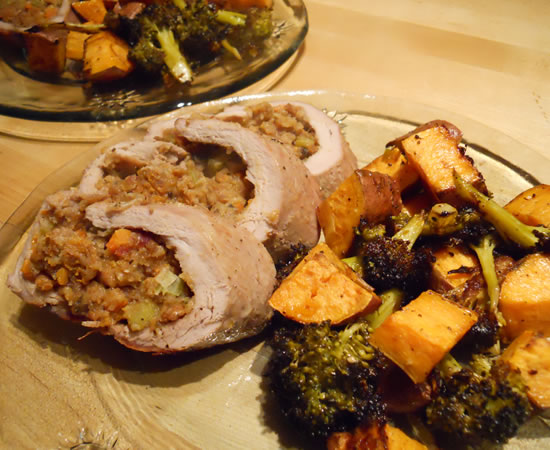
Stuffed Pork Tenderloin and Friends in Cairo, IL
Baked Ravioli with Broccoli Rabe
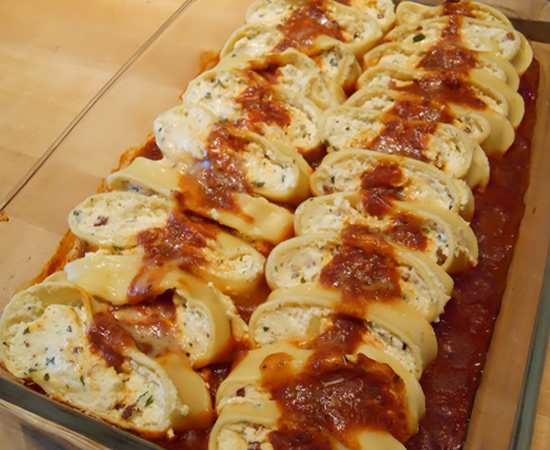
Ricotta Rollatini
Orange Chicken and Fun Surprises
Ravioli del Formaggio Cinque
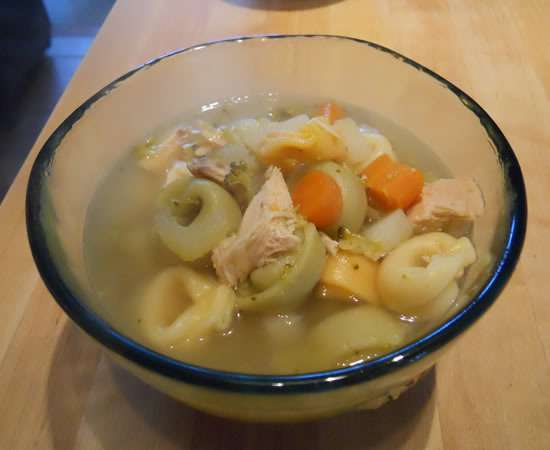
Chicken Soup and the Cold From Hell
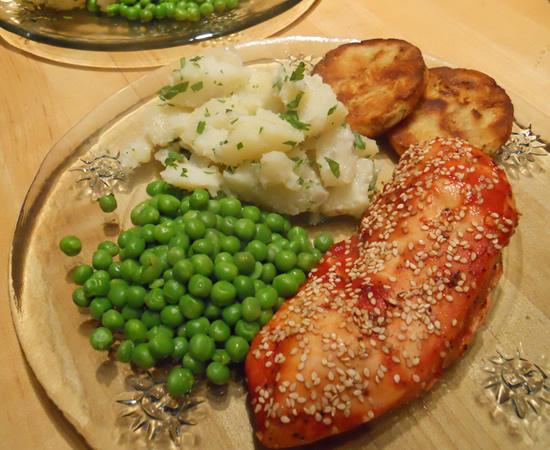
Stuffed Pork Chops
Macaroni Bake
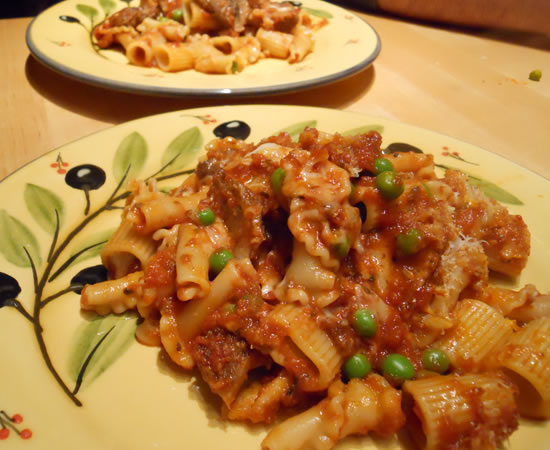
Saturday Pasta
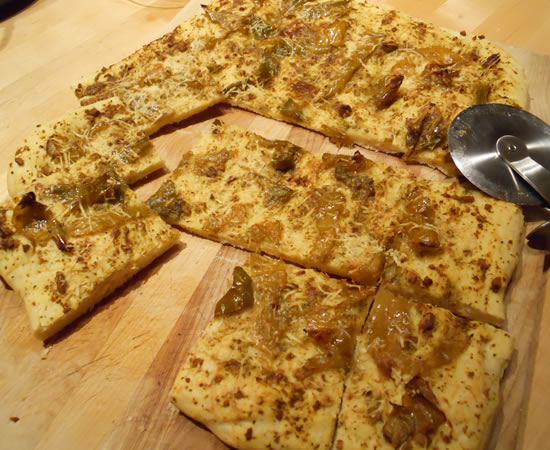
Chicken Soup and Focaccia
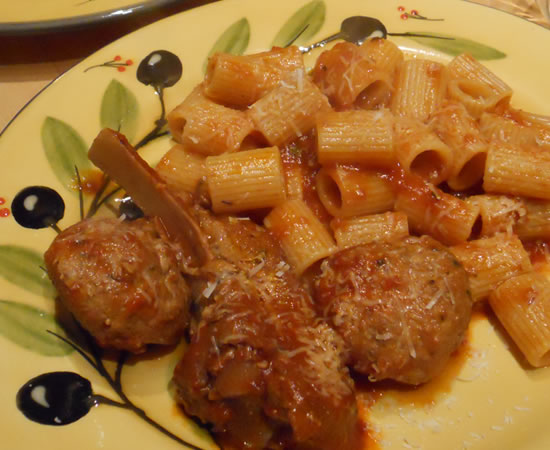
Baked Rigatoni
Stuffed Pork Tenderloin
1
…
12
13
14
15
16
…
18