Pistachio Liqueur
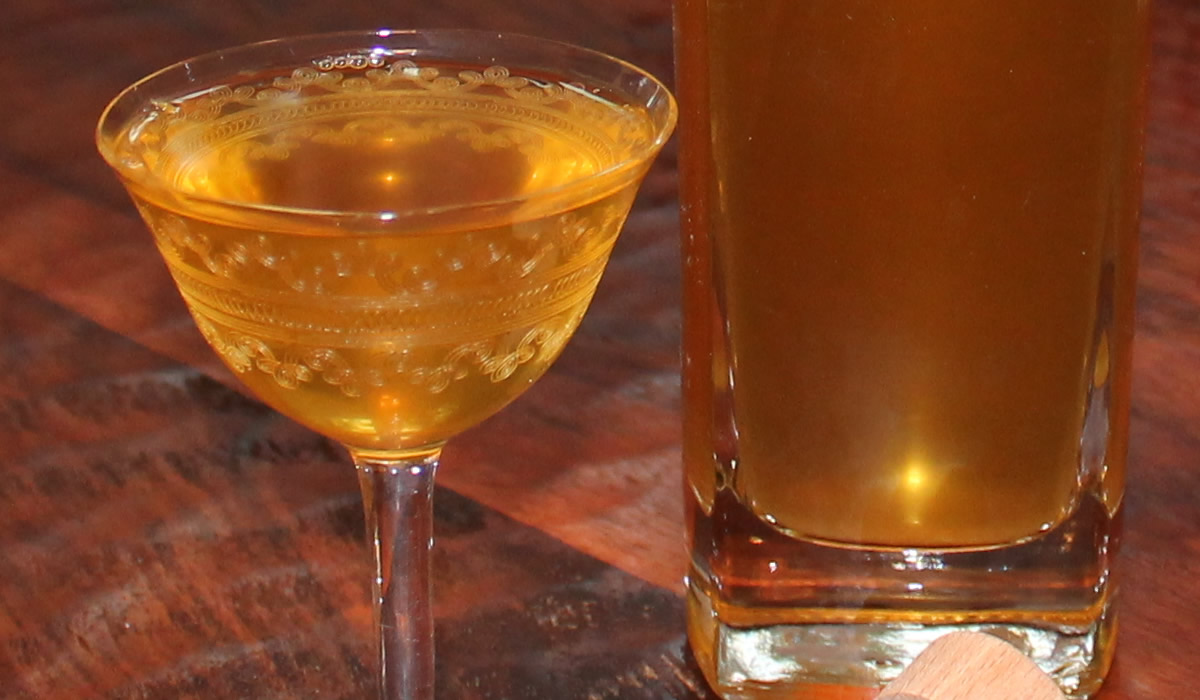
When we were in Italy a few years ago, we bought a little souvenir bottle of pistachio cream liqueur. It was in a bottle the shape of Italy and cost a grand total of about 1 euro. It held exactly enough to make one batch of really good pistachio biscotti. We looked for more, but the state liquor store in the Commonwealth of Pennsylvania does not stock it. We made our own and it was pretty good.
Fast forward a few years and Victor started thinking about the 2017 Cookies. Knowing how much I like pistachios, he decided a pistachio liqueur - not cream liqueur - was needed for this holiday season.
Again, it's something the state store doesn't sell. Time to make a batch.
The process is really simple... you soak pistachios in alcohol for a couple of weeks, strain, add a simple syrup, and you're done. Really simple.
Pistachio Liqueur
- 8 oz roasted pistachios
- 3 cups vodka
- 1/2 cup raisins
- 1 cup simple syrup
Coarsely chop pistachios and place in a mason jar. Add raisins and vodka. Seal and let sit about 2 weeks, shaking now and a gain.
Strain pistachios very well through a cheesecloth-lined sieve. Strain, again, through a coffee filter.
Make a simple syrup with 1 cup water and 1 cup sugar. Cool.
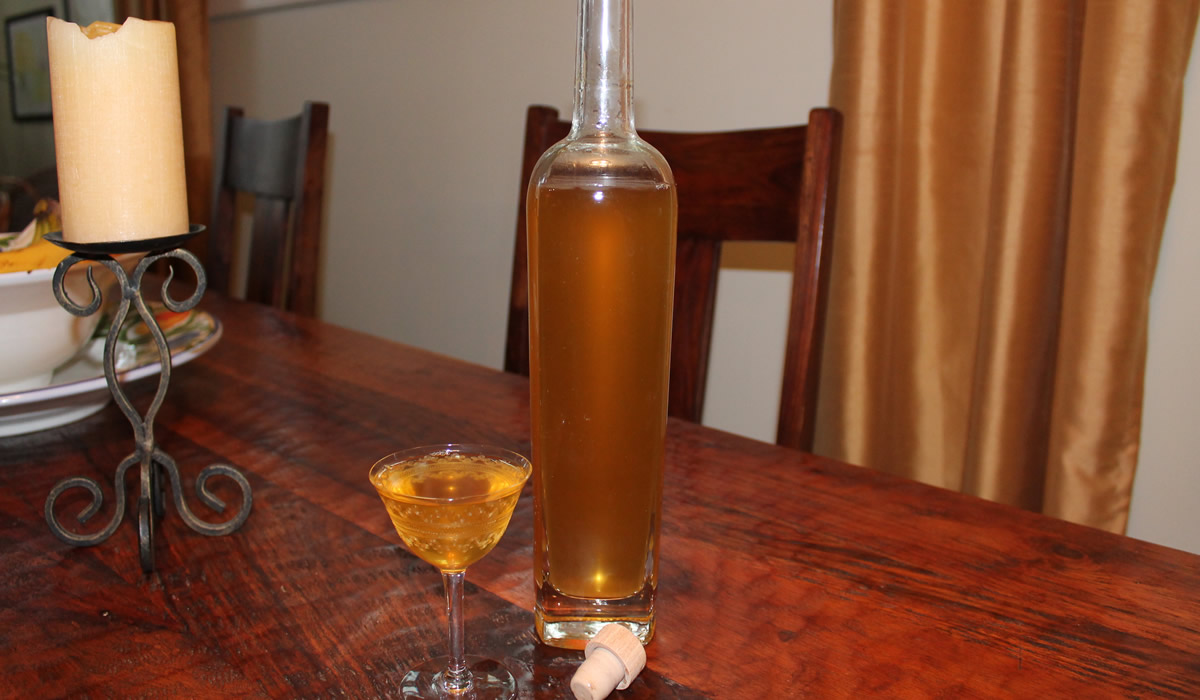
Mix syrup with pistachio vodka. Pour into a 750ml bottle and enjoy!
About 2 weeks before our latest vacation Victor set the pistachios to soak. We shook them now and again, but left them to soak while we were gone. They ended up sitting for about a month, total - which only made the base that much richer.
The end result is an extremely rich pistachio beverage. Great for the planned cookies, but it will also be great as a drink on its own.
I see a lot of cookies and other goodies coming from this!
Smoky Sweet BBQ Sauce
When we did our latest harvest from the garden, I thought a BBQ sauce was in order. We've already done pasta sauce, straight tomato sauce, and salsa. Time for something new.
I've made BBQ sauce in the past with varying degrees of success and thought it was time to tackle it. again.
Armed with a boatload of tomatoes, I started off.
I didn't peel the tomatoes - although I did core them. I used an immersion blender and didn't use a food mill, either. The end result isn't the thick, silky sauce from the national brands - there are no emulsifiers or thickening agents - but it's still thick and rich with lots of sweet smoky flavor!
Smoky Sweet BBQ Sauce
- 8 pounds Tomatoes, chopped
- 4 onions, chopped
- 6 garlic cloves, chopped
- 3 hot peppers, chopped
- 1 cup bourbon
- 1 cup brown sugr
- 1 cup molasses
- 2 cups apple cider vinegar
- 3 tbsp ancho chili powder
- 2 tbsp dijon mustard
- 3 tbsp smoked paprika
- 1 tsp cayenne pepper
- 2 tbsp salt
- 1 tbsp black pepper
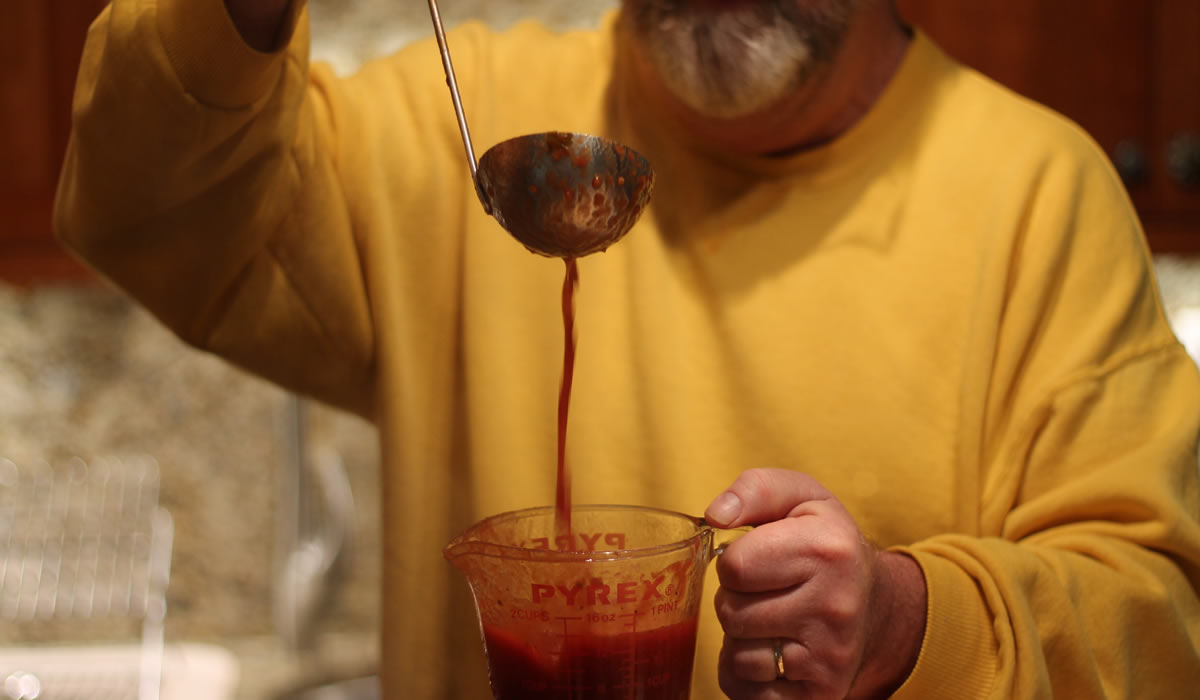
Saute the onions in olive oil until they begin to become translucent. Add garlic, tomatoes, peppers, and bourbon. Cover, and cook until tomatoes break down - 20 to 30 minutes.
Using an immersion blender, puree tomato mixture. It doesn't have to be perfectly smooth at this point - you'll keep blending as you go along.
Add remaining ingredients, using the immersion blender to mix everything really well and to make the sauce as smooth as possible.
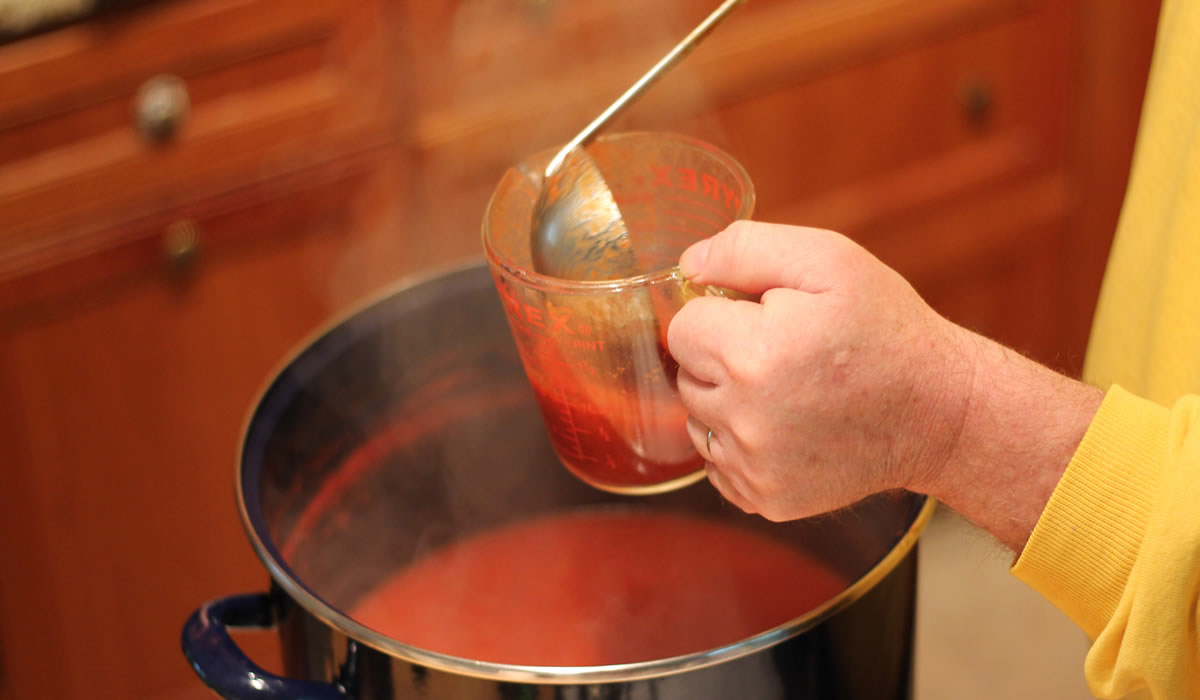
Bring to a slow boil and cook, mixing often with the immersion blender to prevent scorching, for another 45 minutes to thicken.
Taste and check for seasonings, tweaking the smoky/spicy/sweet balance to your liking.
Bottle the sauce according to the type of jar, bottle, or container you choose.
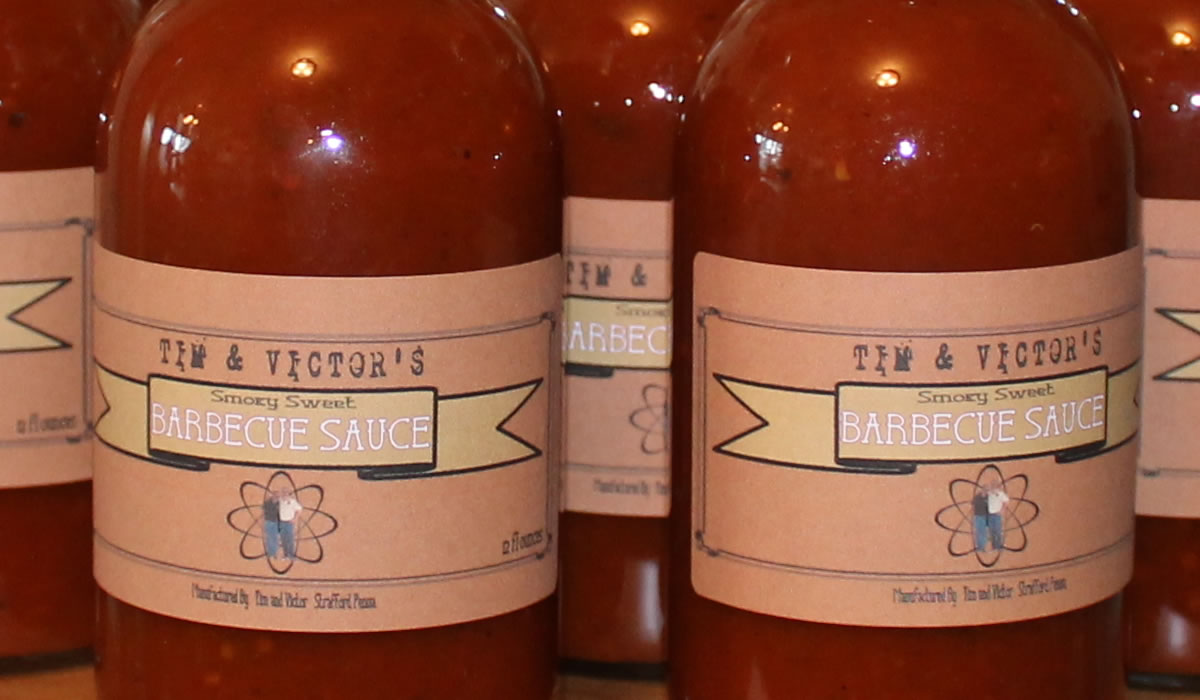
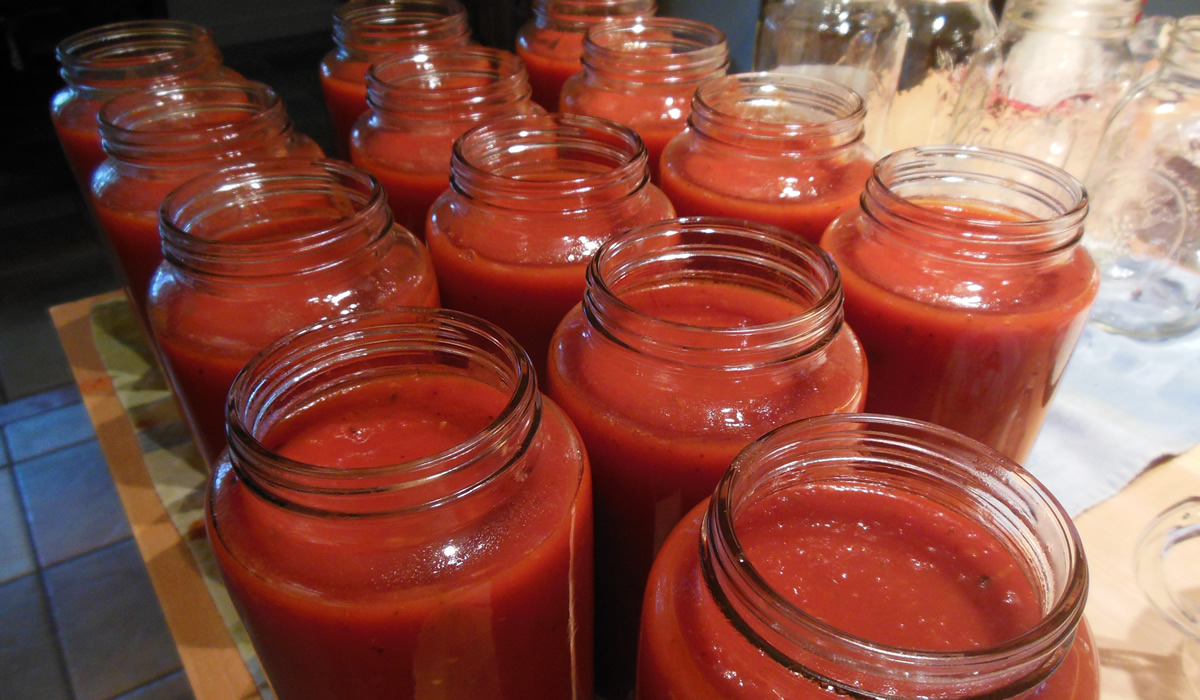
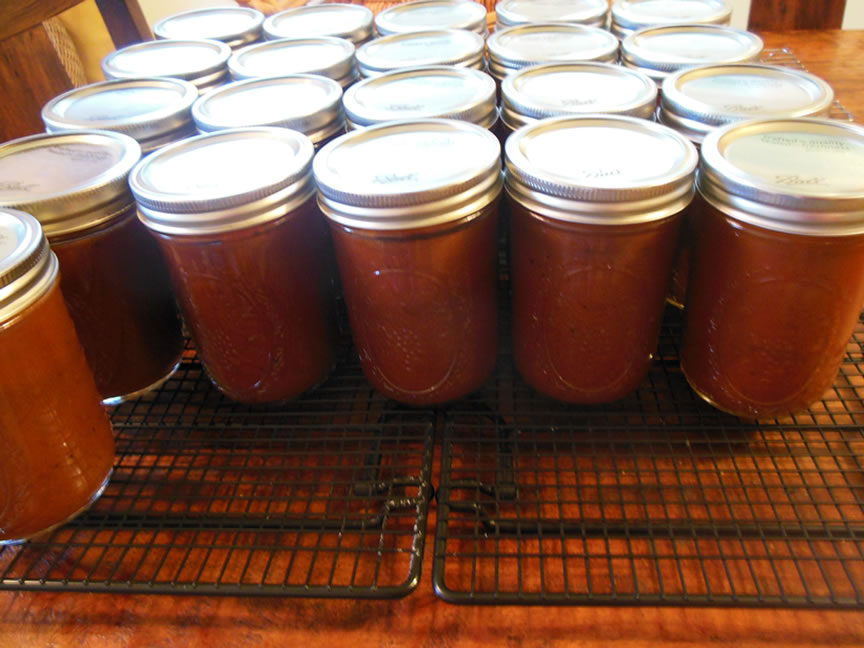
I used 12 ounce sauce bottles and got exactly 12 bottles - pretty much a miracle. I never get exact amounts like that when I can!
You can play with this one a lot. Switch out the type of chili powder, the type of hot pepper, use a different vinegar... Have fun with it!
And speaking of canning...
You can get mason jars at pretty much any major grocery store, but if you're looking for special bottles or jars for something more fun or special, take a look at Fillmore Container. Their jars and lids are reasonably priced and they ship immediately! I've had great luck with them!
Oven-Dried Cherry Tomatoes in Olive Oil
There are days when I am just not the brightest color in the crayon box...
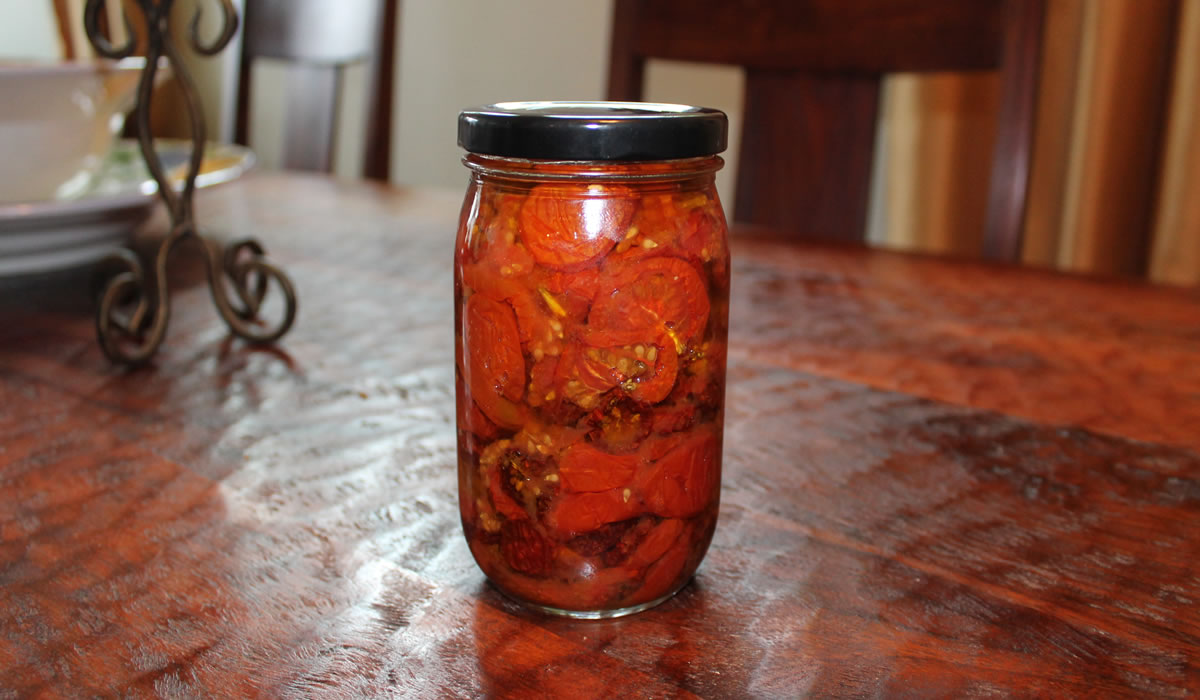
We have a bit of an overabundance of cherry tomatoes, so I thought I'd give oven-drying a try. I searched Chef Google and found a pretty simple recipe for oven-drying and then preserving in olive oil. About as simple and basic as simple and basic can be.
What I liked about the recipe was there wasn't any canning, per se - just covering with the olive oil. My grandmother canned everything with paraffin, so I get the concept of keeping air out to prevent spoilage.
Back when I lived at Tahoe, my roommate, Steve, made a dehydrator from screens. The air is so dry at 7000 feet that we would slice up just about anything - strawberries, peaches, tomatoes - and lay them out on the screens and hang it outside. In a few days we had dried everything. Alas, things are just a tad different in the humid east.
To work I went.
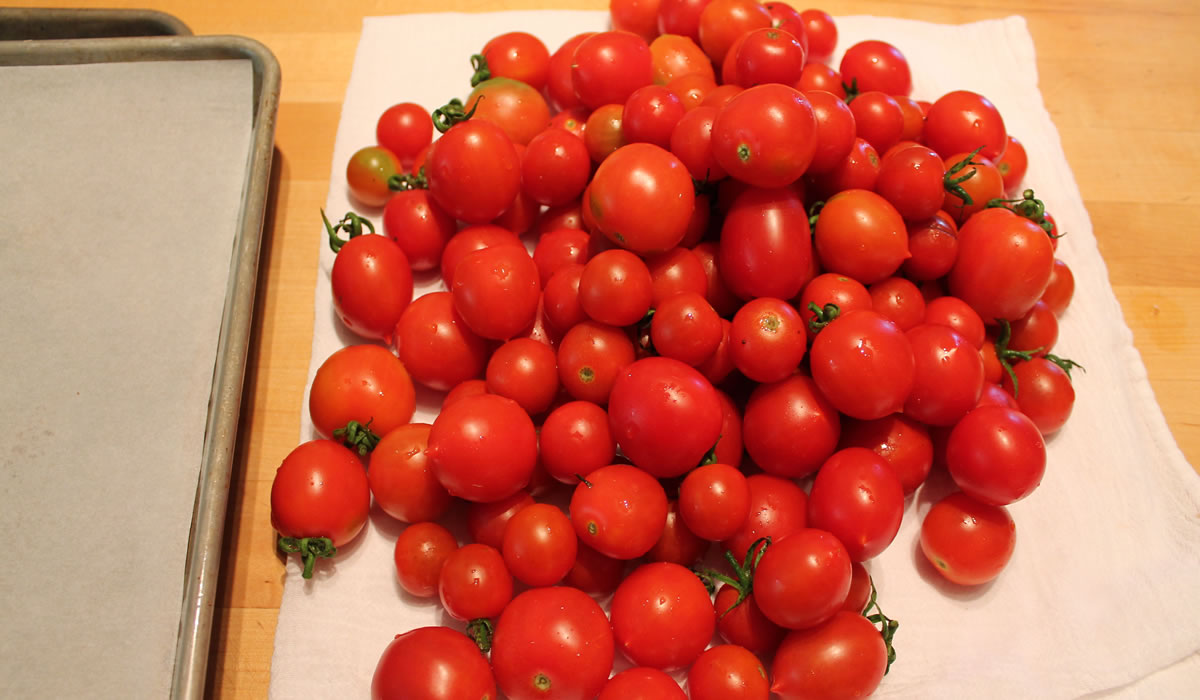
I washed and dried tomatoes...
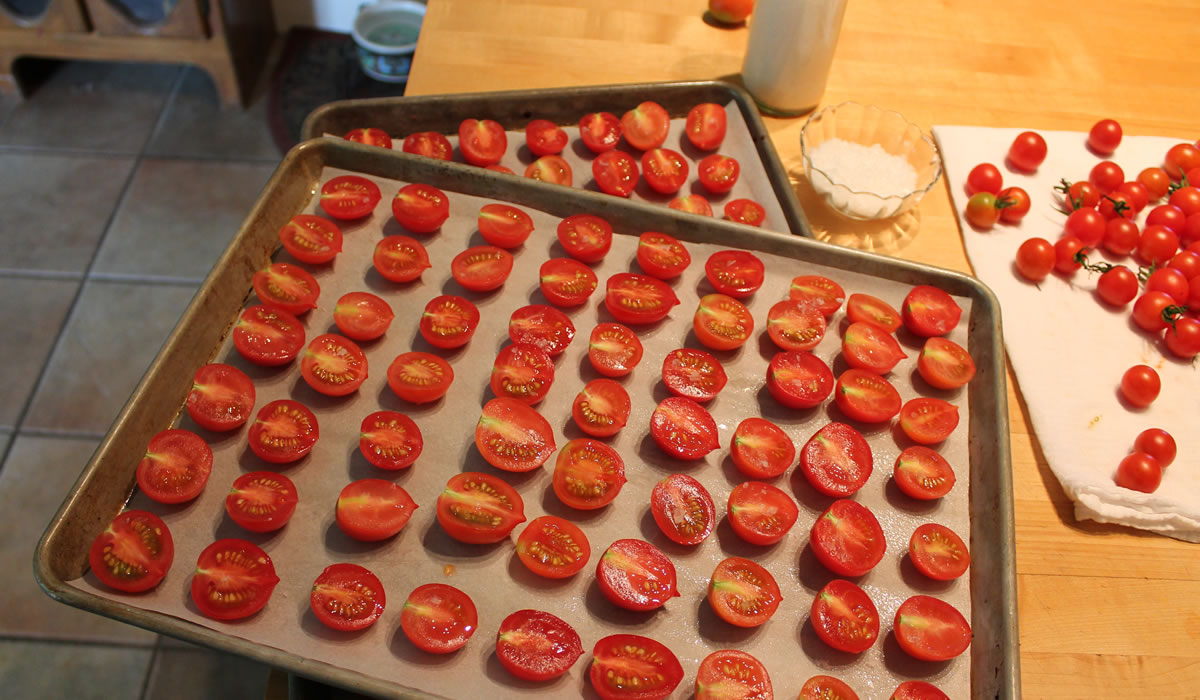
And then I sliced them and laid them out on sheet pans...
I sprinkled them with Maldon salt - because I have a lot of Maldon salt along with the 14 other salts I have from when I was going through my salt craze.
Into a 210°F oven for almost 6 hours, turning and rotating every hour.
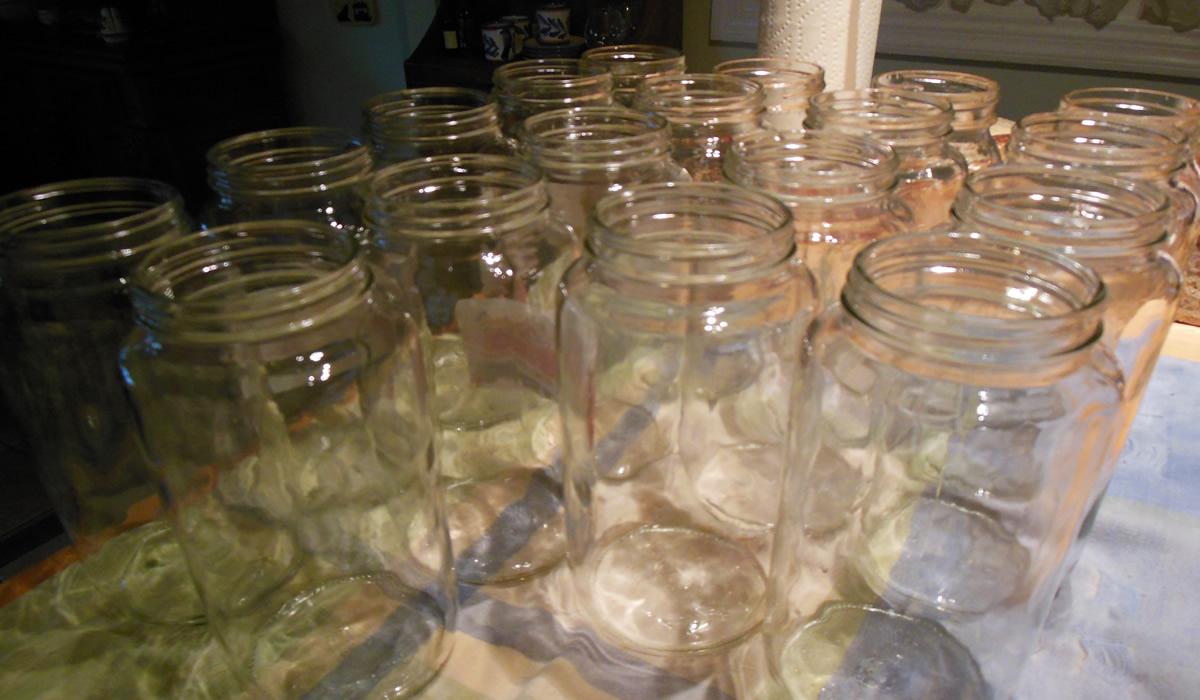
I brought up 8 pint jars to hold the multitude, and brought up the big blue pot to boil them all in - they wouldn't all fit in anything already upstairs and they needed to boil for 10 minutes before filling with the dried tomatoes.
Finally all ready. I started this at 8:30am and it's now 3pm. Time to fill those jars.
I grab the first one out of the boiling water and filled it - with every one of the tomatoes. 7 hours and I got one jar of dried tomatoes in oil.
Not a great return on investment.
Pot went back downstairs, 7 jars and lids went back downstairs, and the lone jar of tomatoes went into the 'fridge.
Here's a link to the recipe in case you have nothing to do for six or so hours...
Tomato Sauce
It seems like just yesterday that I was lamenting the lack of tomatoes. I am officially lamenting no more.
Houston - we have tomatoes.
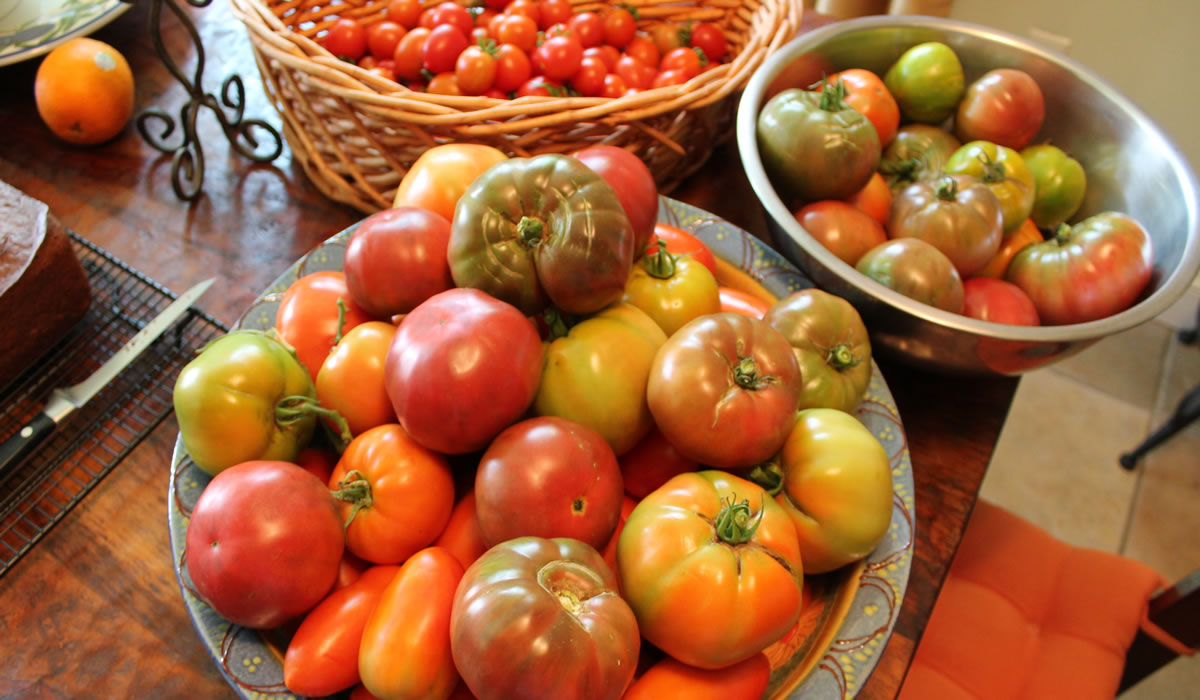
And I mean tomatoes! What a crop coming in. Different colors, shapes, and sizes. Different flavors and textures. Absolutely perfect for blending them all together and making a quick tomato sauce.
This is new territory for me, but I went brazenly into it almost like I knew what I was doing.
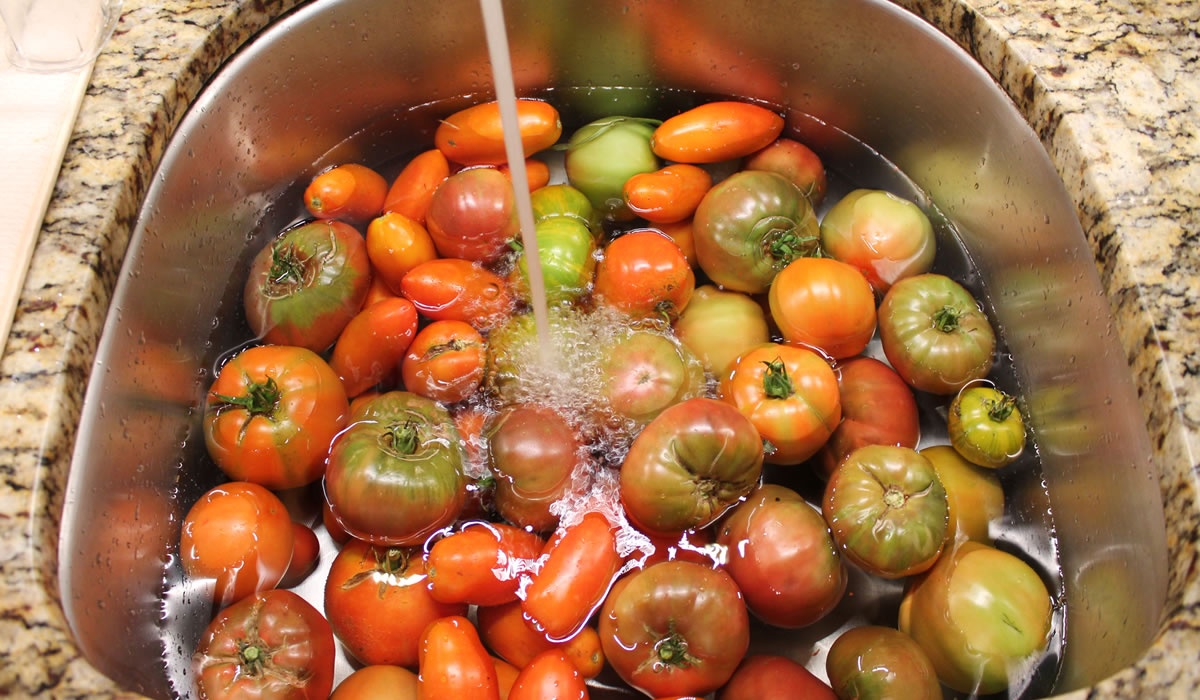
I washed them...
And then chopped them, pureed them in the blender, added a bit of salt and citric acid, and into clean jars and the pressure canner.
The end result is 5 quarts and 16 pints of sauce.
The tomatoes were uncooked before going into the canner and the pulp and liquid separates. This is a very thin sauce.
It will be great for soups and stews or as the start of a quick pasta sauce. I saved a few of the best tomatoes for slicing and dicing, but there are a lot more almost ready to come in.
Tomorrow, I'm going to oven-dry the cherry tomatoes and preserve them in olive oil. It's about a six hour process - although it's unattended most of the time.
I think that next week we'll be doing another batch of Victor's Sauce.
I'm loving this!
Canning Little Grandma's Eggplant Appetizer
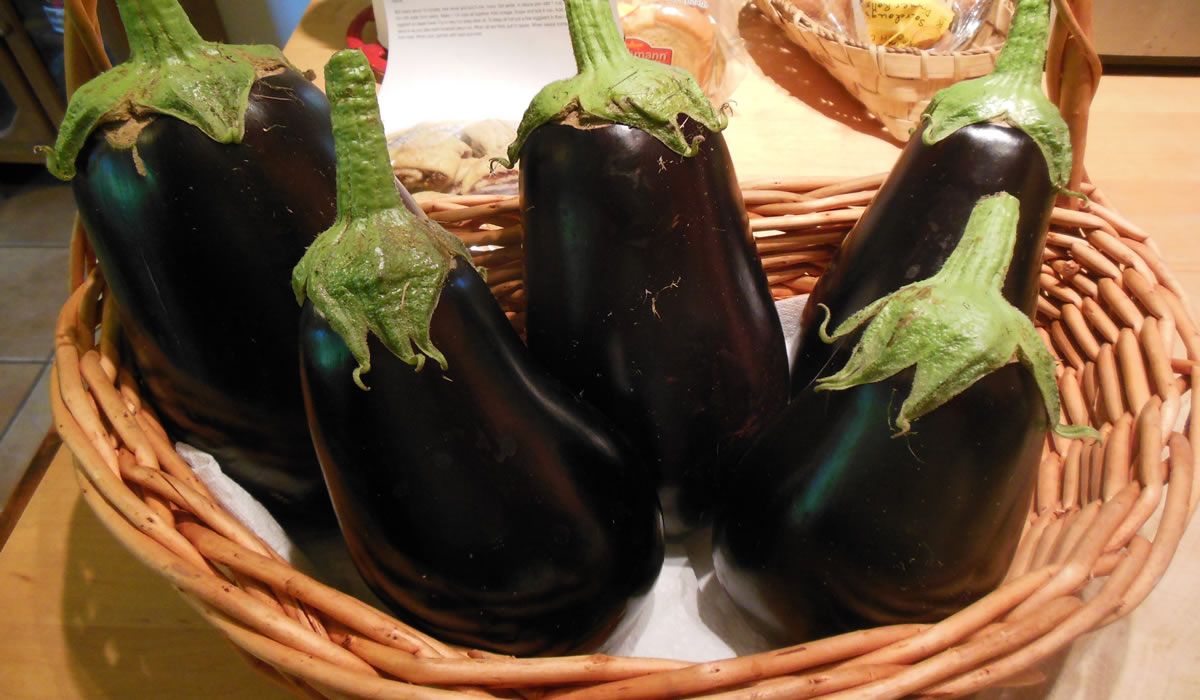
Mother Nature is smiling down on us because one eggplant plant is producing eggplant for the world! It's just unbelievable. It's going bonkers. Talk about a perfect location.
We've been giving them to neighbors as fast as we can, but yesterday Victor went out and there were 7 that were immediately ready to eat. Two went to neighbors and five came inside for canning.
I made and canned a caponata at the beginning of the season but this time we decided to go with Little Grandma's Eggplant Appetizer. Little Gram wrote in 1993 - when she was a mere 93 -
My family loves this. When I make it, they eat it like candy. Well, it is sweet! I find that eggplants are better in the summer, even though you can get them all year round. This is another recipe I have been making for many years. I got it from my mother who brought it over from Sicily. She and my father worked for a nobleman when they lived there. Ma used to cook for the man and his family. That's probably where she got many recipes. This dish is really a type of Caponota that many Italian families make.
We have made this many, many times - it's a great caponata - but this is the first time we've made this much of it at once.
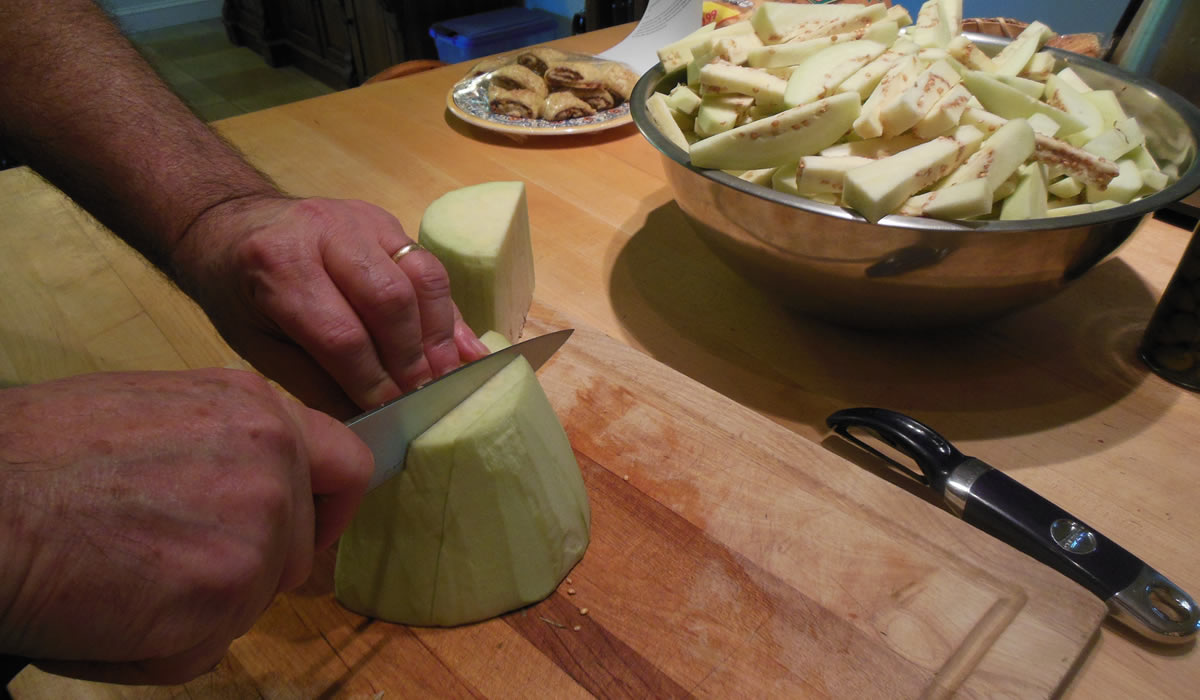
Victor started out by peeling and cutting all of those eggplants. He actually did all the work. I just did the canning part.
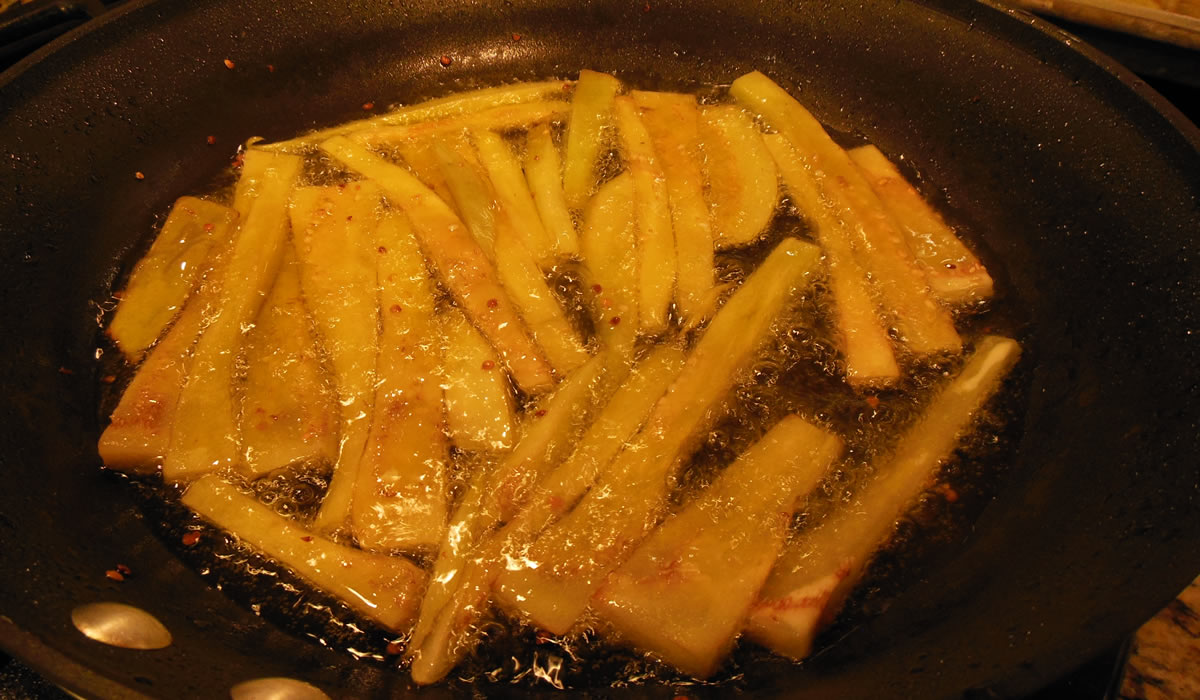
Then it was into olive oil, for frying.
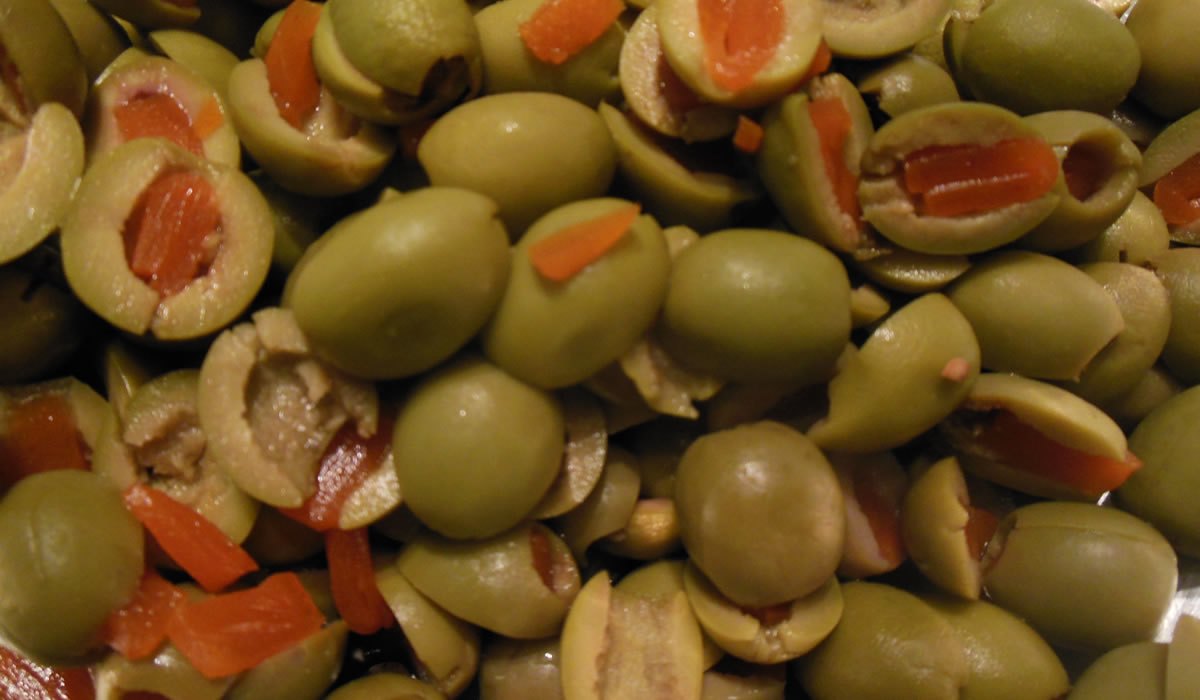
Meanwhile, the celery and then olives were parboiled.
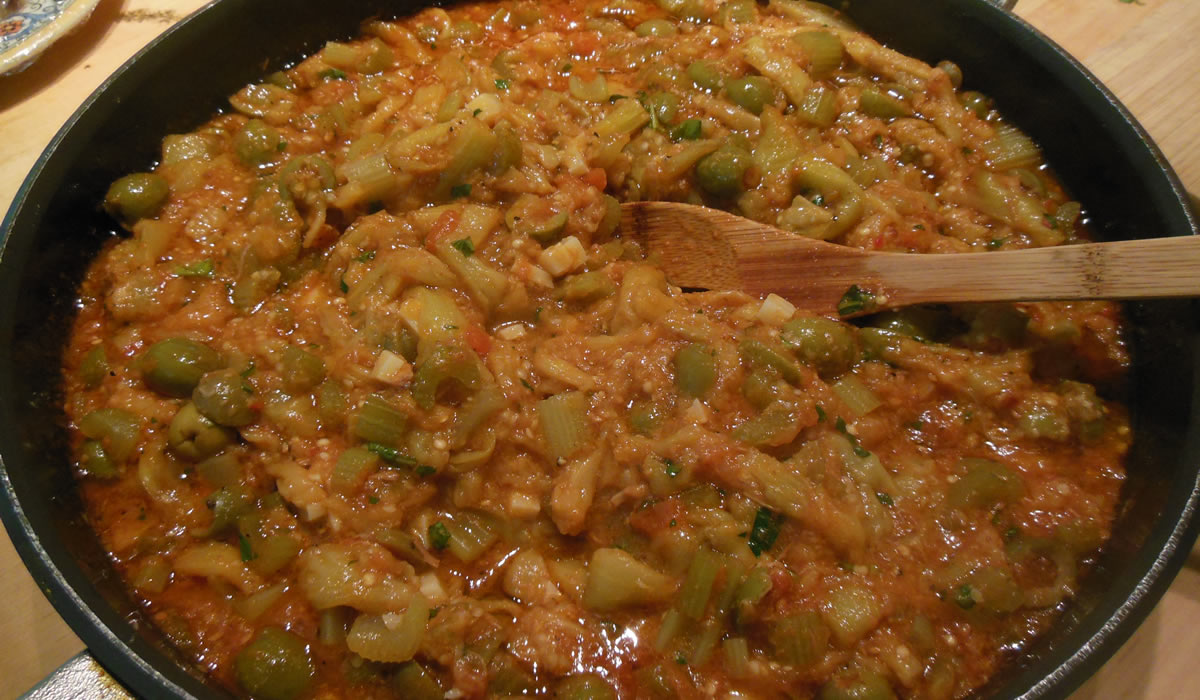
Finally, everything came together...
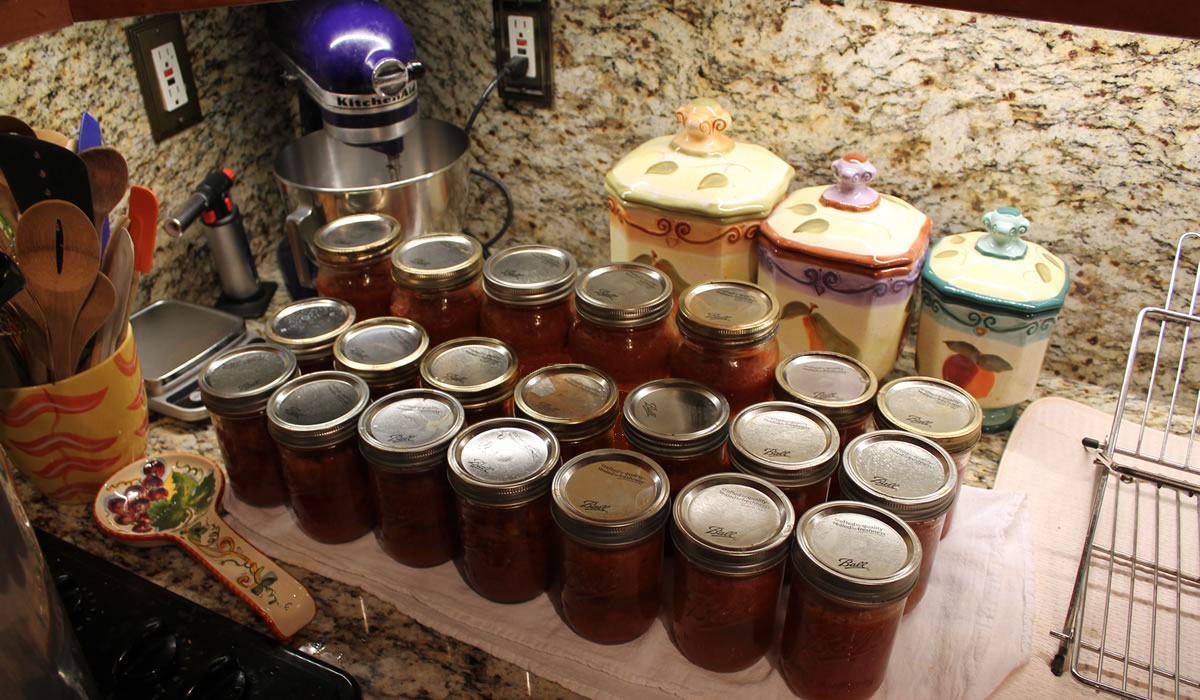
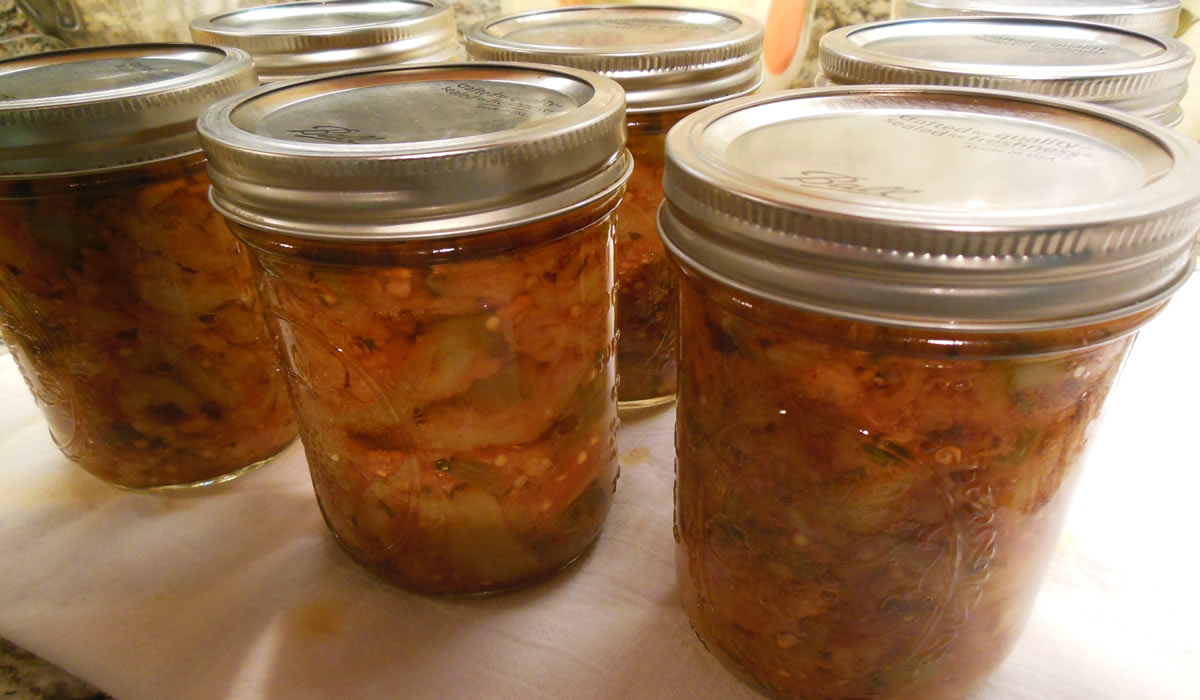
And into jars for processing.
I was able to can 8 pints of eggplant. I sent 7 down to the basement and kept one for dinner, tonight. I'm thinking chicken and cooking up some of the polenta I picked up at the Italian Market two weeks ago. Simple, but oh, so good!
This is going to be great at Thanksgiving and Christmas!
Little Grandma's Eggplant Appetizer
Ingredients:
- 1 medium eggplant
- 1 cup chopped celery
- 3/4 cups halved or chopped green olives
- 3 cups thinned Italian tomato sauce
- 3 tablespoons sugar
- 6 tablespoons vinegar
- 1/4 chopped Locatelli cheese
- 2 tablespoons capers
- fresh basil and mint
Cut eggplant in strips the size of French fries. Salt and let stand about an a hour. Dry on a paper towel. Deep fry in hot oil. Keep oil as hot as possible without burning. Add eggplant one at a time and keep adding one at a time to keep the oil at the same temperature. Fry each one until tender and cooked. Drain on paper towels.
To Make Sauce:
Parboil celery for ten minutes. Add olives and cook another five minutes. Drain all water out of the pot. Add the thinned tomato sauce and boil for ten minutes. Add vinegar and sugar. Cook for three minutes. Add cheese. Make it come to a boil and then turn off heat and allow to cool.
Pour sauce over fried eggplants. Garnish with fresh Basil and mint that have been sliced into very thin strips.
Playing Peter Piper
Victor and Blanche were out back early this morning checking out the garden. Things are coming in fast and furious, right now - especially tomatoes and peppers. And squash. And eggplant. And green beans.
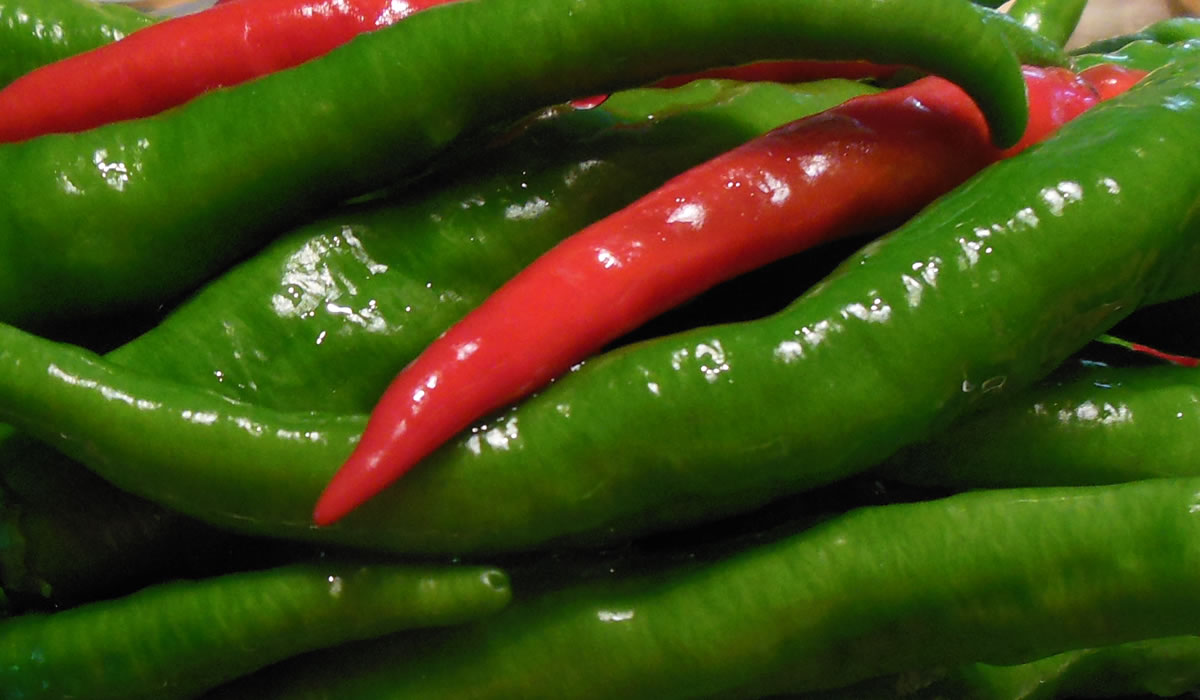
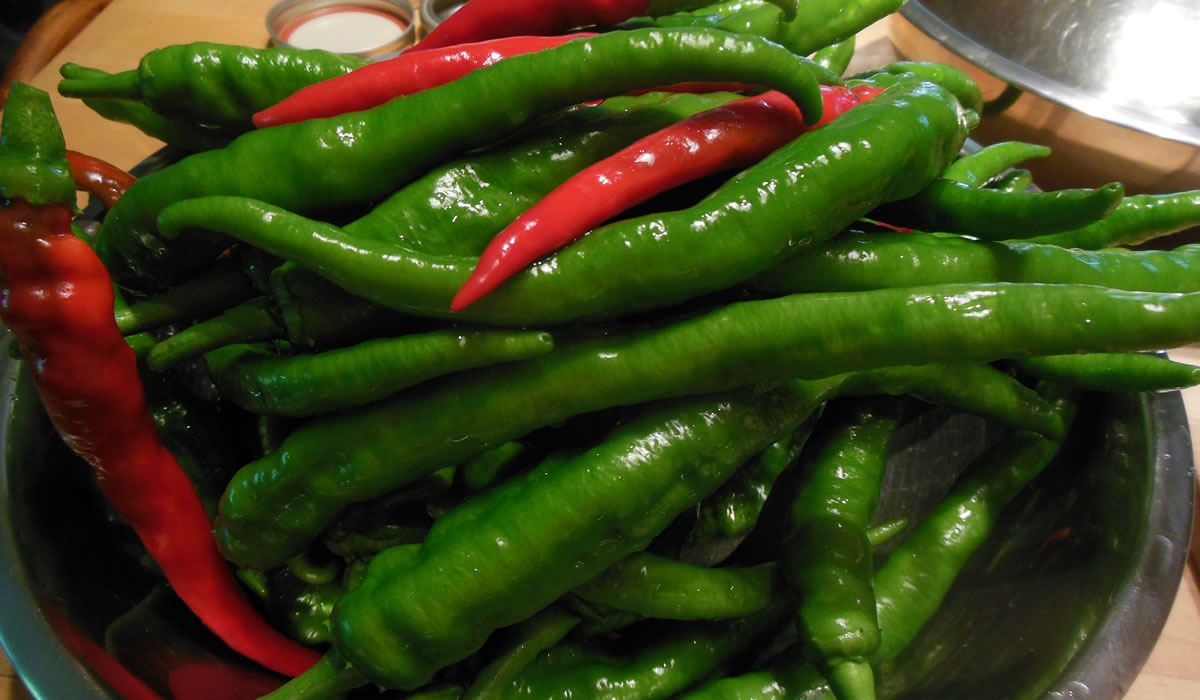
I went out to join them and Victor handed me a basket of peppers, saying I had a project for today - canning peppers!
We've been picking and eating peppers for a couple of weeks, but I've really been waiting for the moment when I could put up a few pints. That moment was today!
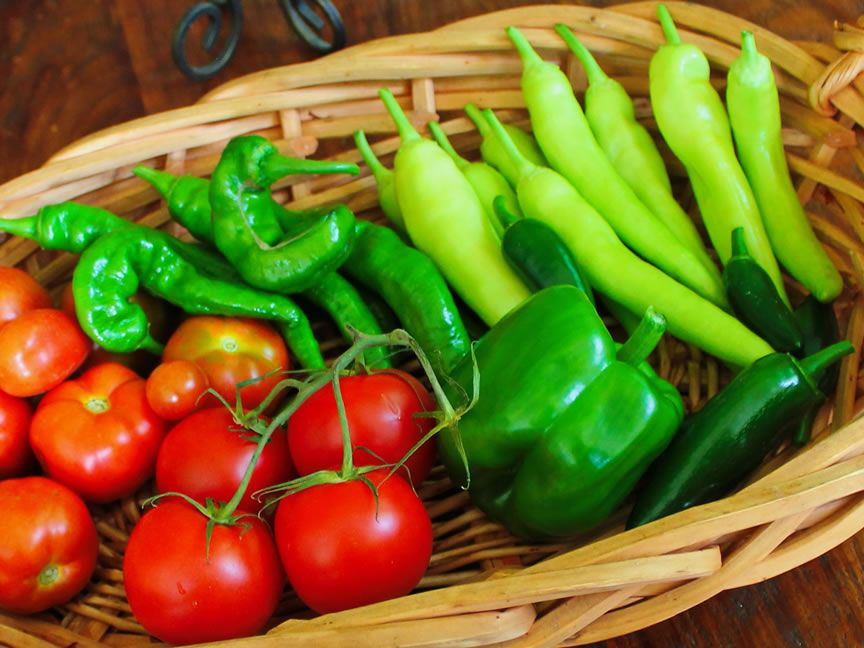
We have about 8 pepper plants out back - all different varieties from cayenne to Italian Long Hots and jalapeños and even a plain ol' bell pepper. We're pretty basic in our pepper consumption. We fry up a bunch and keep them in oil in the 'fridge - great for pasta, sandwiches, eating with cheese or bread or whatever - and then I can a bunch for eating year-round on or with absolutely anything. There's no plan - they're peppers. Eat them.
I have a very simple, basic vinegar solution I put together using plain distilled white vinegar. Nothing fancy and nothing to take away from the peppers, themselves. You can go crazy using different flavored vinegars and adding herbs or spices, onions, whatever - and I definitely encourage people to play and experiment - but at this point in time, I'm happy to let the peppers play the staring role.
Simplicity.
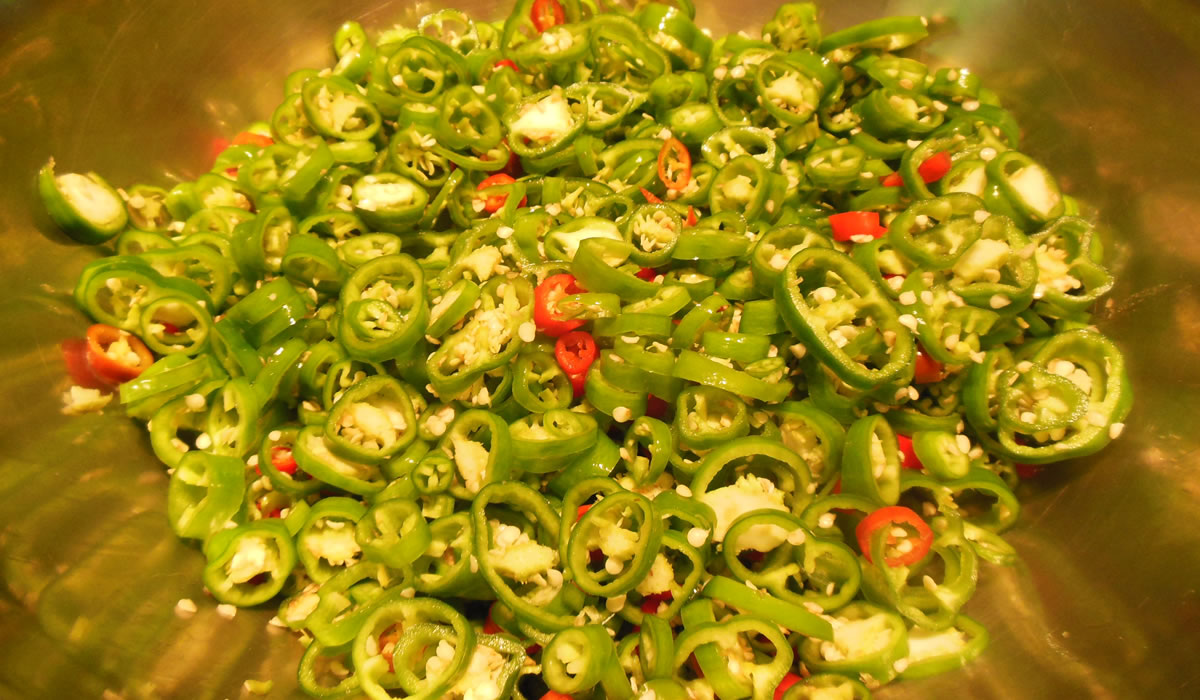
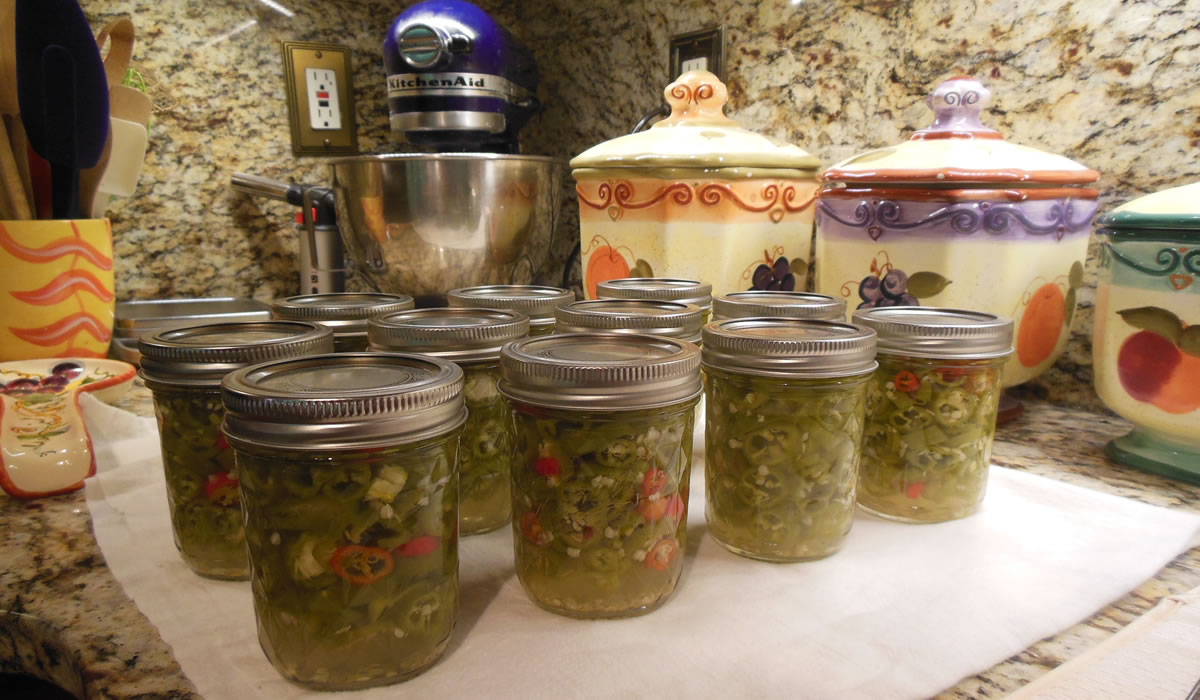
I started by slicing them all - complete with seeds.
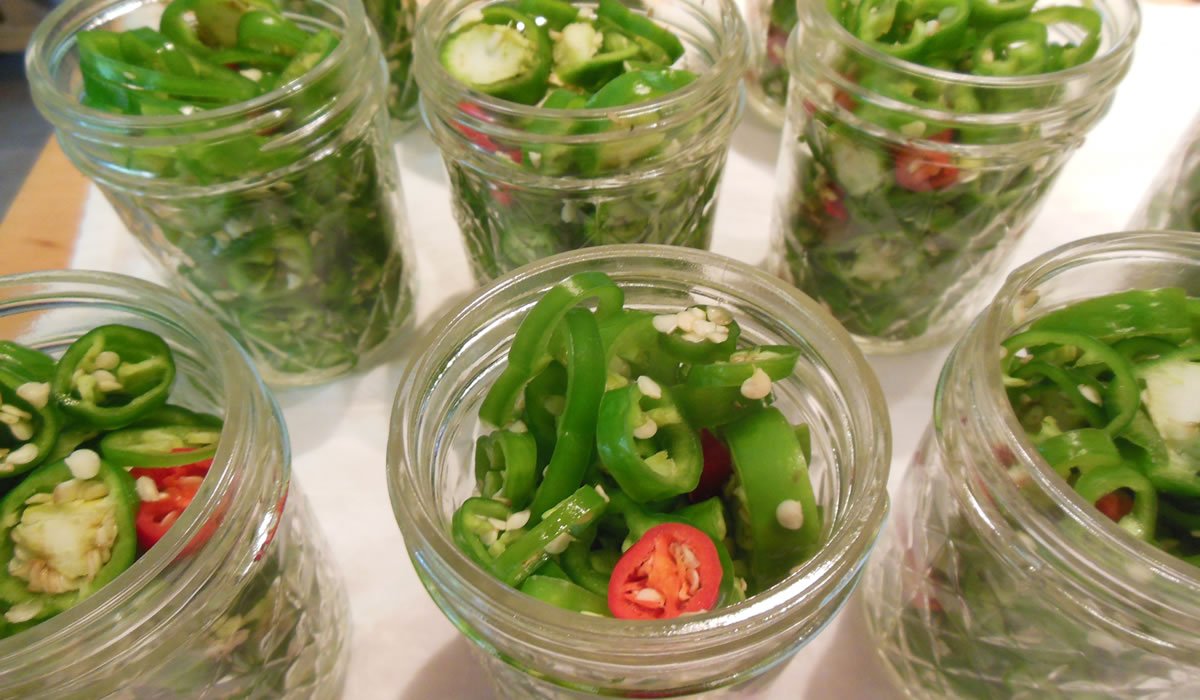
And then packing them into boiling hot jars. This is the stuff that's important in home-canning. Boiling the jars, everything scrupulously clean and sterile... Ya just don't want to kill anyone. It would ruin their day. And yours.
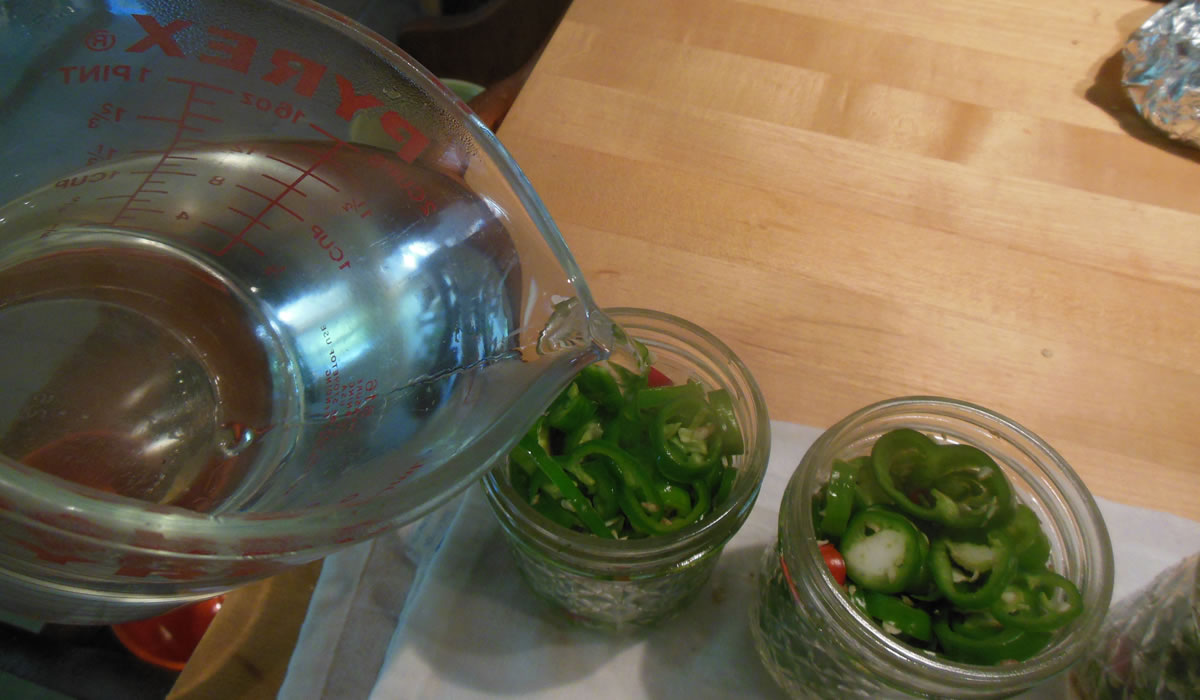
Next comes the pouring of the vinegar solution - also boiling hot. And then wiping the rims, placing the sterilized lids and rings, and processing in the boiling water bath.
It's a pretty simple process - you just want to work quickly.
And then, in 15 or so minutes, we have peppers that would last for years - except we tend to eat them rather quickly.
Today, I made 11 half-pints. If the gardening gods are willing, I should be able to get at least that many more into the basement this season.
Pickled Peppers
(makes about 10 1/2-cup jars
- 4 lbs assorted hot peppers
- 4 cups distilled white vinegar
- 1 cup water
- 2 tsp sugar
- 4 tsp kosher salt
Wash and cut peppers.
Pack peppers into mason jars leaving about 1/2″ headroom.
Combine and heat sugar, salt, vinegar, and water. Bring to boil and then simmer about 5-6 minutes.
Pour over peppers, leaving the same 1/2″ headroom.
Wipe rims of jars, top with lids and rings.
Process in a boiling water bath about 10 minutes.
I doubled the recipe today and had just a bit left over. I also processed for 15 minutes because I used 1/2 pint jars.
There's still a boatload of produce coming up out there. Planting a garden is like growing money. While it wasn't the reason we decided to go with the garden, we're spending close to zero money on produce, right now. It's great. And we have stuff downstairs that will keep us fed through the winter.
We probably should have started doing this years ago, but I really am happy we finally did. The difference in flavor is astounding and it is just so satisfying knowing that you grew dinner.
Really.
Canning Cauliflower
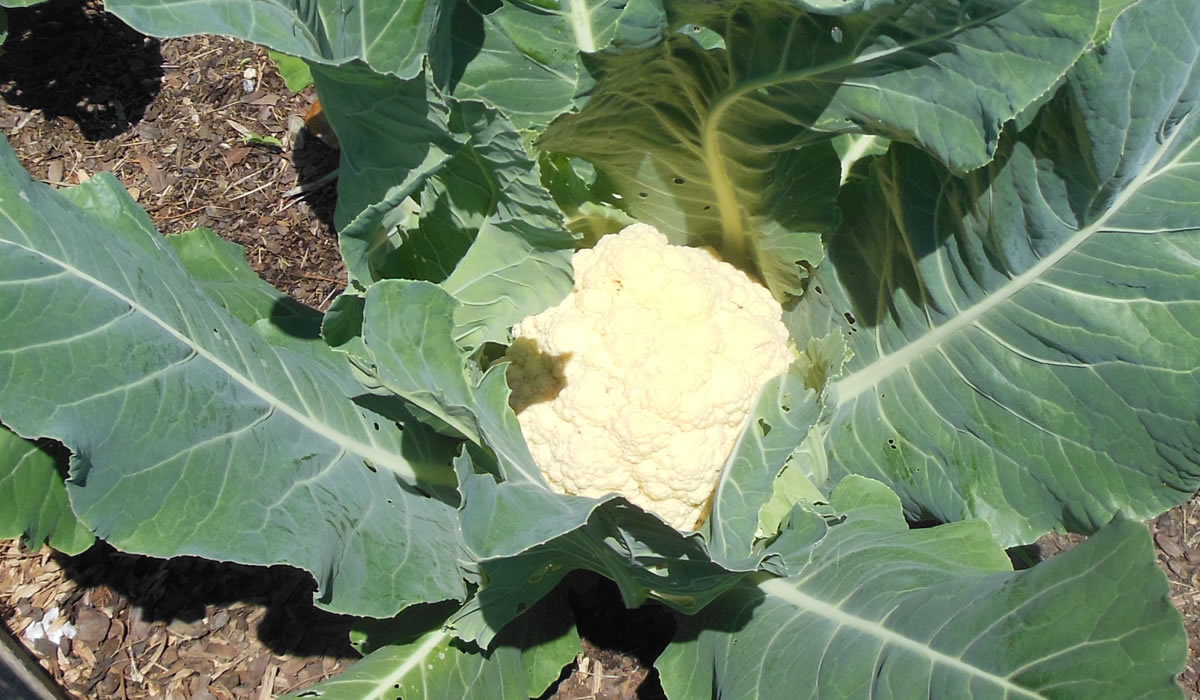
We have achieved cauliflower. Several heads of cauliflower. Victor called me out to the garden this morning and said he hoped I had something planned for dinner tonight using it.
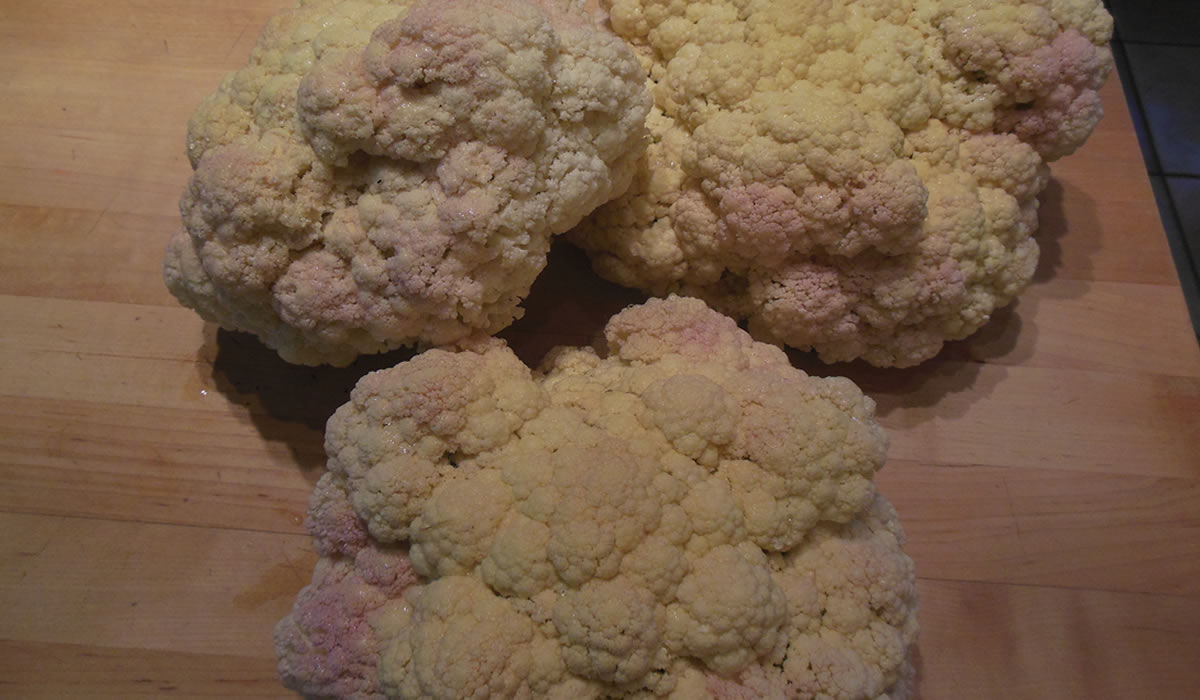
A single head of cauliflower can last a bit of time with us - easily two meals. Nonna will only eat it if it's been cooked to mush, so more often than not it's just the two of us digging in, and looking at six gorgeous heads, I knew I had to get creative. I thought of just doing a simple pickled cauliflower and then remembered the book I just got - Preserving Italy by Domenica Marchetti. I went to the index, saw Cauliflower, and started reading...
The Pickled Cauliflower with Lemon sounded promising and I could do it in a hot water bath and not have to pressure can. Plus, I had all the ingredients without having to leave the house - a very important consideration around here.
You'll have to buy Domenica's book to get her recipe - this is my interpretation...
Pickled Cauliflower with Lemon
- 3 heads cauliflower
- 1 qt white vinegar
- 1 bottle white wine
- 1 cup water
- lemon strips from 2 lemons
- 2 bay leaves
- 3 tbsp sugar
- 2 tbsp canning salt (or kosher salt)
- 1 tbsp whole peppercorns
- olive oil
- 6 mason jars with lids
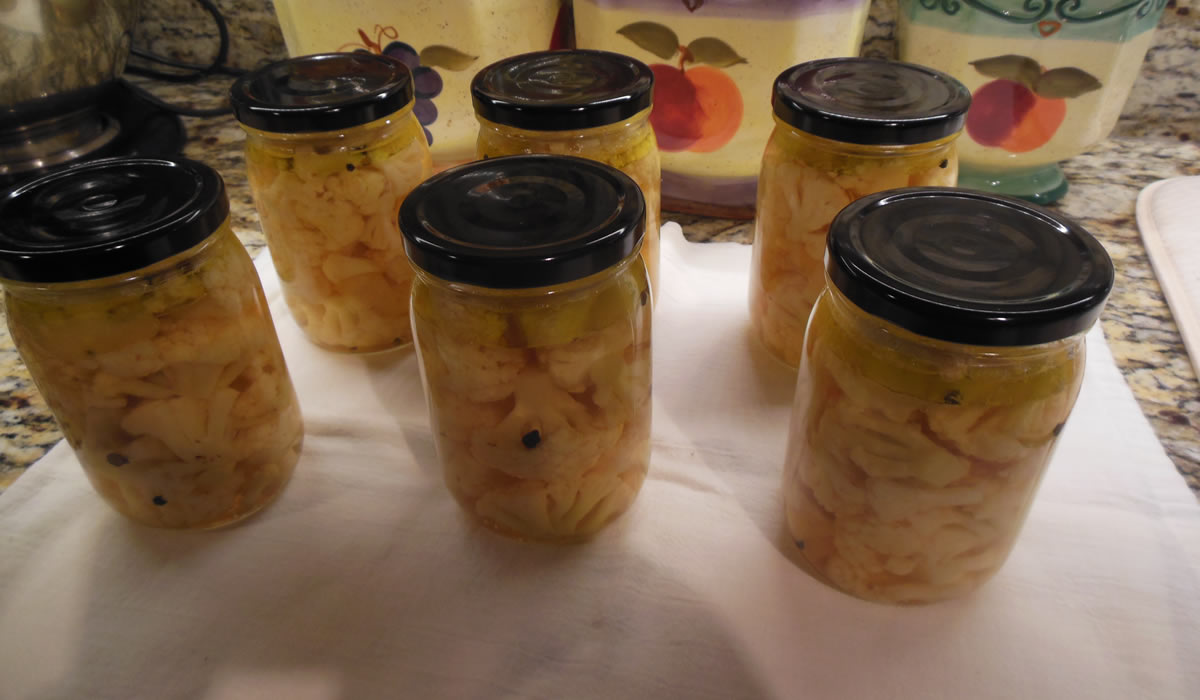
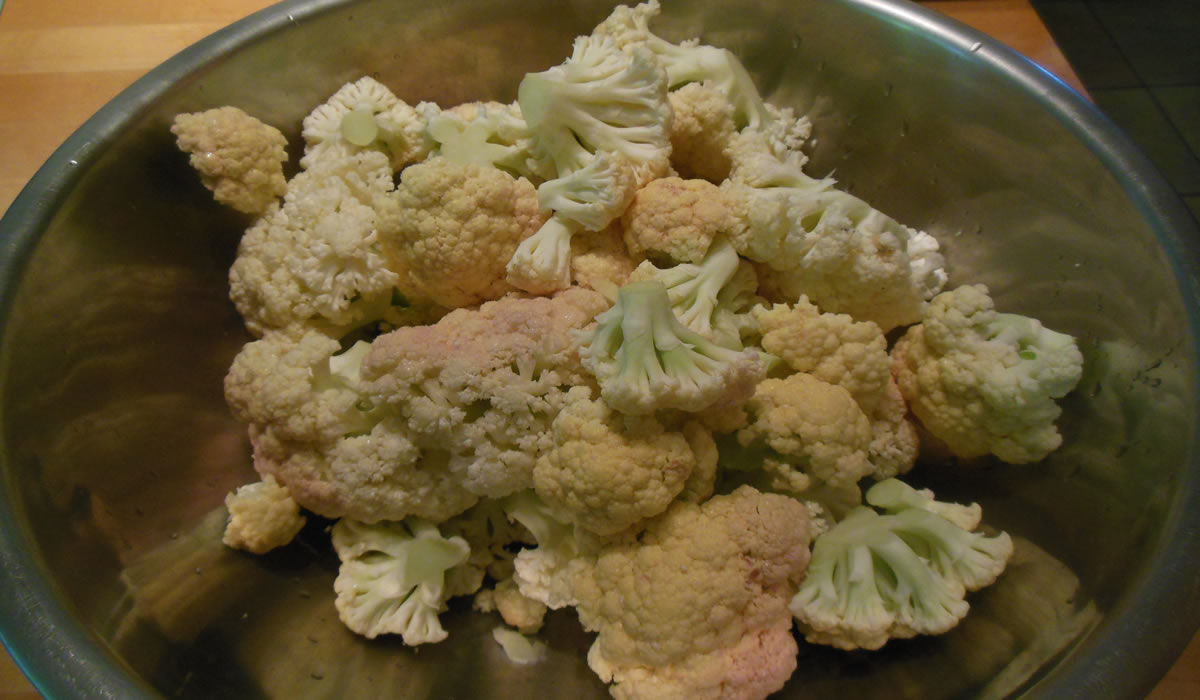
Wash cauliflower and trim to small florettes - they need to be able to snugly fit in your mason jars.
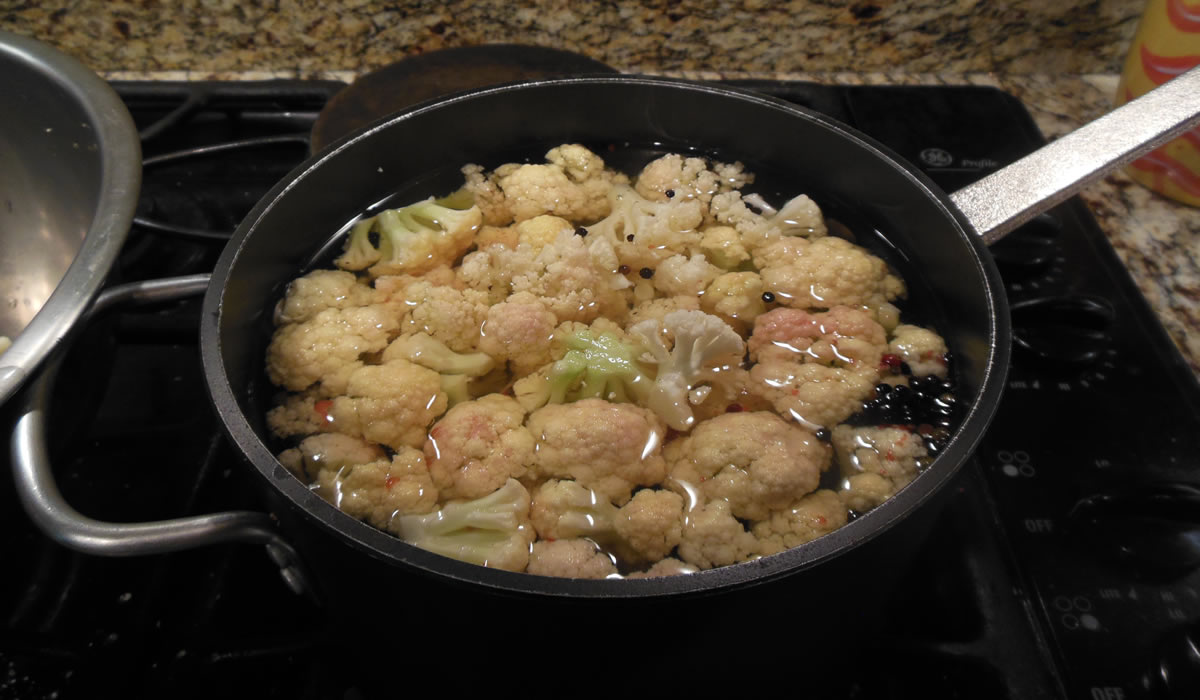
Bring everything except the cauliflower and olive oil to a boil in a medium-sized pot. Blanche the cauliflower florettes in the boiling brine about 1 minute. Take out the cauliflower and keep the brine on a low boil.
Pack the cauliflower into the sterilized jars. Pour 1 tablespoon of olive oil into each jar. Pour the hot brine into the jars leaving 1/2" headroom. Use a chopstick to stir and release any air bubbles.
Screw on the lids and process in a boiling water bath for 10 minutes.
The recipe states the cauliflower should cure for about a week. I will probably be opening a jar tomorrow, though, as patience is not one of my better qualities.
I really liked using the vinegar/wine combination instead of the more traditional vinegar and water. It was definitely not as pungent when cooking the brine so I'm hoping for a more mellow pickling experience.
Tomorrow...
Sunday Sauce
A rainy Sunday is the perfect day to replenish our supply of pasta sauce. Actually, any day is perfect, but a rainy day really does make it easy to blow off everything else and just spend time in the kitchen! Not that we really need an excuse to do nothing but cook... but you get the idea...
Victor is still working one-handed - he gets the stitches out tomorrow morning - so I did my part of the sauce-making by opening the dozen cans of San Marzano tomatoes and the bottle of wine. My role in this really is just canning it - Capo Chef Victor does the cooking.
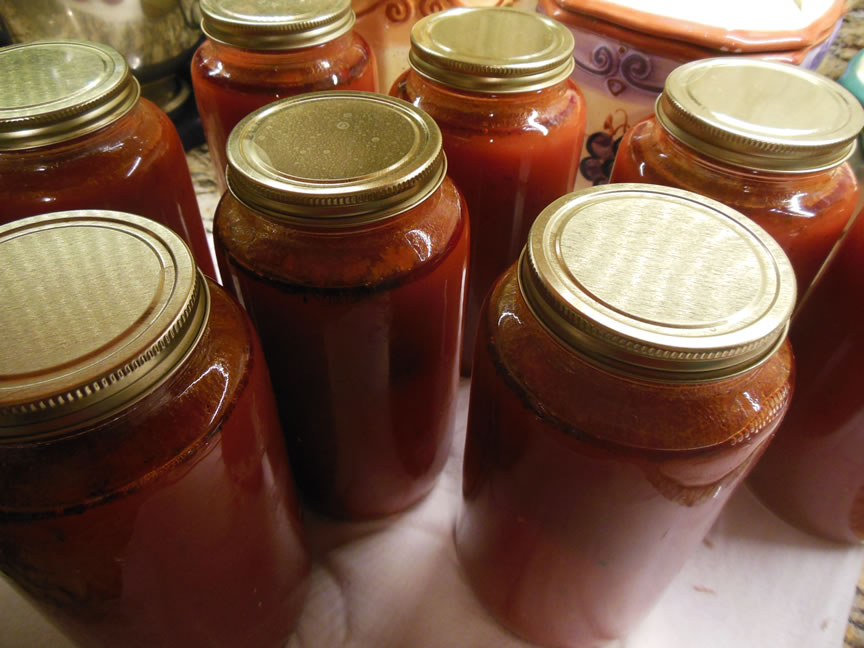
After all these years, we really do have this down to a science. A couple of hours to make the sauce, a couple of hours to get it all canned, and before you know it, 14 quarts of sauce are in the basement and another is on the counter for tonight's dinner.
The recipe really doesn't vary much. Amounts change, but it's basically the same. He makes about six times this basic recipe.
Victor's Pasta Sauce
- 2 – 28oz cans of crushed tomatoes
- 1 – Sm can tomato paste
- 1-2 cloves of garlic (or to taste if you like more) chopped fine
- Olive oil
- Dried Italian seasonings
- Hot red pepper flakes (a tsp or more or less to taste)
- Salt and Pepper to taste
- Red wine (always cook with a decent wine, never “cooking” wine) about a cup or cup and a half
- Meat – such as Italian sausage or some nice beef or pork ribs or pork chops
Ok…I ALWAYS make my sauce with meat, so start with a deep, heavy pot and add about 3-4 TBS of olive oil. On high heat, once the oil is hot, start frying the sausage or pork, Let the meat get good and caramelized although you don’t have to cook it all the way through because you’ll add it back to the sauce to finish. Once the meat is browned take it out of the pot, put it on a plate and set aside.
Lower the heat to medium and sauté the tomato paste for a couple of minutes until it begins to “melt”. Add the chopped garlic and sauté with the tomato paste for just a minute (no longer or it will burn). Then add about a cup of the red wine and deglaze the pan with it, scrapping up all the good bits that stuck to the bottom when cooking the meat.
When the wine reduces by about ½ start adding the canned tomatoes. Add one can of hot water for every can of tomatoes you use.
Now start adding the dried Italian seasonings. I eyeball it but I would guess a good 2 TBS is fine. Add about another ½ cup of red wine, with red pepper flakes, salt and pepper. Stir everything into the sauce. It will be very thin at this point.
Add back the cooked meat. Now this is important….at the bottom of the plate you let the meat rest on will be some of the oil and juices that seeped out. Pour that back into the pot. It has a lot of flavor in it.
Bring the sauce back to a boil then turn the heat down low and let it simmer for at least 1 and a half hours, stirring every 15 to 20 minutes to keep it from burning. It should reduce by about a third or a little less and get thicker. The meat will absorb the sauce and get very tender.
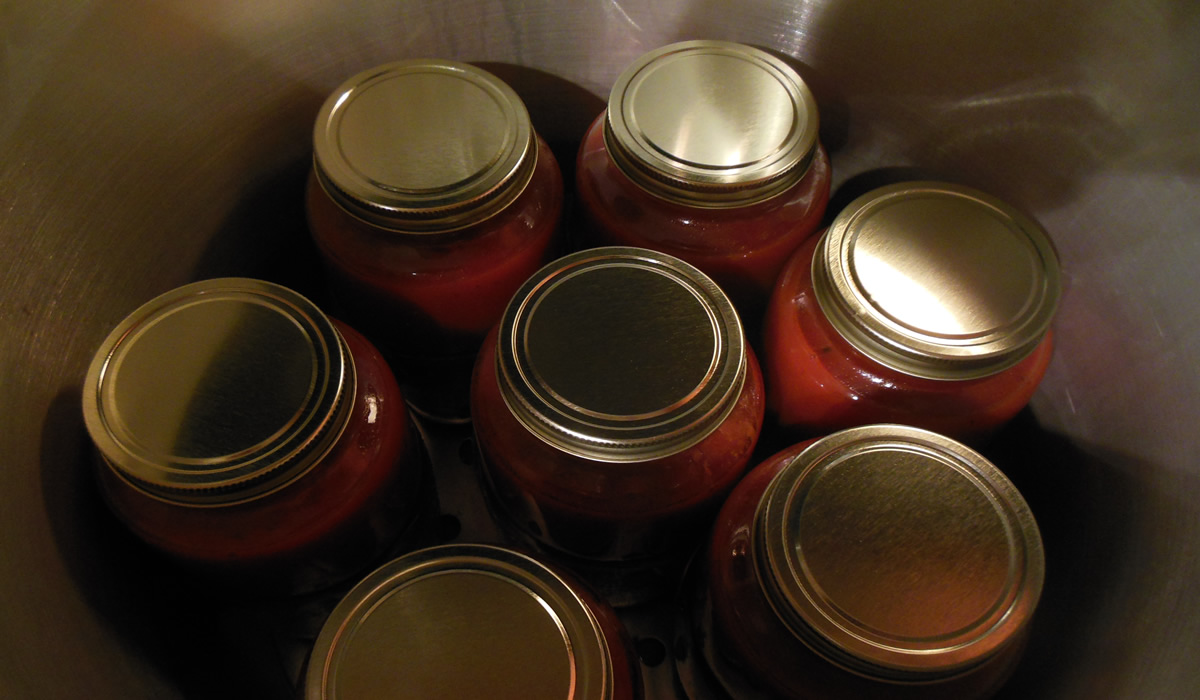
And then it goes into jars and into the pressure canner...
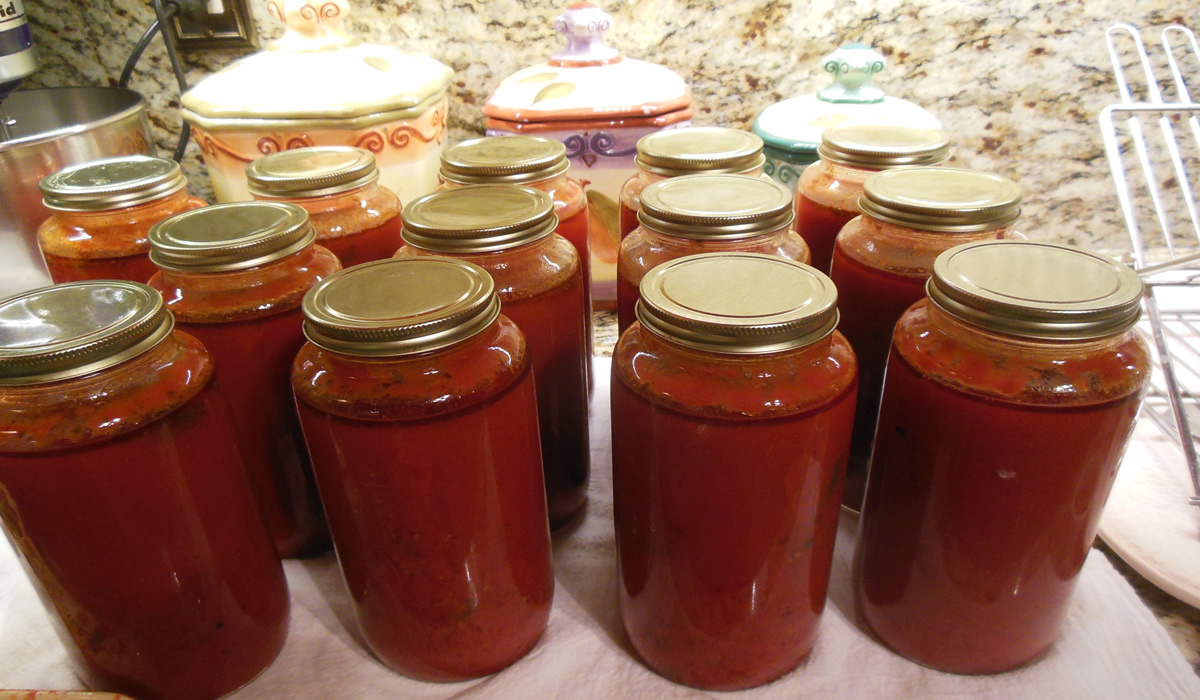
I had Victor come in and take pictures while I was filling jars. And then I took a few when they came out of the canner...
And another...
This should keep us in sauce until July. I wonder if we could get enough tomatoes this year to can a batch from our garden?!? That would be nice!
This really is something anyone can do - you can pressure-can or just do a hot water bath. It's really easy - and the result is far superior to any sauce you buy in the grocery store. It really only takes a couple of hours - and most of the time is unattended.
Make some - you'll be happy you did!
Another Vat of Sauce
Victor has been making sauce and I've been jarring it for a long, long time, now. It's just something that takes a bit of time, but is so worth it in the long run. I even graduated from plain ol' mason jars to fancy jars that look like store-bought.
I do have to admit that it's not as inexpensive as buying sauce, but... Prego doesn't use San Marzano tomatoes like we do. If you're going to go to the trouble of making something, make it good with good ingredients. Make it worth your while.
We have the process down to a science... Victor makes the sauce and I do the canning. Teamwork.
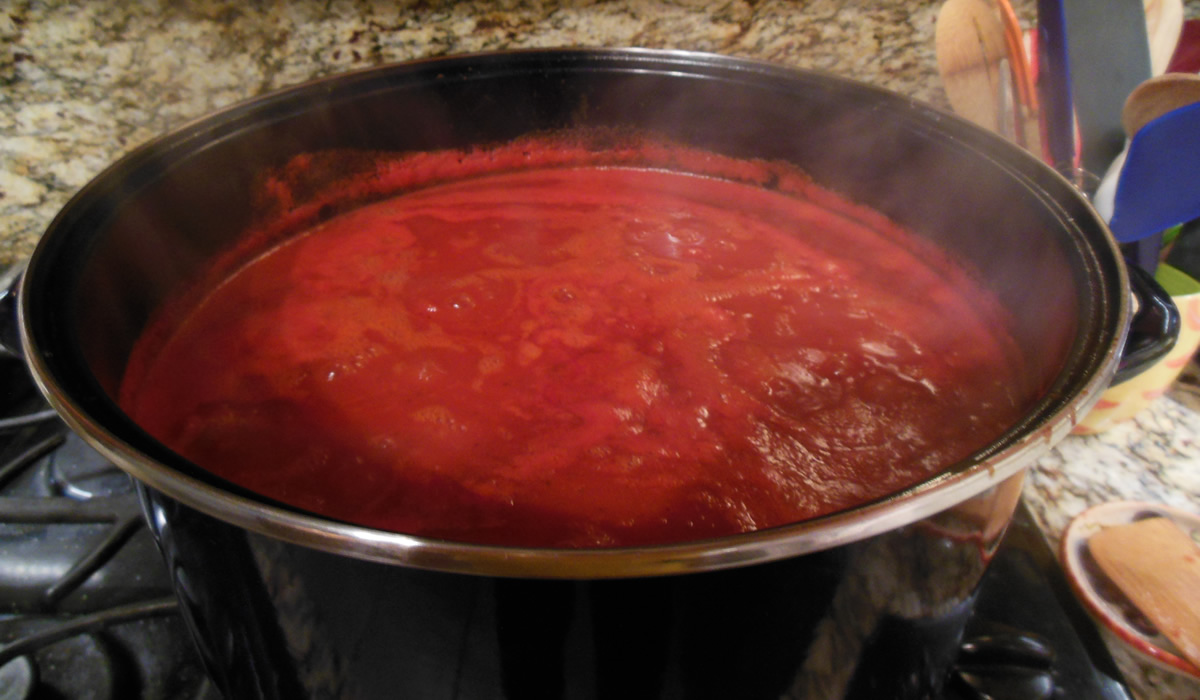
We have a big ol' pot that we bought years ago and it gets filled up and then goes for a slow simmer for a few hours...
While the sauce is simmering, I get the jars ready...
I like the one-piece lids on these but think I may be going back to mason jars at some point. I kinda like the old-school look and feel of a good ol' mason jar. Not to mention I have dozens of them in the basement - complete with lids and rings.
Of course, that would mean I would have to stay away from my favorite jar website - Fillmore Container - and stop getting their emails and all that. Yeah. Right. I probably won't be doing that any time soon. Going through the pages of bottles and jars is almost as bad as going through the Atlantic Spice website. Food porn. That's all there is to it.
But back to the sauce...
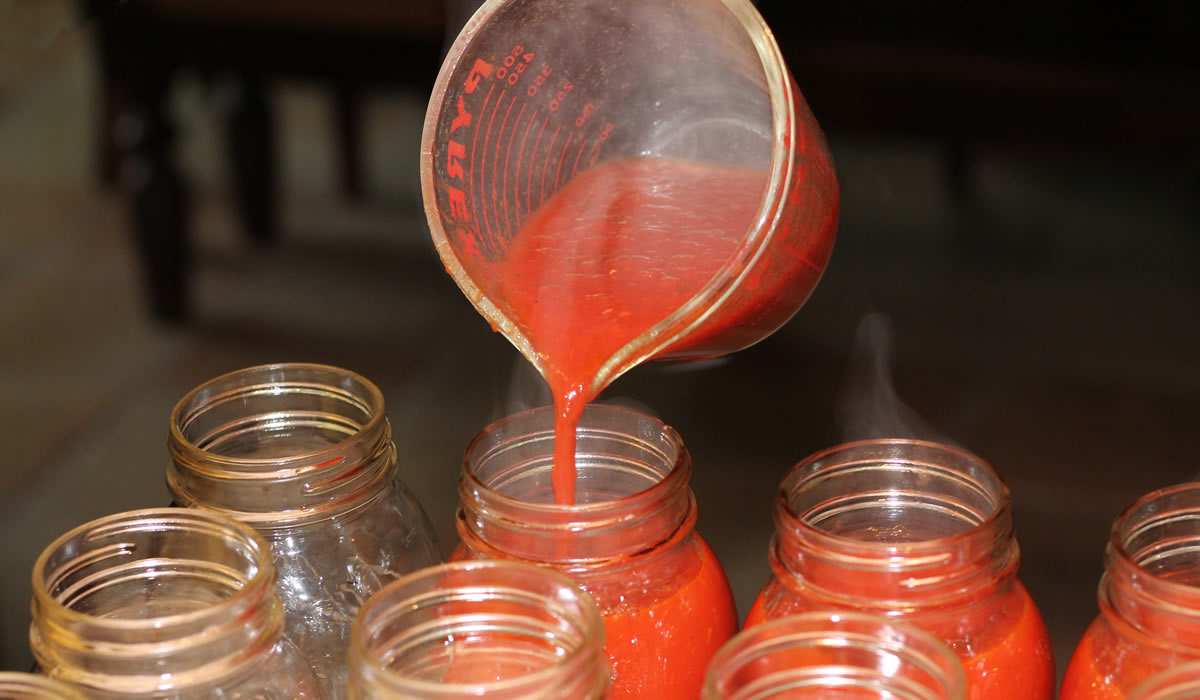
First I fill up the jars...
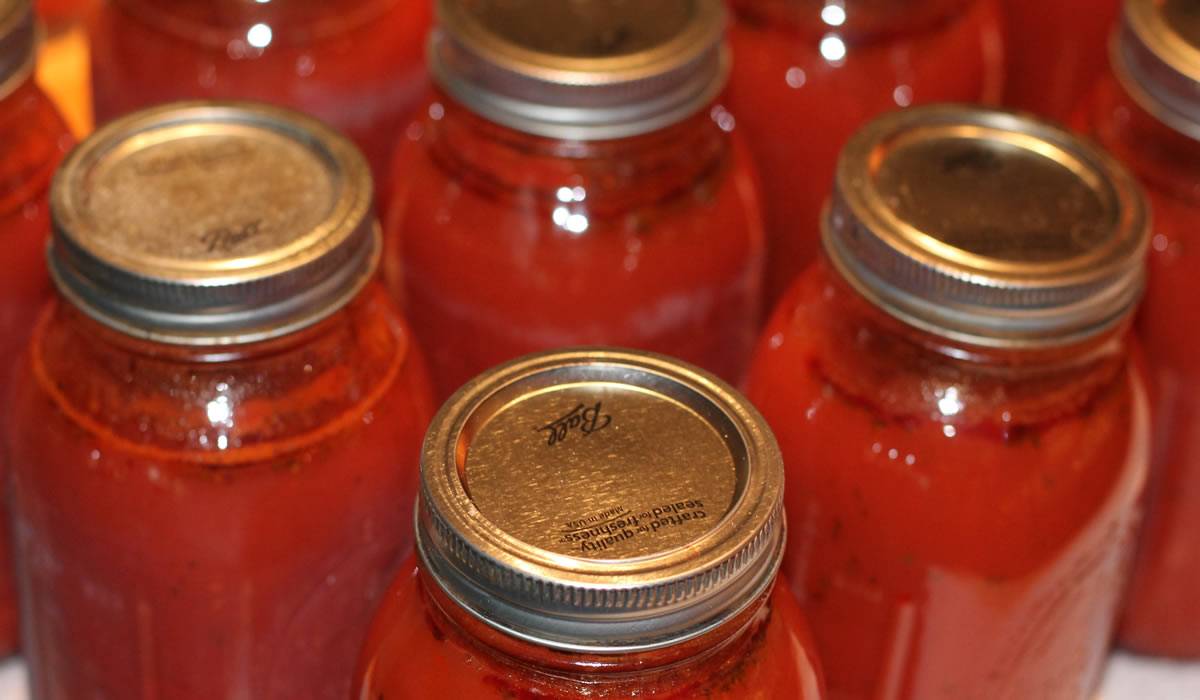
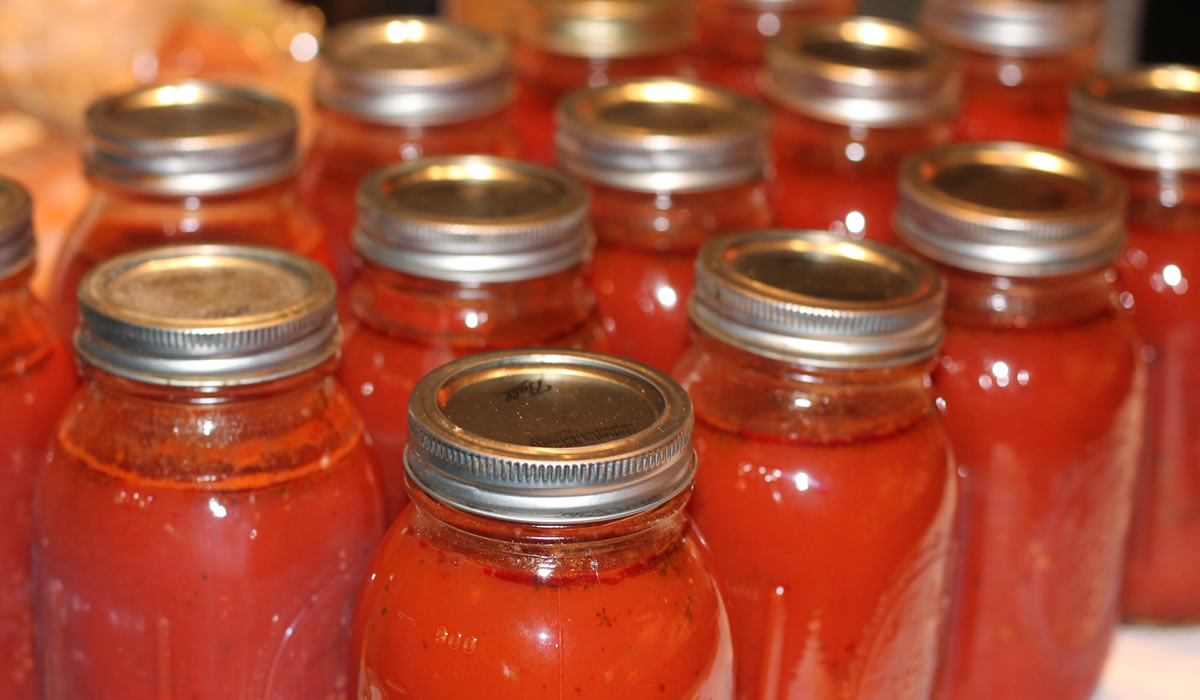
I got 14 quarts this time around. That's about the average. I canned 13 and kept one out for dinner, tonight. They then go into the canner - 7 quarts at a time.
They can at 11 pounds of pressure for 45 minutes - and then i do it all over again. Fortunately, I don't have to stand in front of the stove while it's going on - just check once in a while to make sure the pressure remains constant.
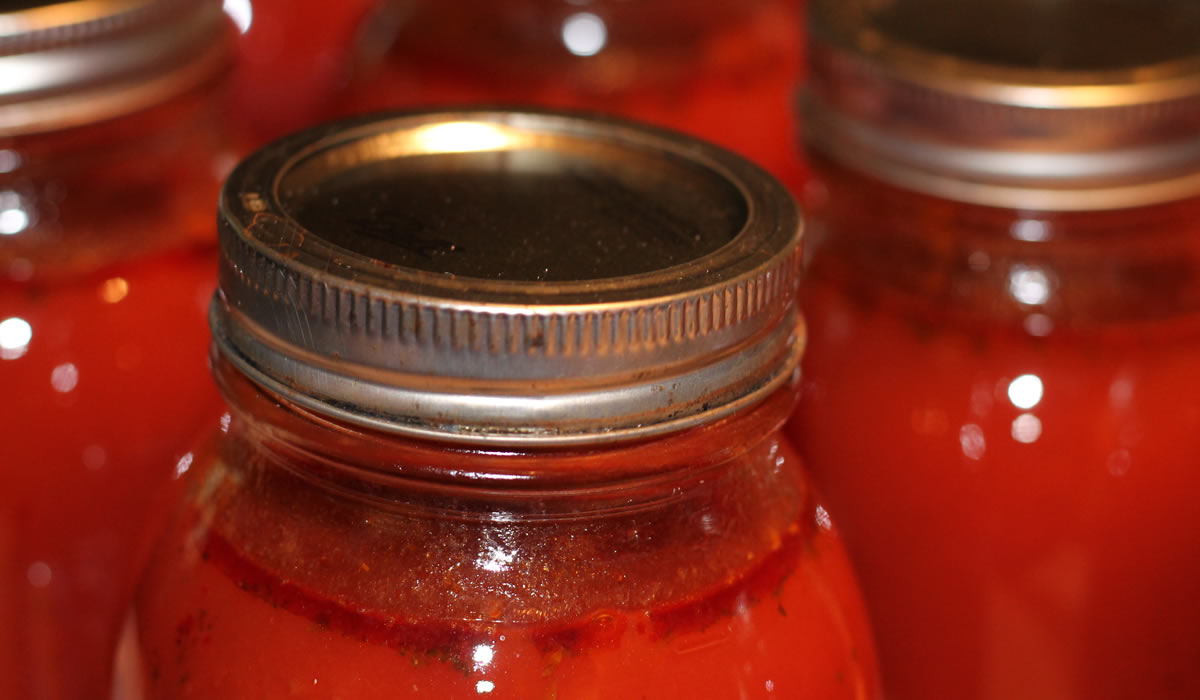
And then they come out to cool.
I had one that didn't seal properly this time around, so it went into the 'fridge and we'll use it up sometime in the next week or so. The rest of them went downstairs to the basement with the other goodies. I rarely have one that doesn't seal properly and it's pretty much the main reason I thought about going back to two-piece lids.
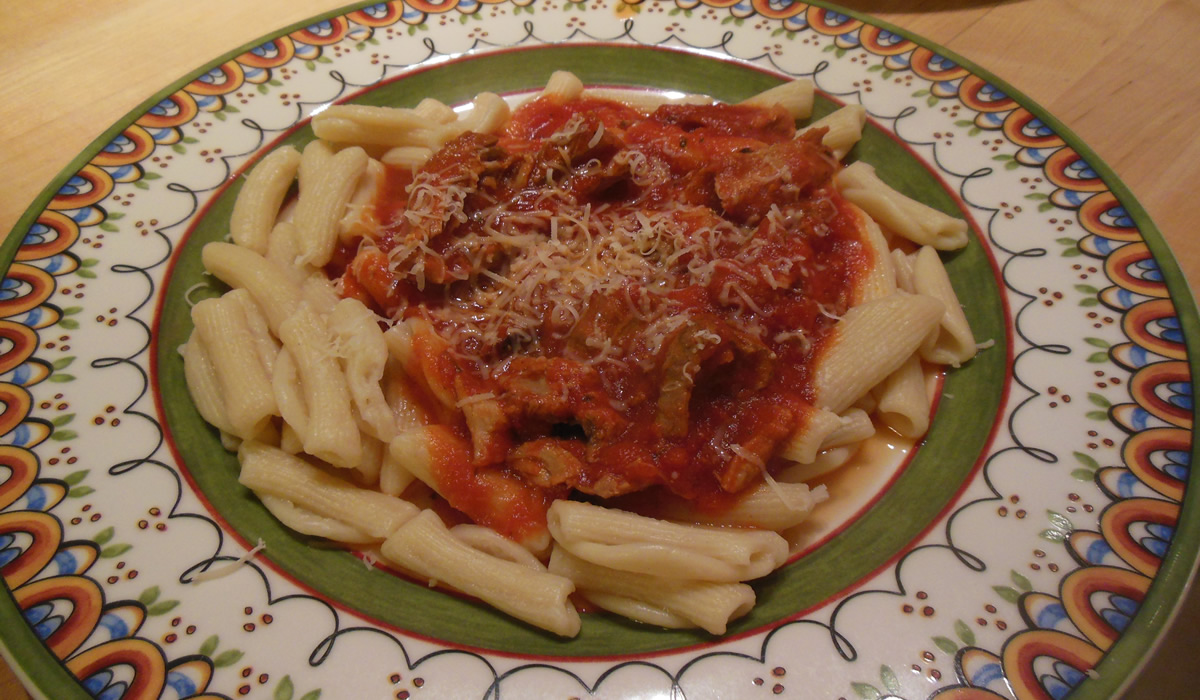
We had the sauce served over Cavatelli.
It was totally delish. And just now - while double-checking that I spelled cavatelli correctly, I bought a cavatelli maker. $34.95. What the hell. So much for purging and getting rid of stuff. It will be here in a few days. Fresh pasta and homemade sauce.
La vita è bella.
Oh... here's the recipe...
Victor’s Pasta Sauce
- 2 – 28oz cans of crushed tomatoes
- 1 – Sm can tomato paste
- 1-2 cloves of garlic (or to taste if you like more) chopped fine
- Olive oil
- Dried Italian seasonings
- Hot red pepper flakes (a tsp or more or less to taste)
- Salt and Pepper to taste
- Red wine (always cook with a decent wine, never “cooking” wine) about a cup or cup and a half
- Meat – such as Italian sausage or some nice beef or pork ribs or pork chops
Ok…I ALWAYS make my sauce with meat, so start with a deep, heavy pot and add about 3-4 TBS of olive oil. On high heat, once the oil is hot, start frying the sausage or pork, Let the meat get good and caramelized although you don’t have to cook it all the way through because you’ll add it back to the sauce to finish. Once the meat is browned take it out of the pot, put it on a plate and set aside.
Lower the heat to medium and sauté the tomato paste for a couple of minutes until it begins to “melt”. Add the chopped garlic and sauté with the tomato paste for just a minute (no longer or it will burn). Then add about a cup of the red wine and deglaze the pan with it, scrapping up all the good bits that stuck to the bottom when cooking the meat.
When the wine reduces by about ½ start adding the canned tomatoes. Add one can of hot water for every can of tomatoes you use.
Now start adding the dried Italian seasonings. I eyeball it but I would guess a good 2 TBS is fine. Add about another ½ cup of red wine, with red pepper flakes, salt and pepper. Stir everything into the sauce. It will be very thin at this point.
Add back the cooked meat. Now this is important….at the bottom of the plate you let the meat rest on will be some of the oil and juices that seeped out. Pour that back into the pot. It has a lot of flavor in it.
Bring the sauce back to a boil then turn the heat down low and let it simmer for at least 1 and a half hours, stirring every 15 to 20 minutes to keep it from burning. It should reduce by about a third or a little less and get thicker. The meat will absorb the sauce and get very tender.
When I make meatballs, I don’t fry them, I bake them on a sheet pan. When I do, I add them to the simmering sauce when they’re done so they also absorb the flavor.
I usually make the sauce early in the day and after it’s done, just let it sit on the stove until dinner then I re-heat it. This should make enough sauce for a couple of dinners or good sized lasagna.
Victor's Pasta Sauce
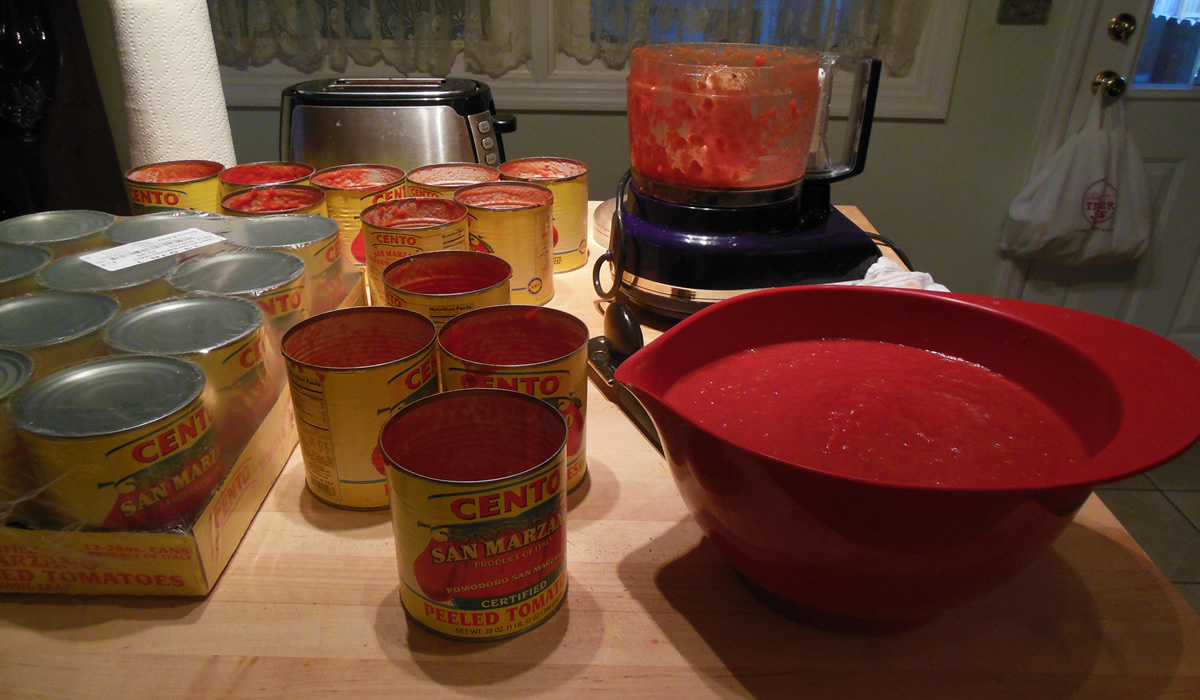
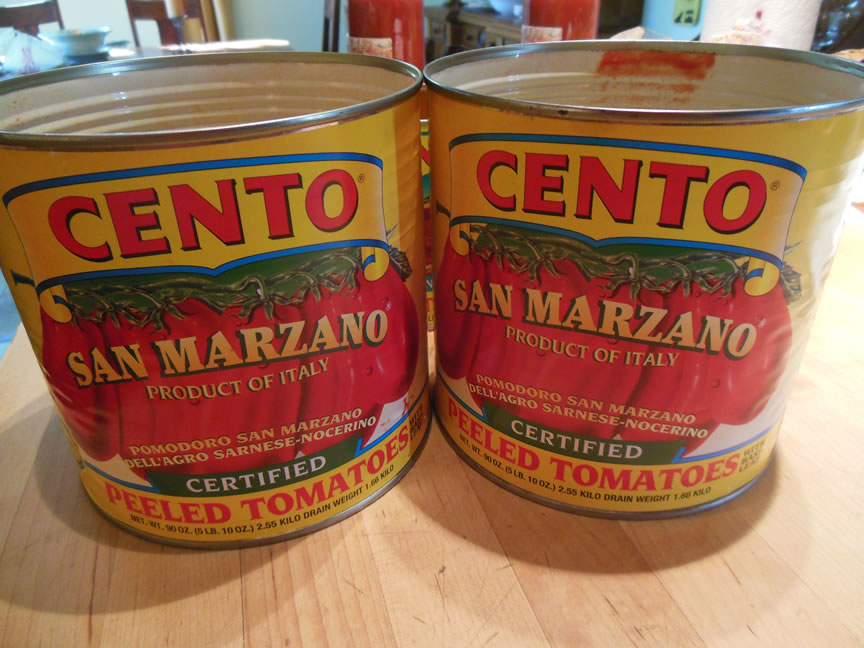
When the local Pathmark store was in the process of closing, they had three #10 cans of Cento San Marzano tomatoes discounted 30%. Of course I had to buy them.
I knew Victor would be making sauce, soon. That soon became today!
It is just so nice to have the smell of sauce wafting through the house... The onions and the garlic... the sausages... the simmering tomatoes in all their Italian glory... It is gastronomic heaven!
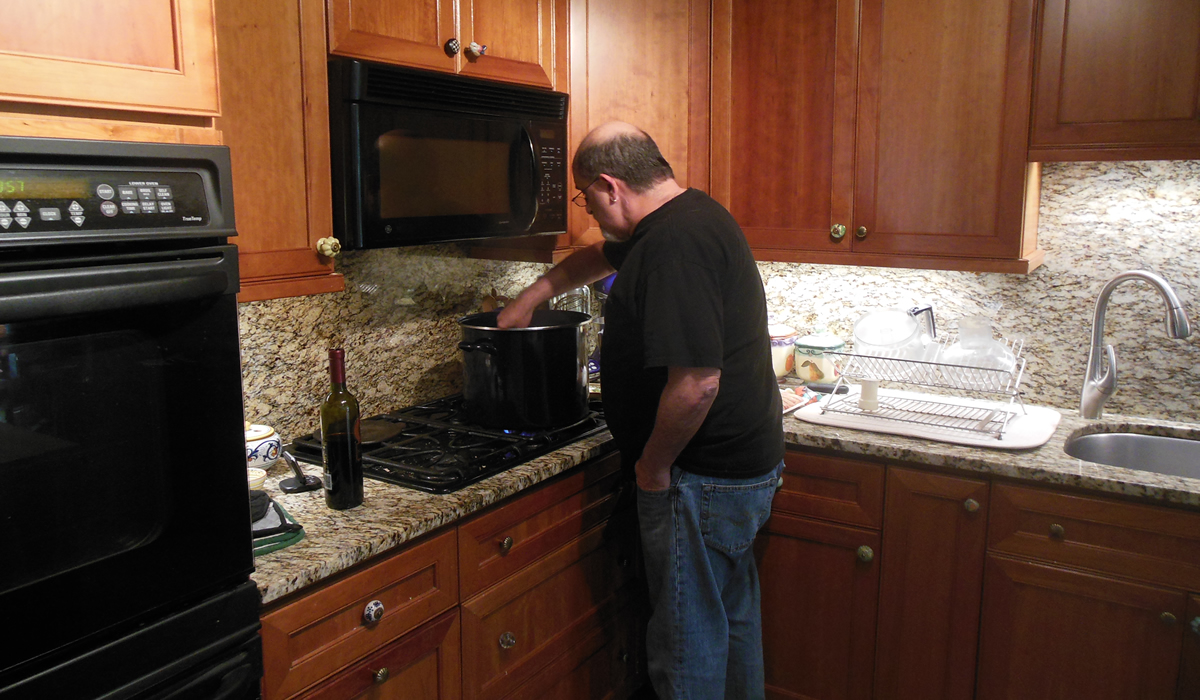
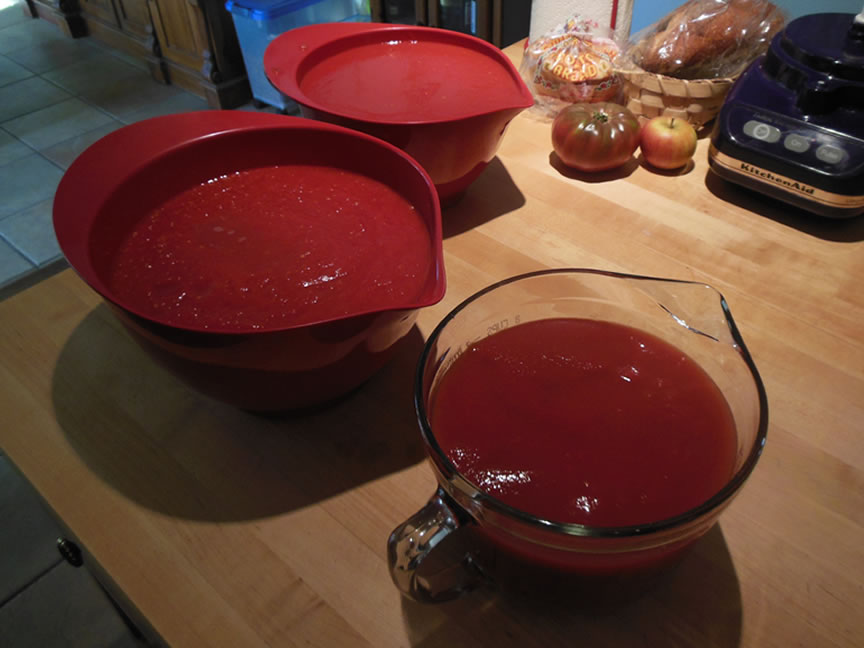
He first purees the tomatoes since they come whole and peeled... and after it simmers, I come in with my trusty pressure canner and put it all into jars for future dinners...
It would definitely be a chore to do this all by oneself, but with Victor doing the cooking and me doing the canning, it's a breeze.
I got 11 quarts of sauce - enough to get us through to the first of the year - I think. It is sooooooo much better than buying sauce at the grocery store.
I'm a happy guy!
Here's the basic recipe. Multiply, as desired...
Victor's Pasta Sauce
- 2 - 28oz cans of crushed tomatoes
- 1 - Sm can tomato paste
- 1-2 cloves of garlic (or to taste if you like more) chopped fine
- Olive oil
- Dried Italian seasonings
- Hot red pepper flakes (a tsp or more or less to taste)
- Salt and Pepper to taste
- Red wine (always cook with a decent wine, never “cooking” wine) about a cup or cup and a half
- Meat – such as Italian sausage or some nice beef or pork ribs or pork chops
Ok…I ALWAYS make my sauce with meat, so start with a deep, heavy pot and add about 3-4 TBS of olive oil. On high heat, once the oil is hot, start frying the sausage or pork, Let the meat get good and caramelized although you don’t have to cook it all the way through because you’ll add it back to the sauce to finish. Once the meat is browned take it out of the pot, put it on a plate and set aside.
Lower the heat to medium and sauté the tomato paste for a couple of minutes until it begins to “melt”. Add the chopped garlic and sauté with the tomato paste for just a minute (no longer or it will burn). Then add about a cup of the red wine and deglaze the pan with it, scrapping up all the good bits that stuck to the bottom when cooking the meat.
When the wine reduces by about ½ start adding the canned tomatoes. Add one can of hot water for every can of tomatoes you use.
Now start adding the dried Italian seasonings. I eyeball it but I would guess a good 2 TBS is fine. Add about another ½ cup of red wine, with red pepper flakes, salt and pepper. Stir everything into the sauce. It will be very thin at this point.
Add back the cooked meat. Now this is important….at the bottom of the plate you let the meat rest on will be some of the oil and juices that seeped out. Pour that back into the pot. It has a lot of flavor in it.
Bring the sauce back to a boil then turn the heat down low and let it simmer for at least 1 and a half hours, stirring every 15 to 20 minutes to keep it from burning. It should reduce by about a third or a little less and get thicker. The meat will absorb the sauce and get very tender.
When I make meatballs, I don’t fry them, I bake them on a sheet pan. When I do, I add them to the simmering sauce when they’re done so they also absorb the flavor.
I usually make the sauce early in the day and after it’s done, just let it sit on the stove until dinner then I re-heat it. This should make enough sauce for a couple of dinners or good sized lasagna.
Smoked Maple Peach BBQ Sauce
A month or so ago, my friend, Ruth, sent me a link for Smoked Maple Syrup. Obviously she knows me well, because while many folks might possibly show disdain for such a product, I immediately ordered a quart! I had no idea what to do with it, what it would taste like, or anything else - but I knew I needed some.
And Ruth came through! The stuff is pretty awesome!
It's not exactly the stuff one would put on pancakes, but it's definitely the stuff one would put on bacon - or, in this case - mixed into a homemade Peach BBQ Sauce.
Rather awesome stuff, if I do say so, m'self.
The recipe evolved as I made it so I don't have actual amounts of anything, but to make 21 pints, I used:
- 10 pounds Peaches
- 6 cans diced tomatoes with green chiles
- 4 cans diced green chiles
- 4 onions
- 1 head garlic
- chipotle powder
- ancho chile powder
- fresh long hot peppers from our yard
- fresh jalapeño peppers from our yard
- 1 cup Jack Daniel's
- 1 1/2 cups Smoked Maple Syrup
- brown sugar
- salt and pepper
I chopped the onions and fresh peppers and sauteed them in olive oil, added the garlic, the tomatoes, peaches, etc., and let it all simmer. I mixed everything together with an immersion blender, and let it all simmer, some more.
All the while I was tasting and tweaking ingredients until Victor tasted it and gave me a big smile.
So... Another tiny bit of the Christmas foods have been made.
I love my pressure canner - and I love friends who know me so well!
Peppers from the Garden
We're finally starting to see some peppers and tomatoes from the garden! It's been another lackluster year, thus far, although, I guess it's still a bit early.
Regardless, we have a bit of a harvest, so I decided to can them. I really enjoy canning things. but doing things for fun is so different than doing them for necessity. I remember seeing my grandmother in her kitchen in Bakersfield canning - I think - green beans and peaches sometime in the mid-'50s. The only air conditioning in the house was a swamp cooler in the living room and Bakersfield gets hot in the summer. Really hot.
The kitchen was stifling and she was doing quart after quart of whatever the hell it was with sweat dripping down. I think she finally stopped canning by '57 or so and I just have the vaguest memory of actually eating her canned peaches over ice cream.
My mother, on the other hand, didn't can anything. Her memories of growing up during the Depression were too keen. Being able to buy frozen or canned vegetables was her entry into the upwardly-mobile middle class. With six kids to feed, she had her own frugalities she had to contend with - but canning was not to be one of them.
Fast-forward almost half a century and here I am doing what grandma had to do - but doing it simply because I feel like it.
I have dozens of jars downstairs along with scores of new lids, so I really can do things as the mood strikes me. I've done it enough over the years that I have all of the things I need. And really, the only thing you actually need are jars, lids, a big pot - and something to put in the jars.
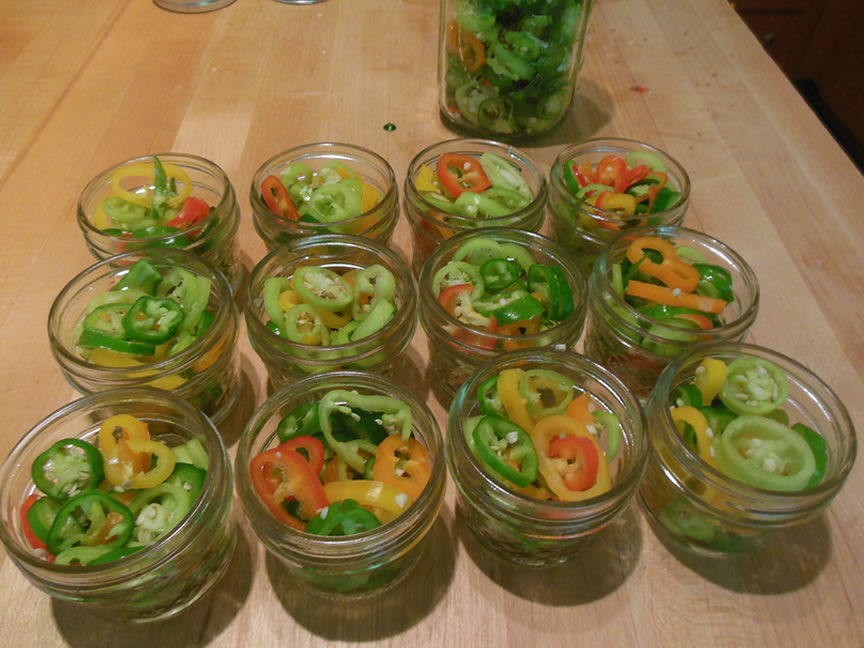
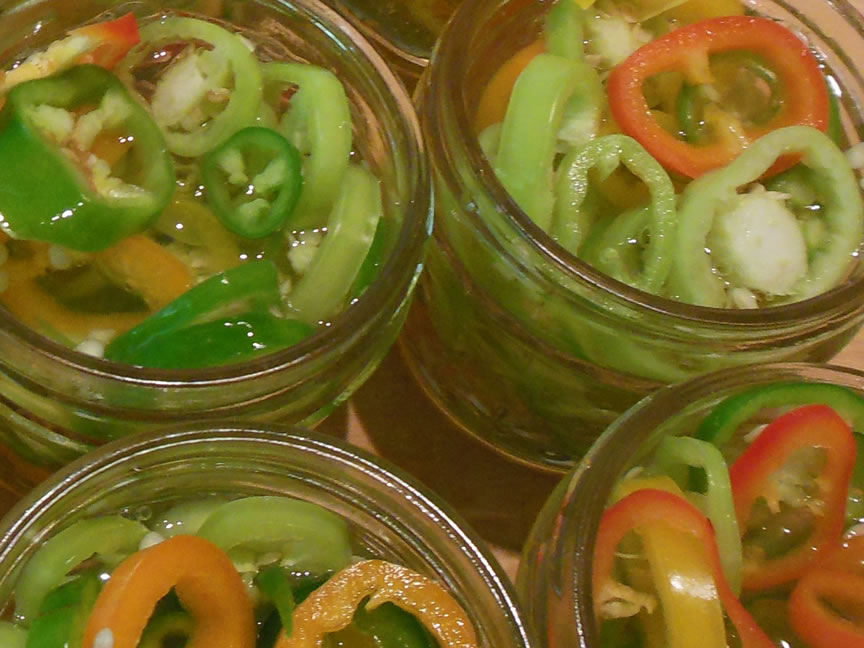
I did a dozen 4oz jars and a quart jar for the 'fridge.
Hot Pickled Peppers
(makes about 12 1/2-cup jars and a quart for the 'fridge)
- 4 lbs assorted hot peppers
- 6 cups distilled white vinegar
- 1 1/2 cup water
- 1 tbsp sugar
- 1 tbsp kosher salt
Wash and cut peppers to desired size. (I made rings. )
Pack peppers into mason jars leaving about 1/2″ headroom.
Combine and heat sugar, salt, vinegar, and water. Bring to boil and then simmer about 5-6 minutes.
Pour over peppers, leaving the same 1/2″ headroom.
Wipe rims of jars, top with lids and rings.
Process in a boiling water bath about 10 minutes.
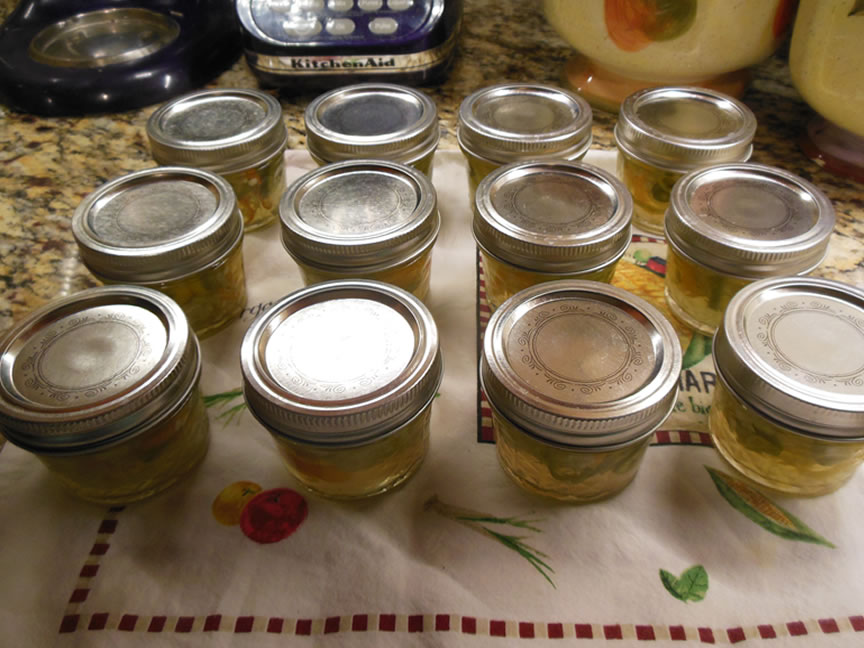
They will be a great addition to burgers and hot dogs, and anything else we can dream up. And if we get a lot more, they might even become Christmas presents.

