The Fabulous Food Blog
About Us
Live to Eat or Eat to Live?
James Beard – My Hero
10 Greatest Cooking Disasters
Cooking Tips
Conversions and Substitutions
Wedding Cake Data Chart
TJ Recipes
Tim’s Mom’s Cookbooks
Flour Power
Family & Friends
Family Reunion-1
Family Reunion-2
Little Gram’s Cookbook
Quick Meals
Recipes From The Heart
Holiday Cooking
Recipes from Villa Modica
Other Stuff
Search
The Fabulous Food Blog
About Us
Live to Eat or Eat to Live?
James Beard – My Hero
10 Greatest Cooking Disasters
Cooking Tips
Conversions and Substitutions
Wedding Cake Data Chart
Tim and Victor's Totally Joyous Recipes
Desserts
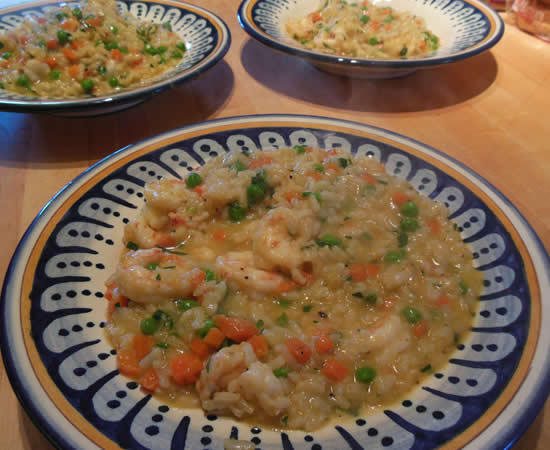
And Nonna Makes Three
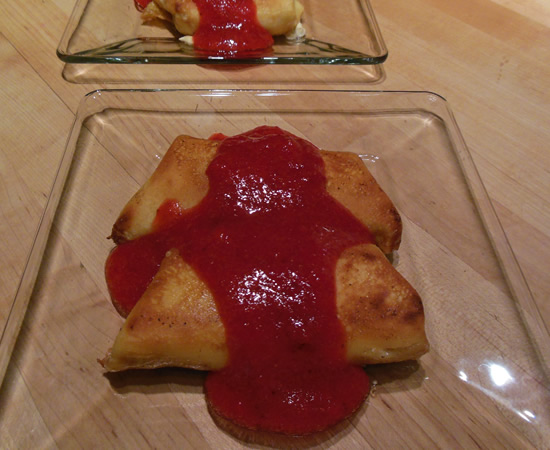
Strawberry Blintzes
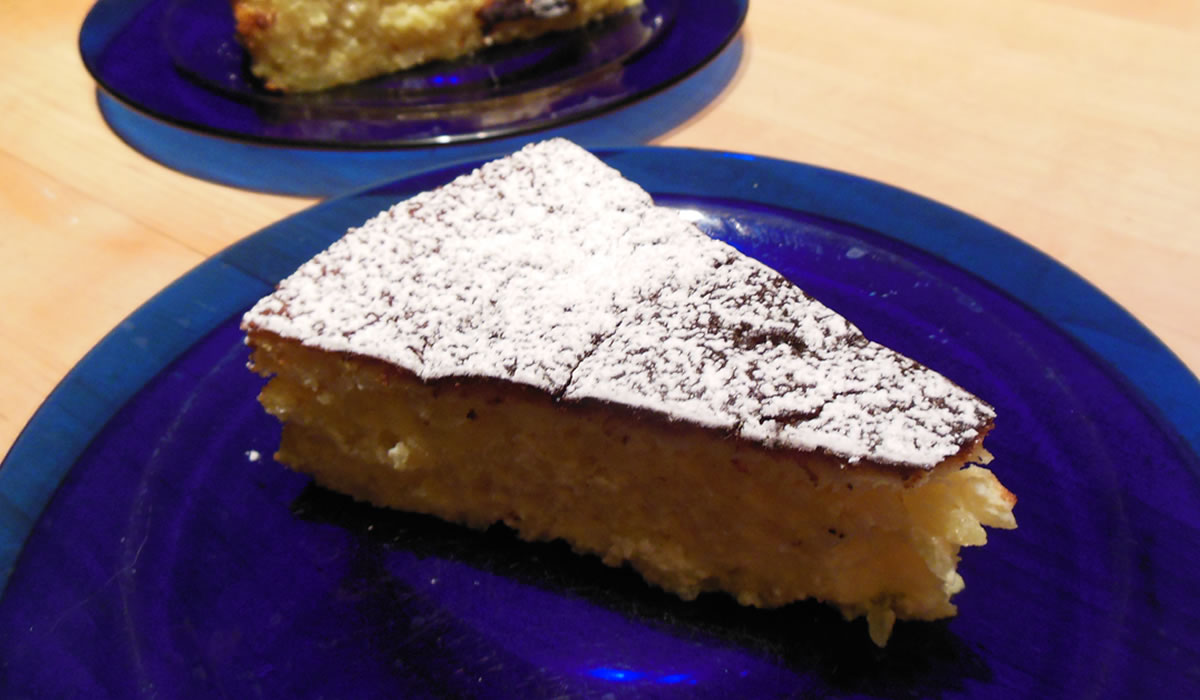
Saffron Rice Cake
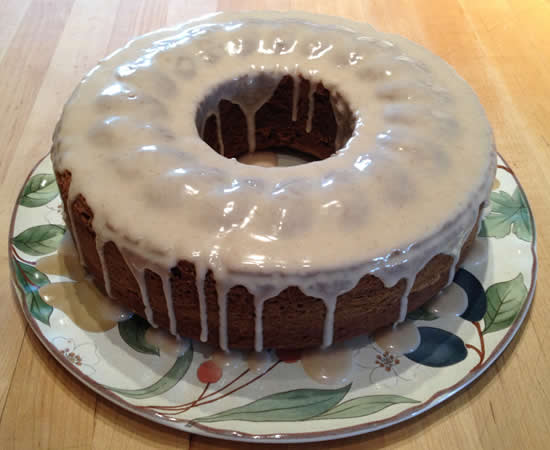
Pumpkin Cake
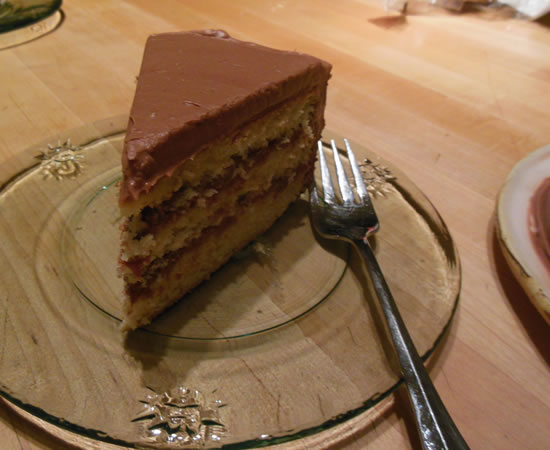
Coconut Macadamia Cake
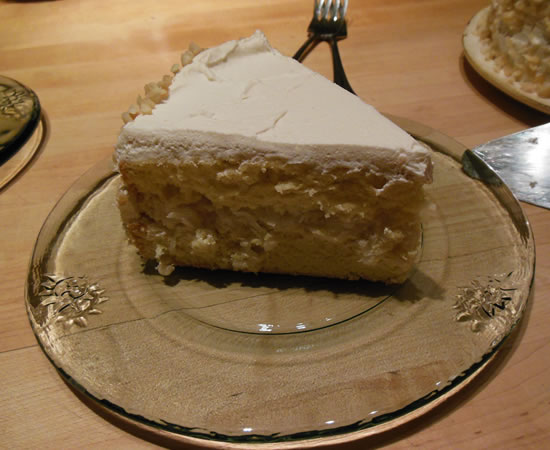
Yellow Cake
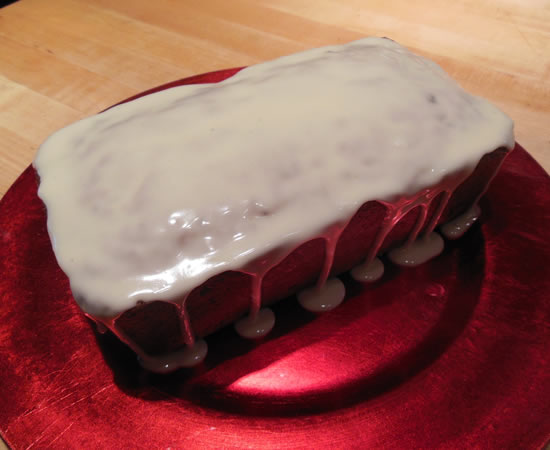
Cranberry Tangerine Bread
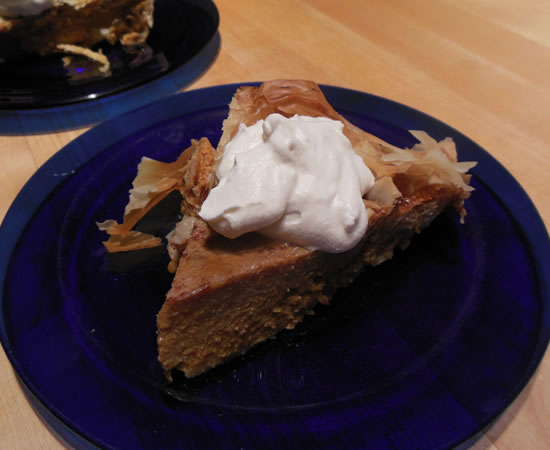
Pumpkin Pie with a Phyllo Crust
Pumpkin Ricotta Pie
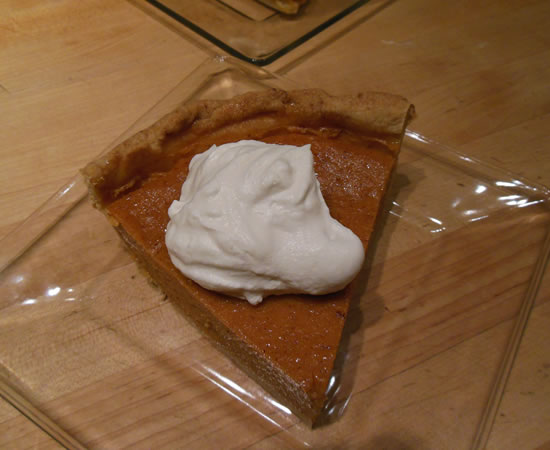
Pumpkin Pie
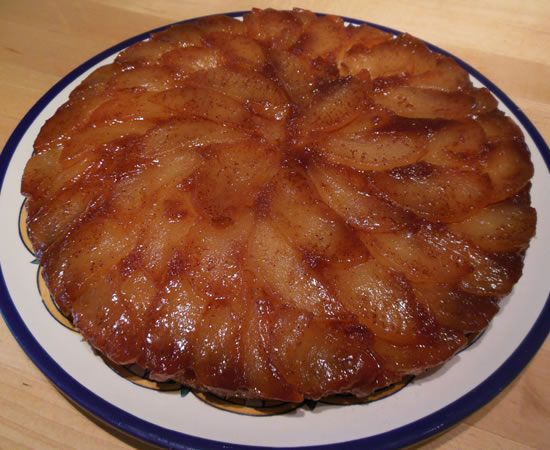
Apple Upside-Down Cake
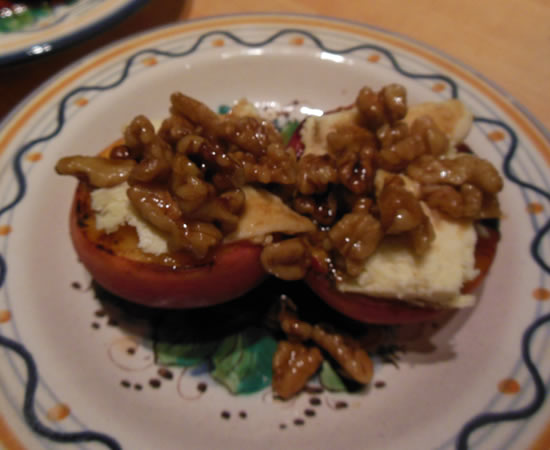
Grilled Peaches
Mad Men Monday – Dessert
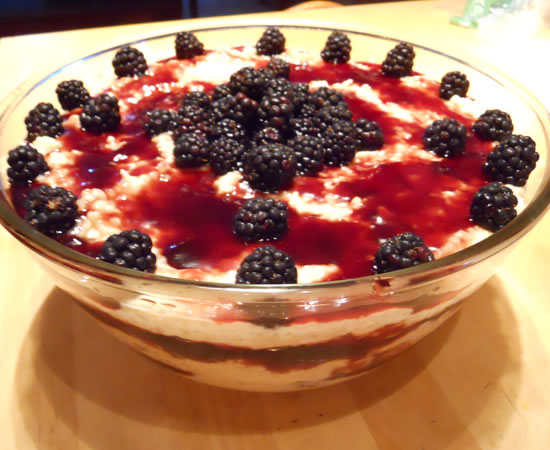
Blackberry Quinoa Pudding
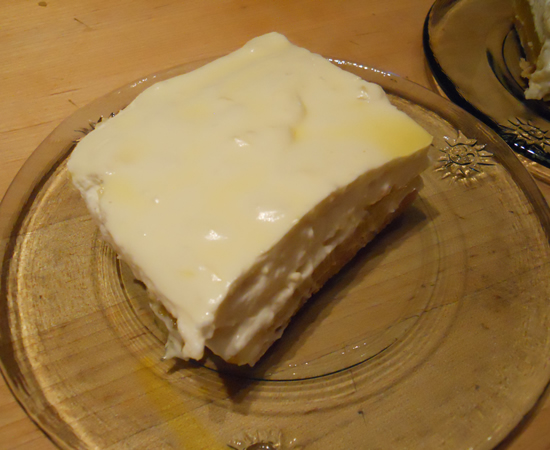
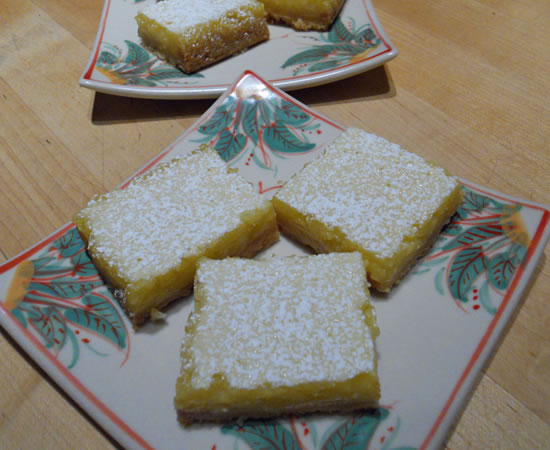
David Lebovitz’s Lemon Bars
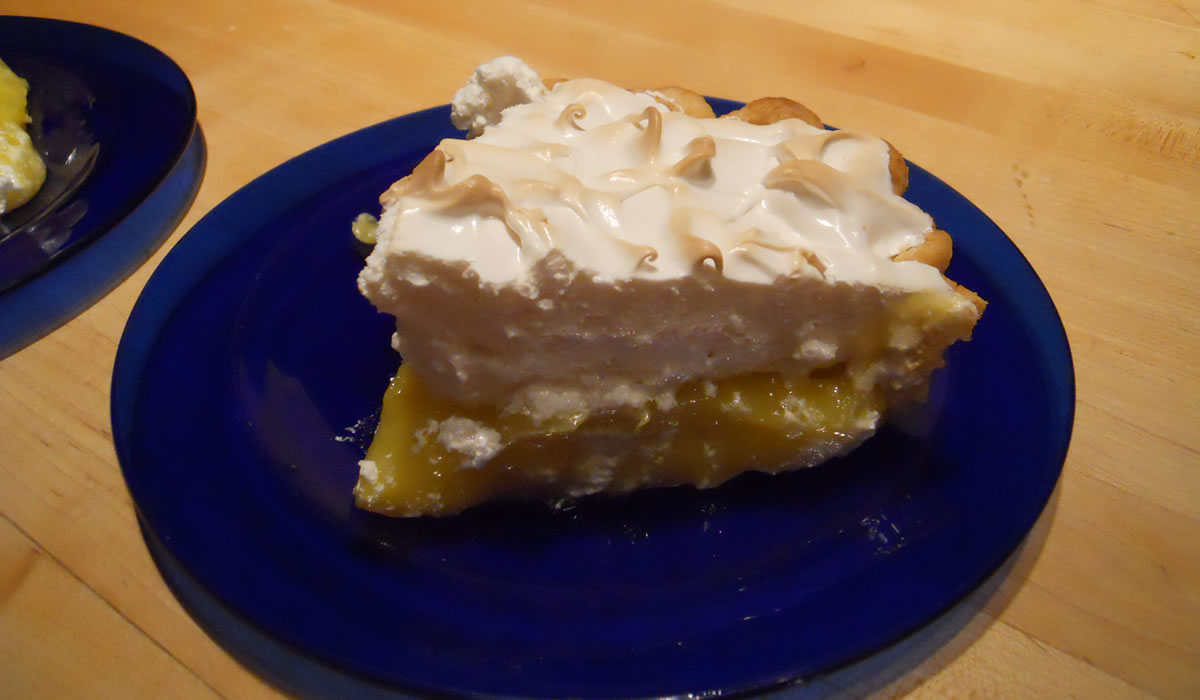
Lemon Meringue Pie
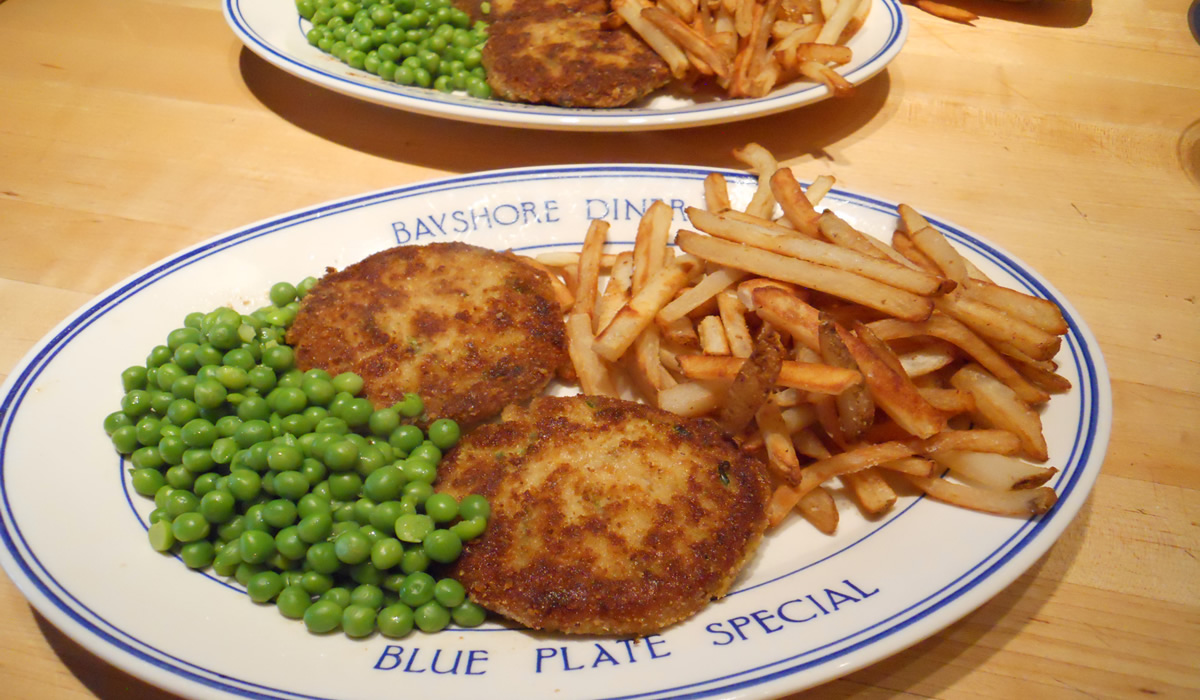
Crab Cakes and Pound Cake
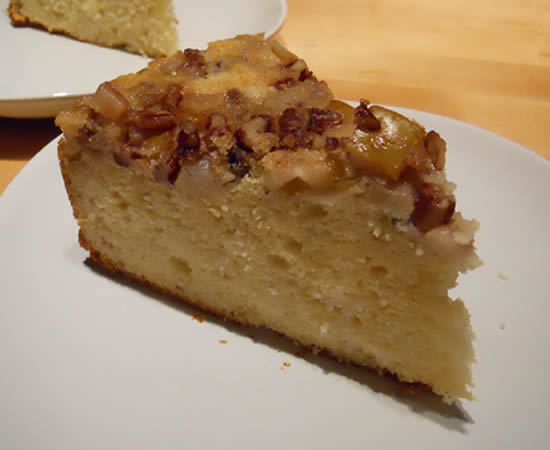
Pear Pecan Buttermilk Upside Down Cake
1
…
4
5
6
7
8
…
13