The Fabulous Food Blog
About Us
Live to Eat or Eat to Live?
James Beard – My Hero
10 Greatest Cooking Disasters
Cooking Tips
Conversions and Substitutions
Wedding Cake Data Chart
TJ Recipes
Tim’s Mom’s Cookbooks
Flour Power
Family & Friends
Family Reunion-1
Family Reunion-2
Little Gram’s Cookbook
Quick Meals
Recipes From The Heart
Holiday Cooking
Recipes from Villa Modica
Other Stuff
Search
The Fabulous Food Blog
About Us
Live to Eat or Eat to Live?
James Beard – My Hero
10 Greatest Cooking Disasters
Cooking Tips
Conversions and Substitutions
Wedding Cake Data Chart
Tim and Victor's Totally Joyous Recipes
Tim in the Kitchen
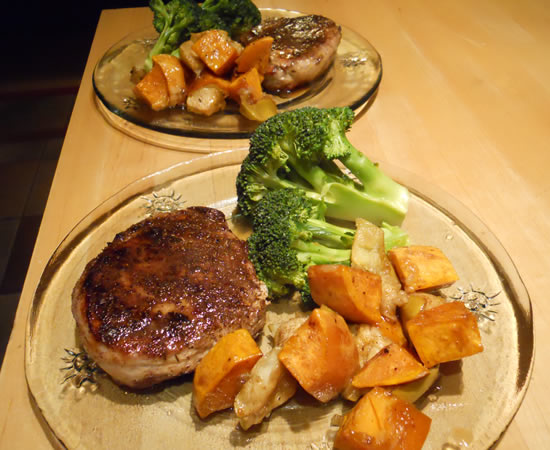
Jerk Pork Chops
The Pumpkin That Keeps On Giving
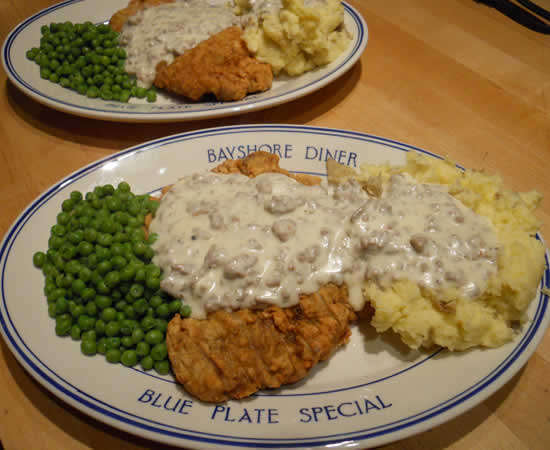
Chicken-Fried Steak
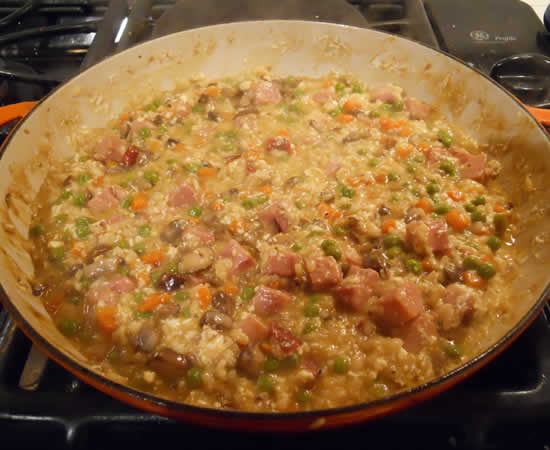
Clean-Out-The-Refrigerator Risotto
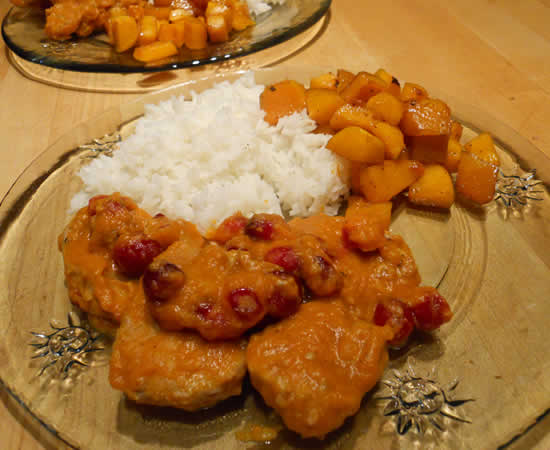
Cranberry Pumpkin Pork
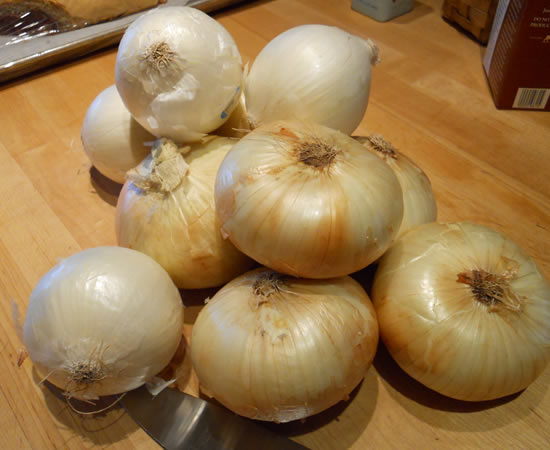
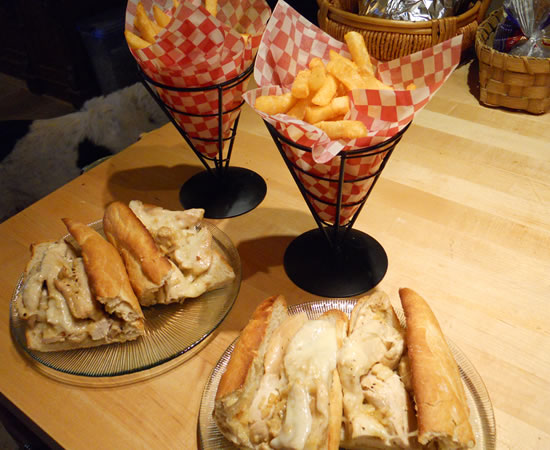
French Onion Soup
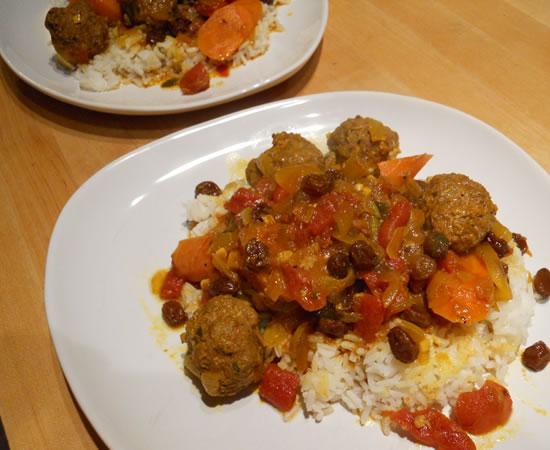
Moroccan Beef Meatball Tagine
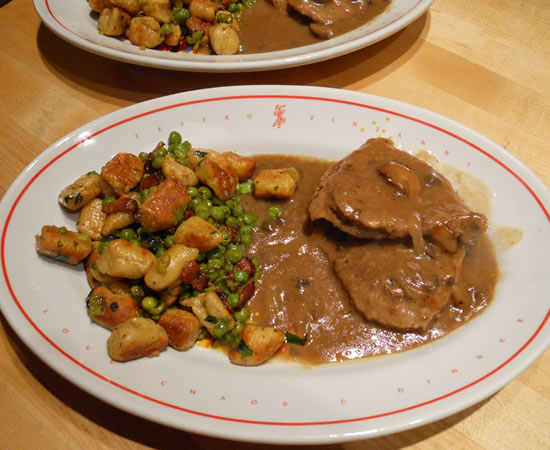
Crispy Gnocchi with Peas and Bacon
Mushrooms and Cheddar
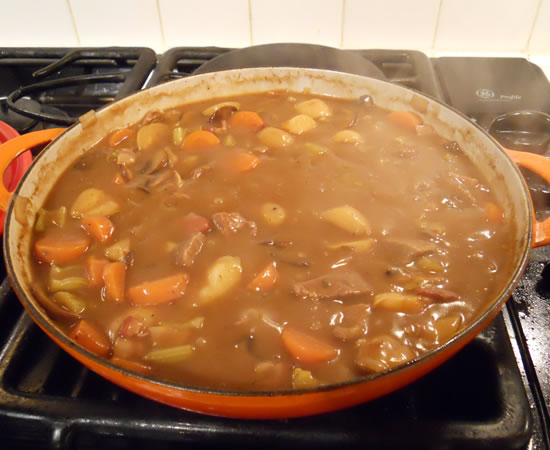
Beef Stew and Stormy Weather
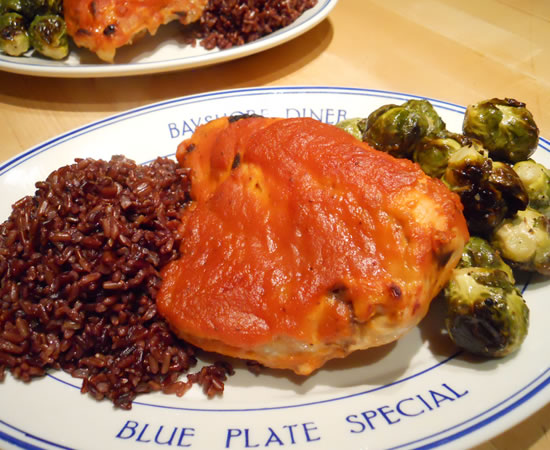
Chicken and Pumpkin
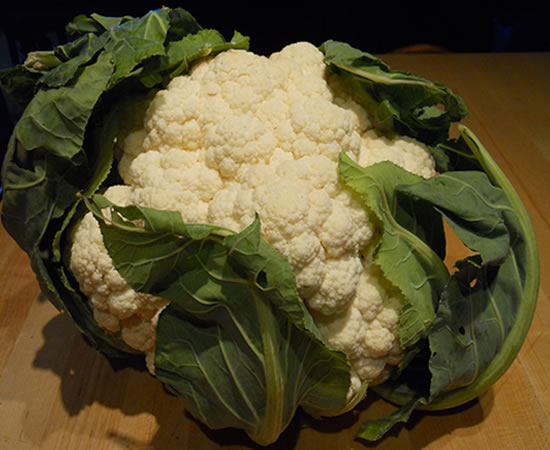
Cauliflower and Bean Soup
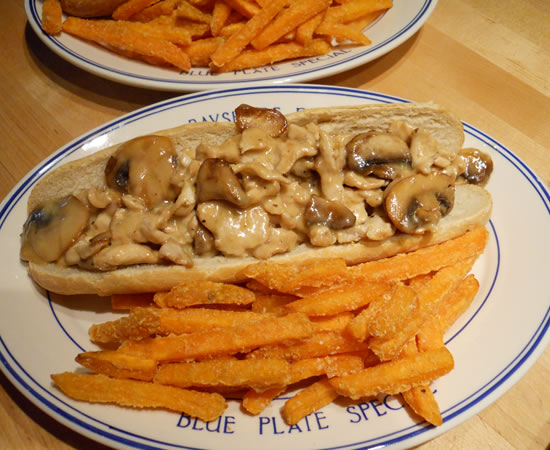
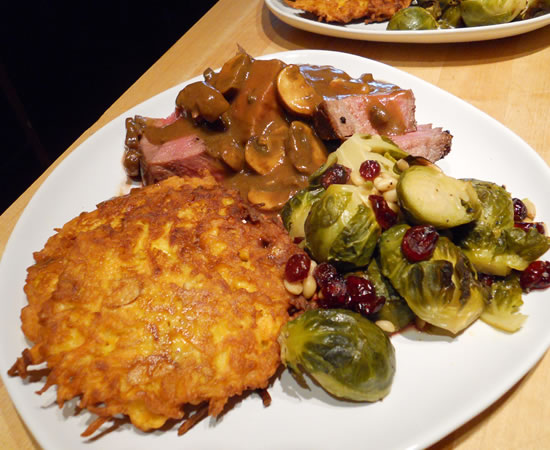
Sweet Potato Latkes and Portobello Mushroom Gravy
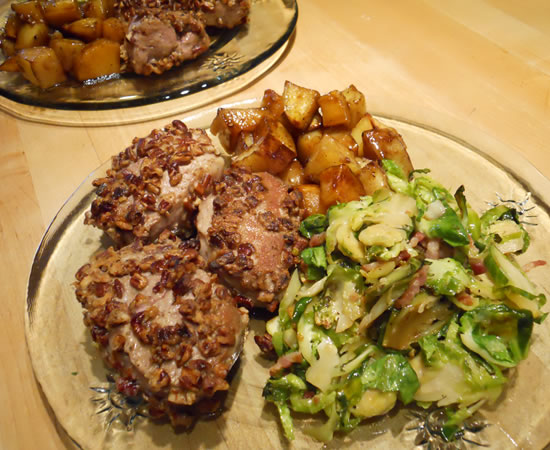
Pork Tenderloin and Brussels Sprouts
Baseball Food
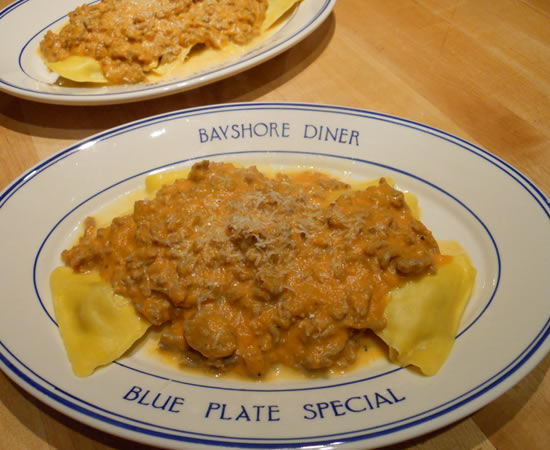
Arugula Ravioli
Steaks on the Barbie
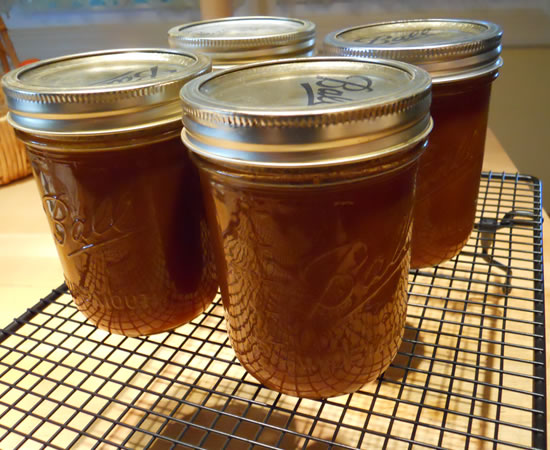
Pumpkin Butter
1
…
66
67
68
69
70
…
93