The Fabulous Food Blog
About Us
Live to Eat or Eat to Live?
James Beard – My Hero
10 Greatest Cooking Disasters
Cooking Tips
Conversions and Substitutions
Wedding Cake Data Chart
TJ Recipes
Tim’s Mom’s Cookbooks
Flour Power
Family & Friends
Family Reunion-1
Family Reunion-2
Little Gram’s Cookbook
Quick Meals
Recipes From The Heart
Holiday Cooking
Recipes from Villa Modica
Other Stuff
Search
The Fabulous Food Blog
About Us
Live to Eat or Eat to Live?
James Beard – My Hero
10 Greatest Cooking Disasters
Cooking Tips
Conversions and Substitutions
Wedding Cake Data Chart
Tim and Victor's Totally Joyous Recipes
Italian
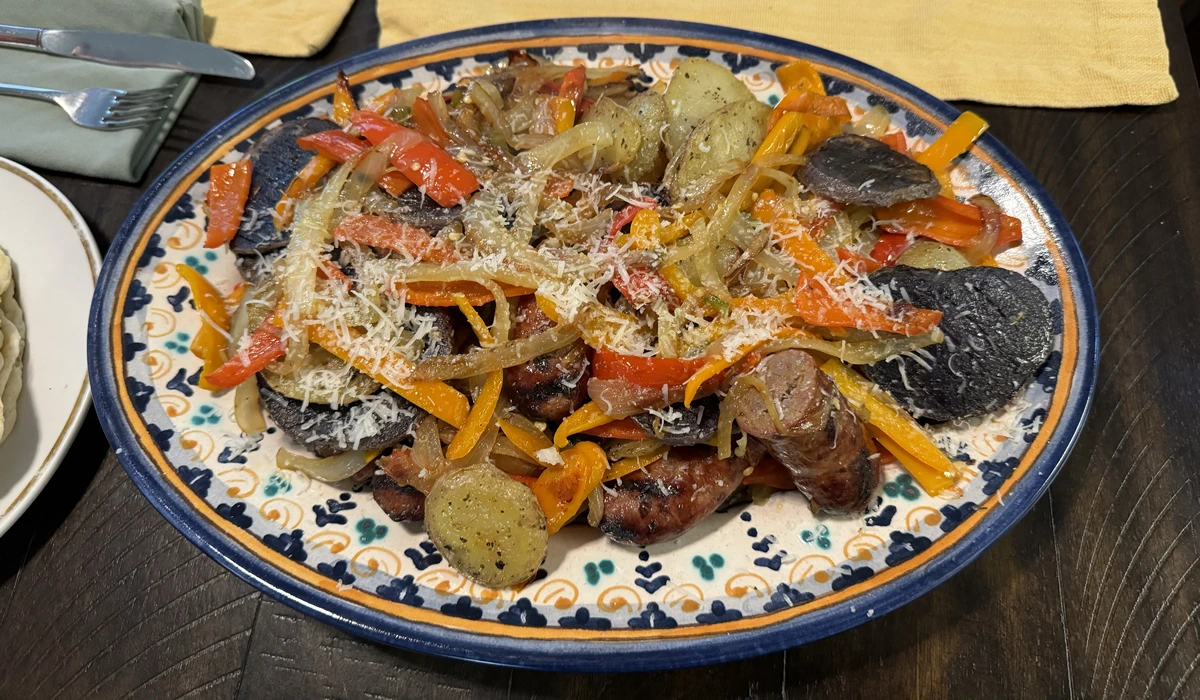
Sausage and Peppers and Piadina
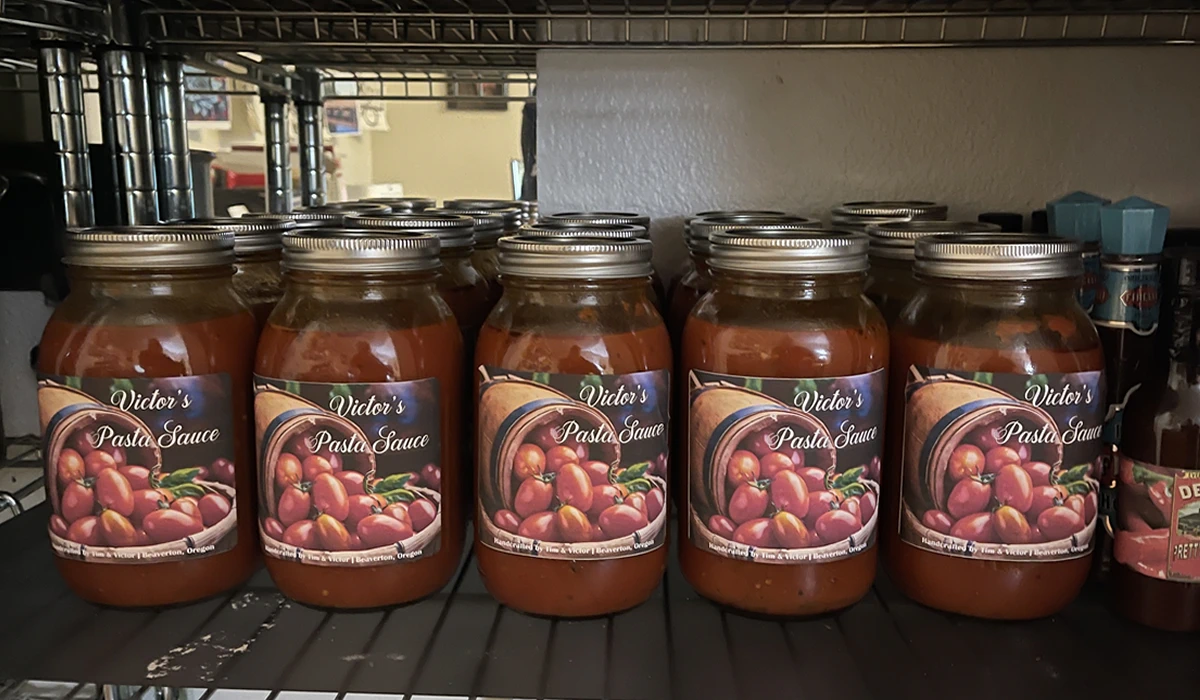
A New Batch of Sauce
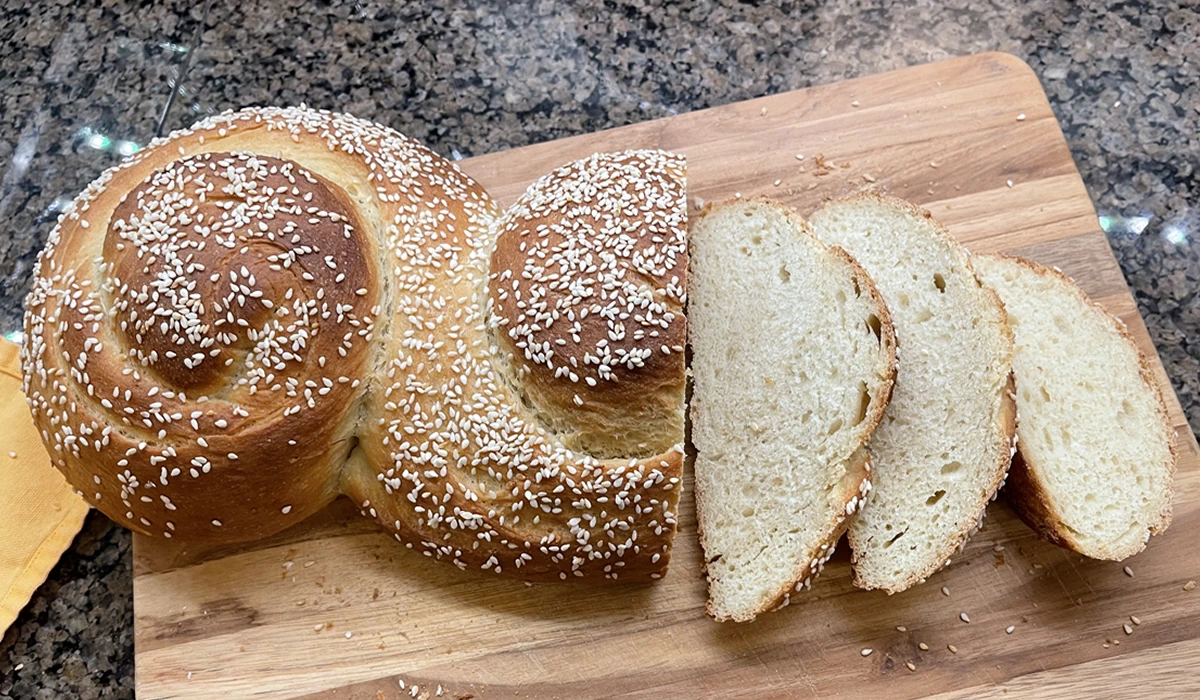
Pane Siciliano
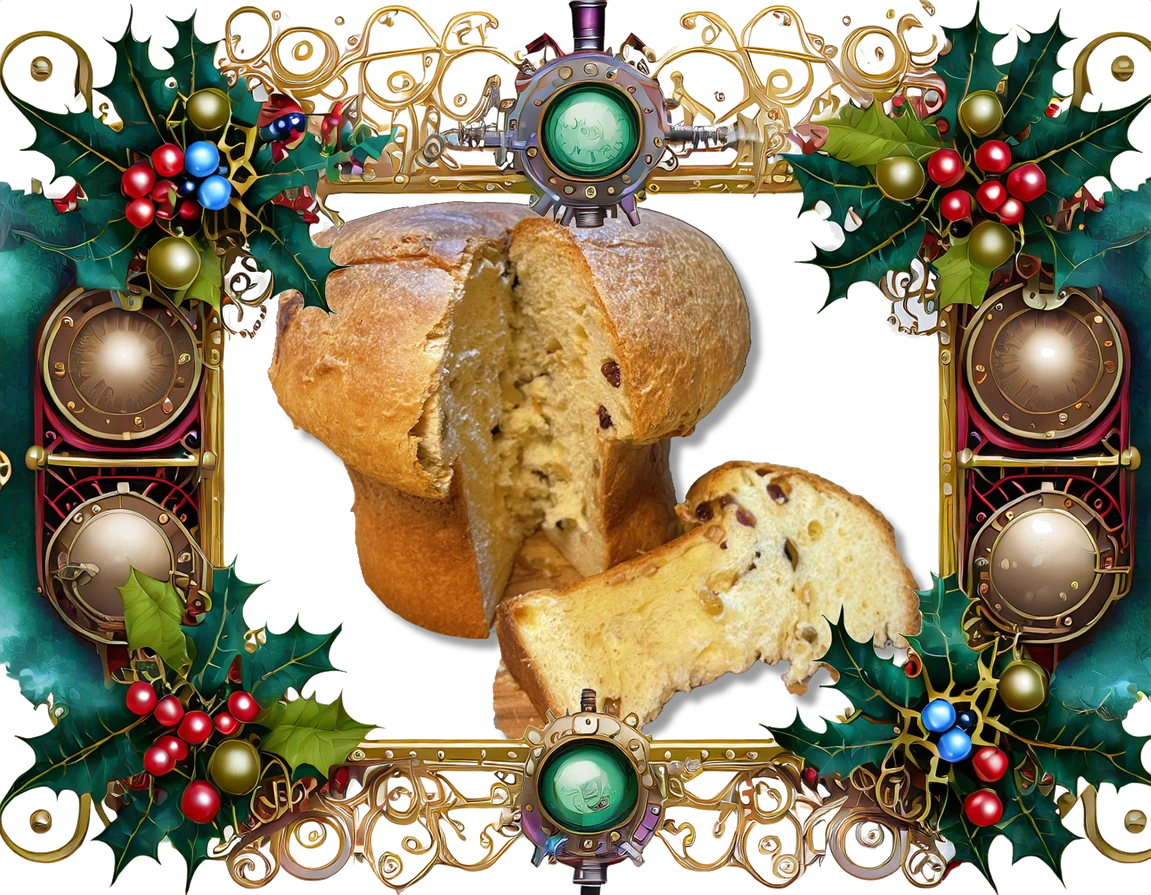
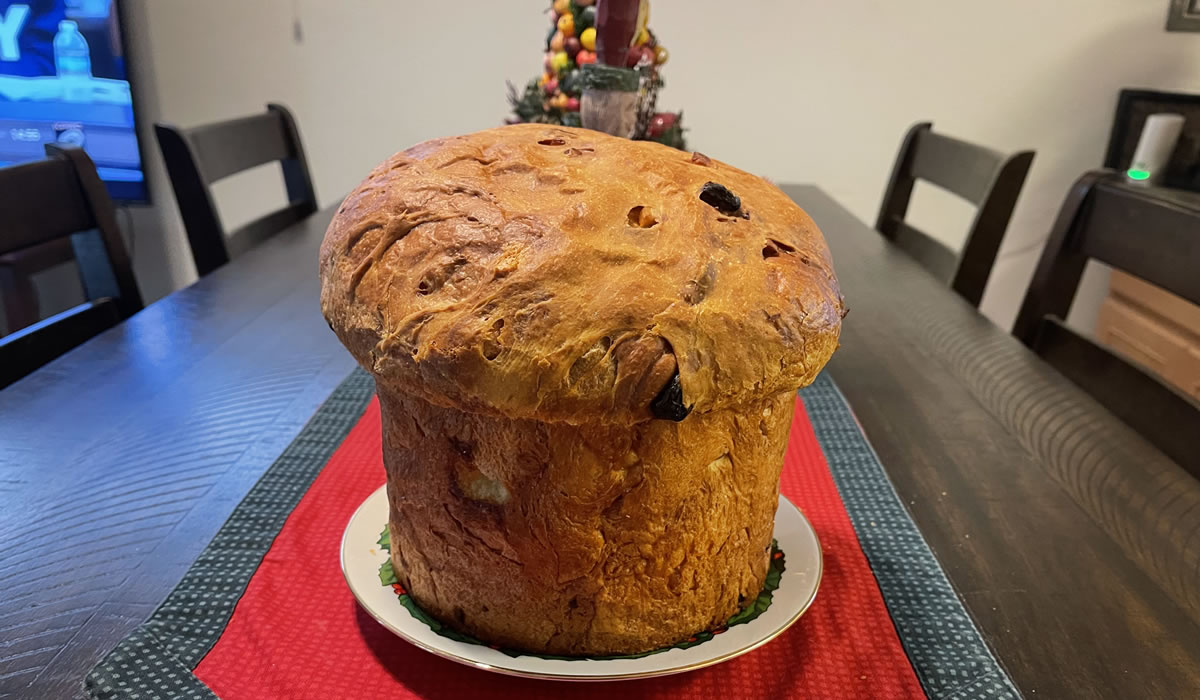
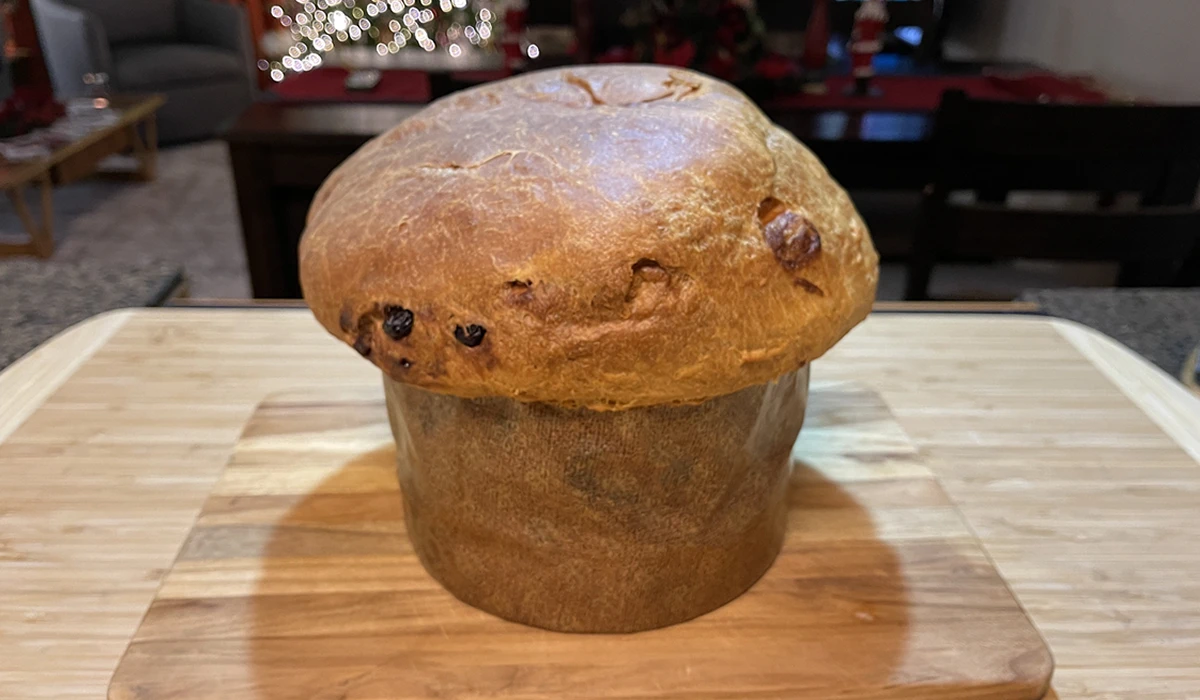
Perfect Panettone
Dinner for Two – Italian Style
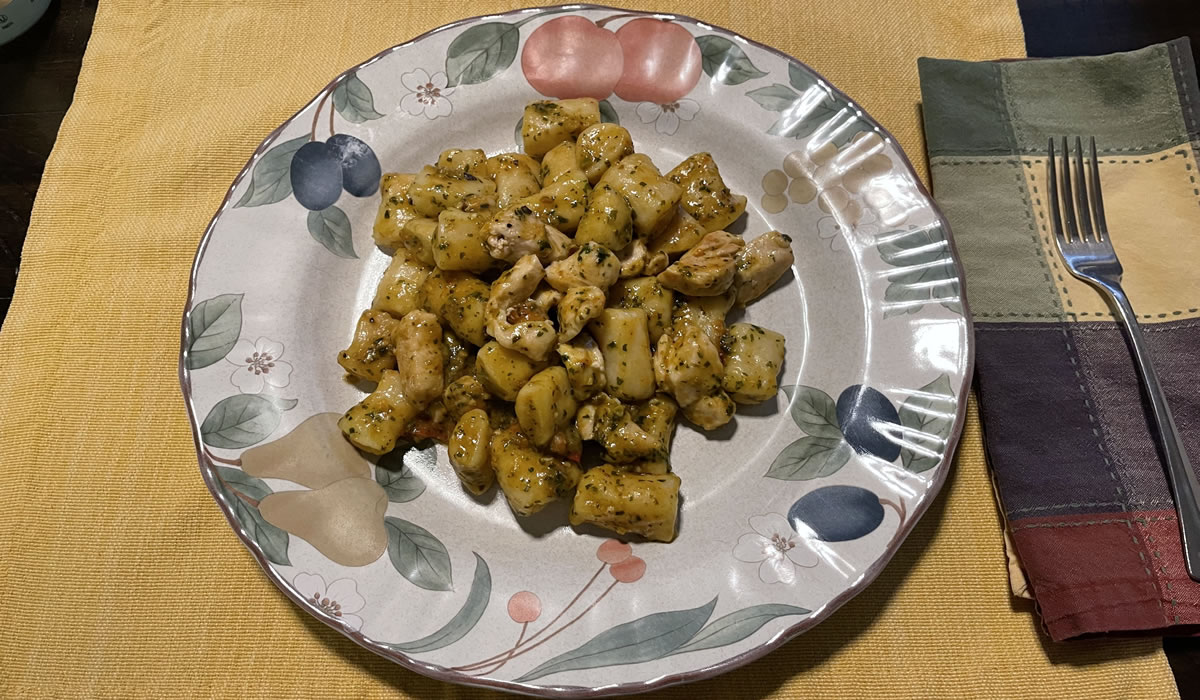
Ricotta Gnocchi with Pesto and Chicken
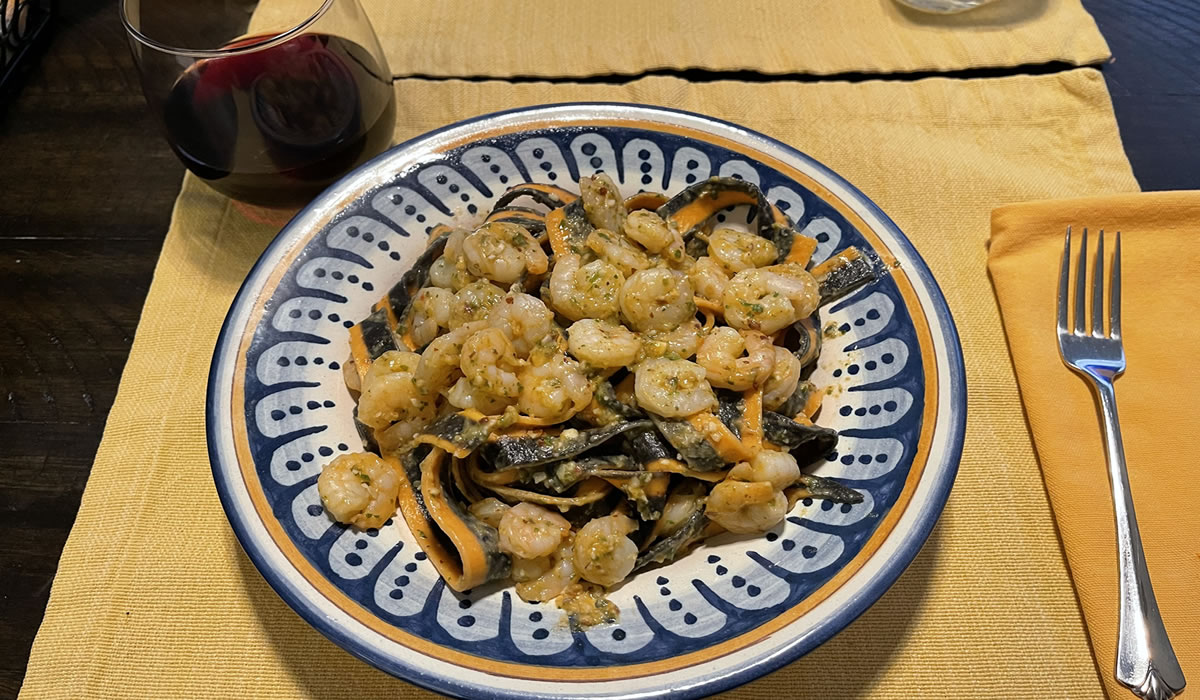
Pesto Pantesco with Shrimp
Mushroom and Langostino Risotto
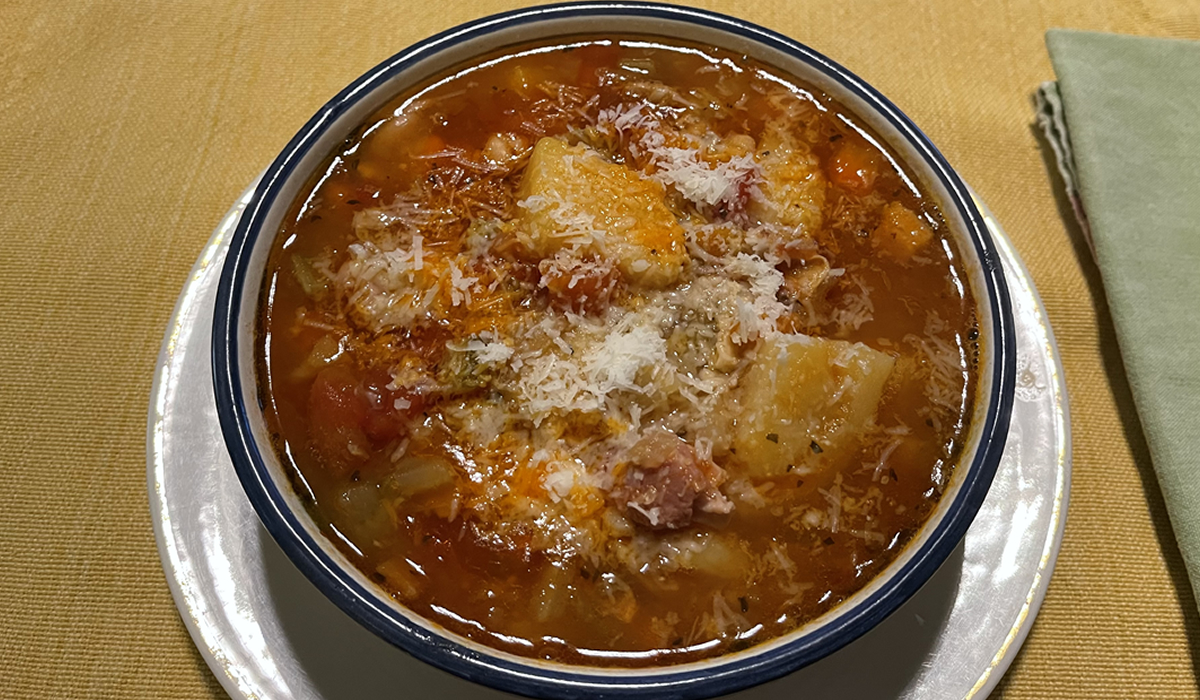
Sardinian Minestrone
Panettone and Holiday Weight Gain
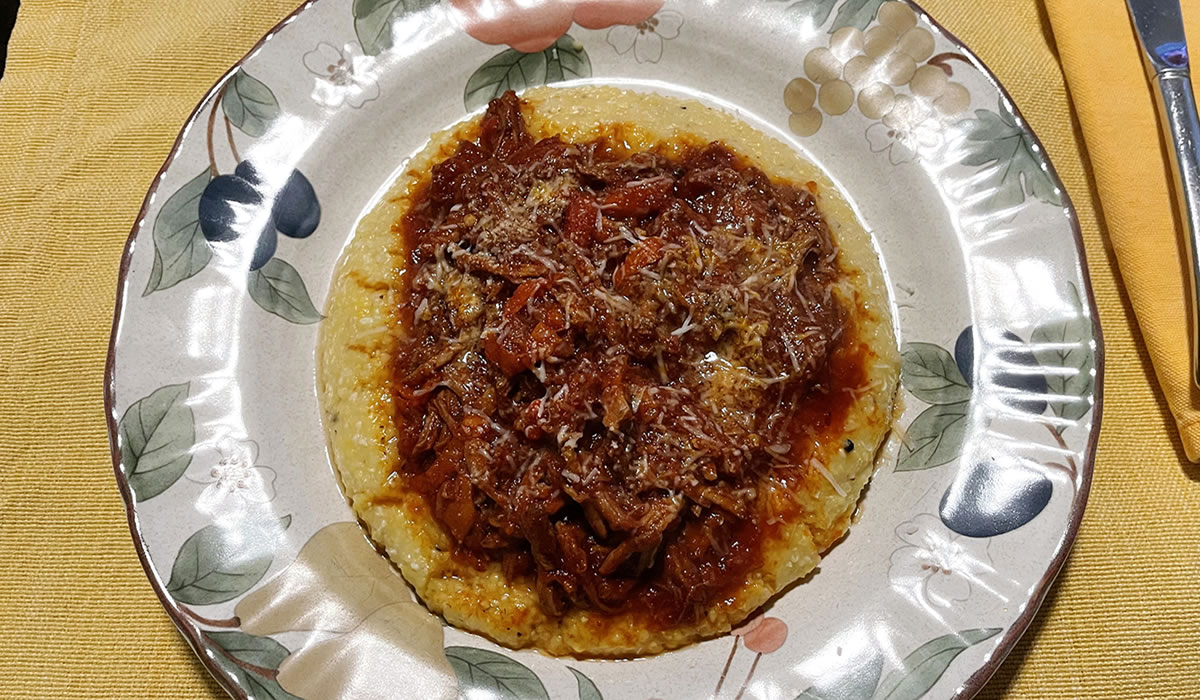
Braised Beef and Polenta
Pizza and Postponement
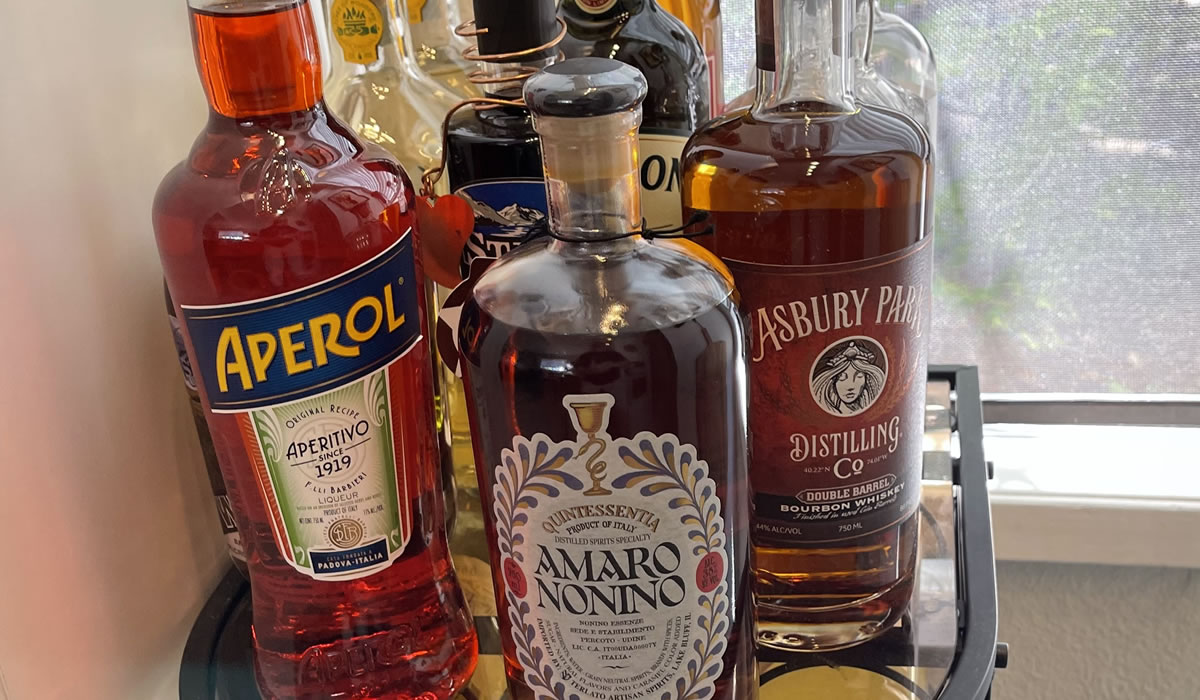
Paper Plane
Chicken Soup with Ricotta Dumplings
Panettone
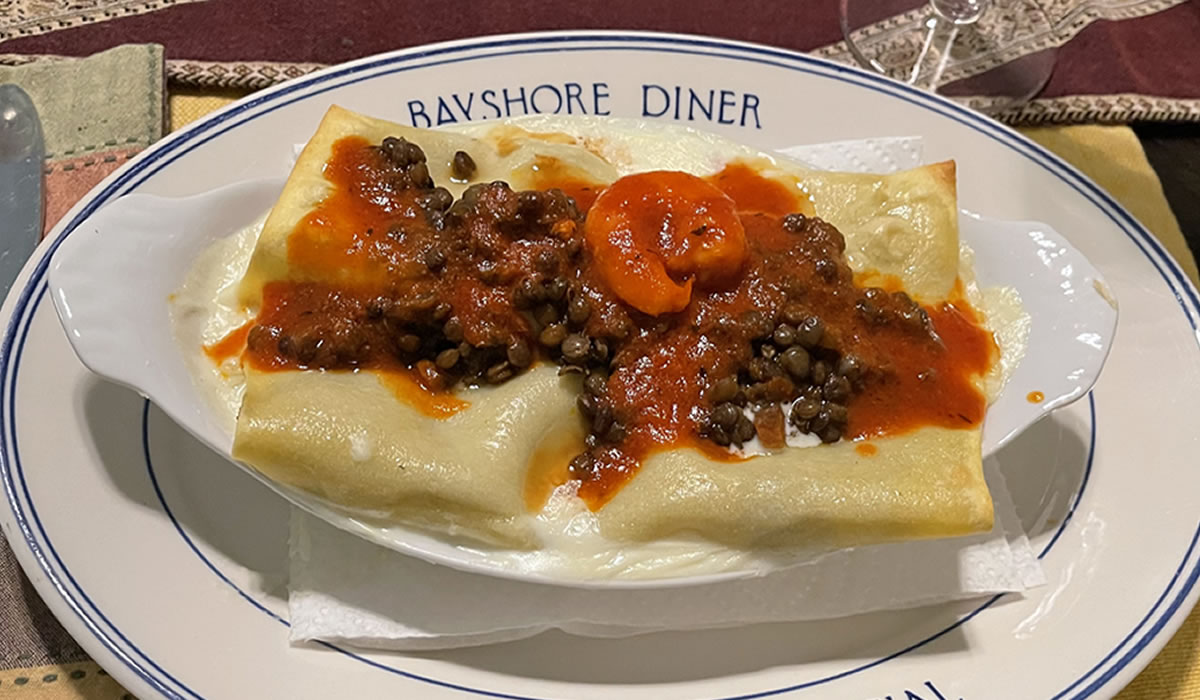
Shrimp and Lentil Cannelloni
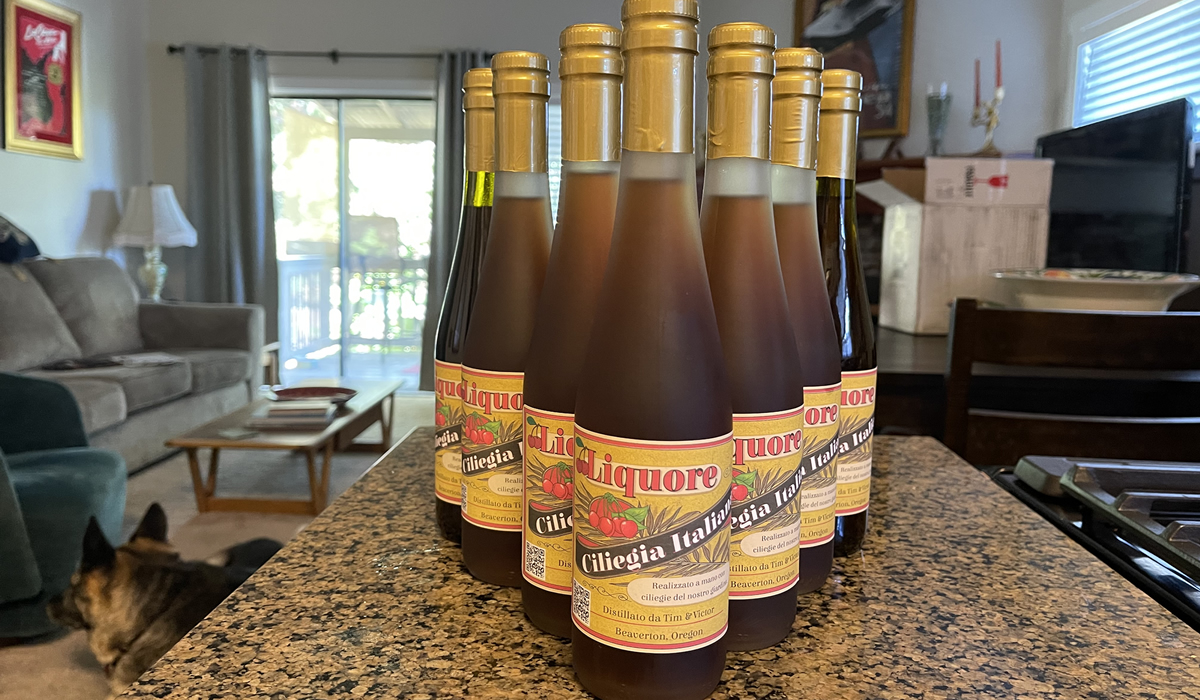
Italian Cherry Liqueur
Limoncello
1
2
3
4
…
16