The Fabulous Food Blog
About Us
Live to Eat or Eat to Live?
James Beard – My Hero
10 Greatest Cooking Disasters
Cooking Tips
Conversions and Substitutions
Wedding Cake Data Chart
TJ Recipes
Tim’s Mom’s Cookbooks
Flour Power
Family & Friends
Family Reunion-1
Family Reunion-2
Little Gram’s Cookbook
Quick Meals
Recipes From The Heart
Holiday Cooking
Recipes from Villa Modica
Other Stuff
Search
The Fabulous Food Blog
About Us
Live to Eat or Eat to Live?
James Beard – My Hero
10 Greatest Cooking Disasters
Cooking Tips
Conversions and Substitutions
Wedding Cake Data Chart
Tim and Victor's Totally Joyous Recipes
Bread
Bread and Cold
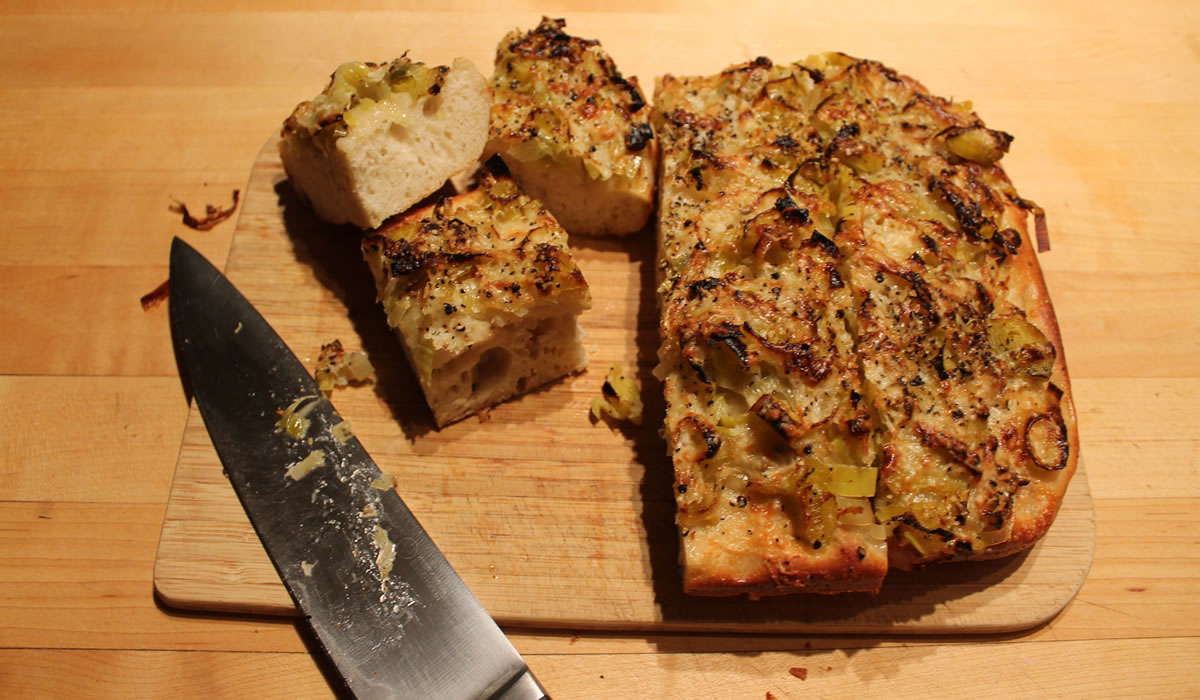
Chicken and Focaccia
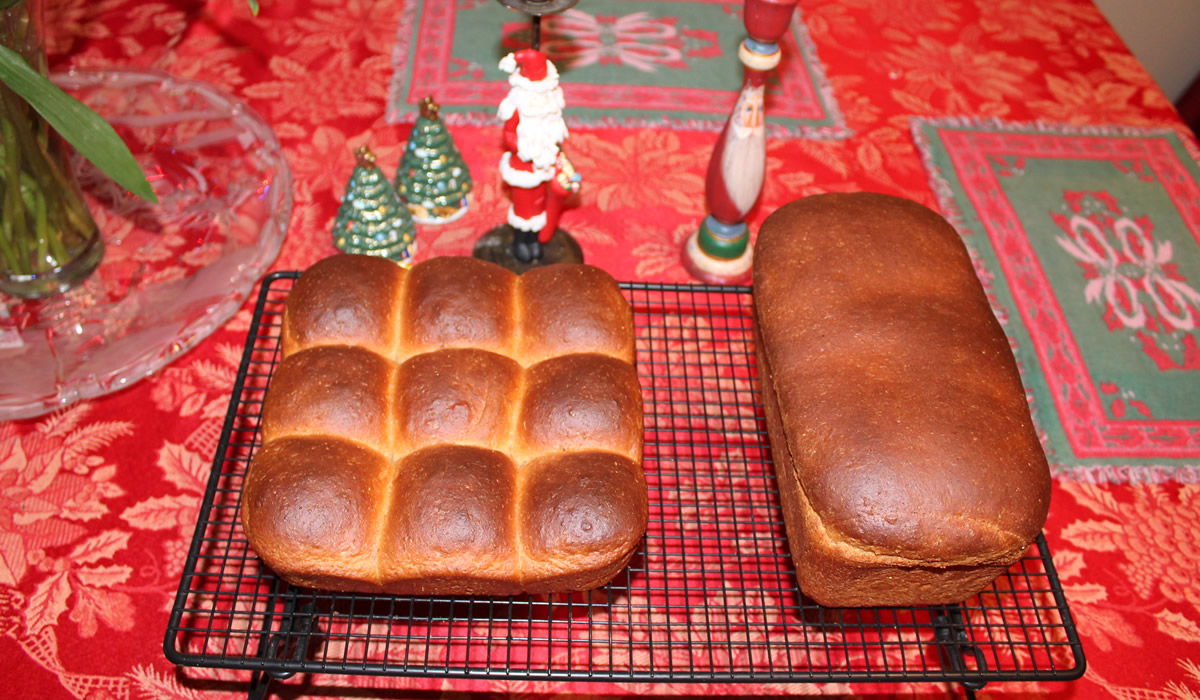
Loafing on Christmas Day
The End of Week Twenty-Two
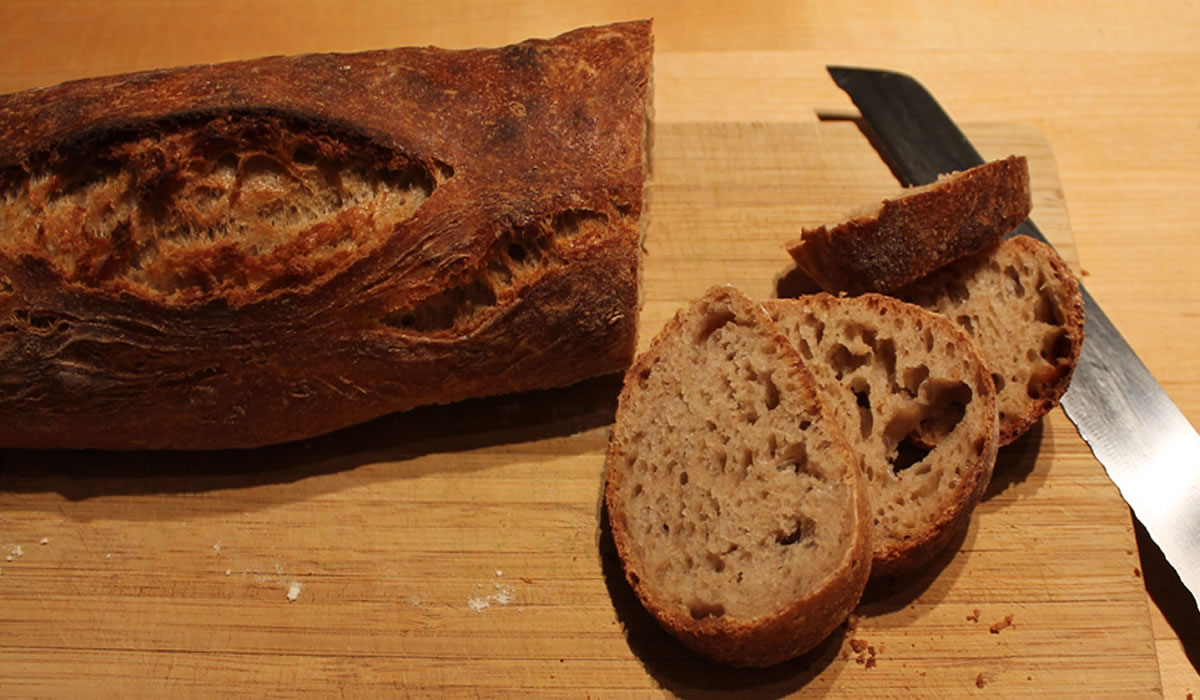
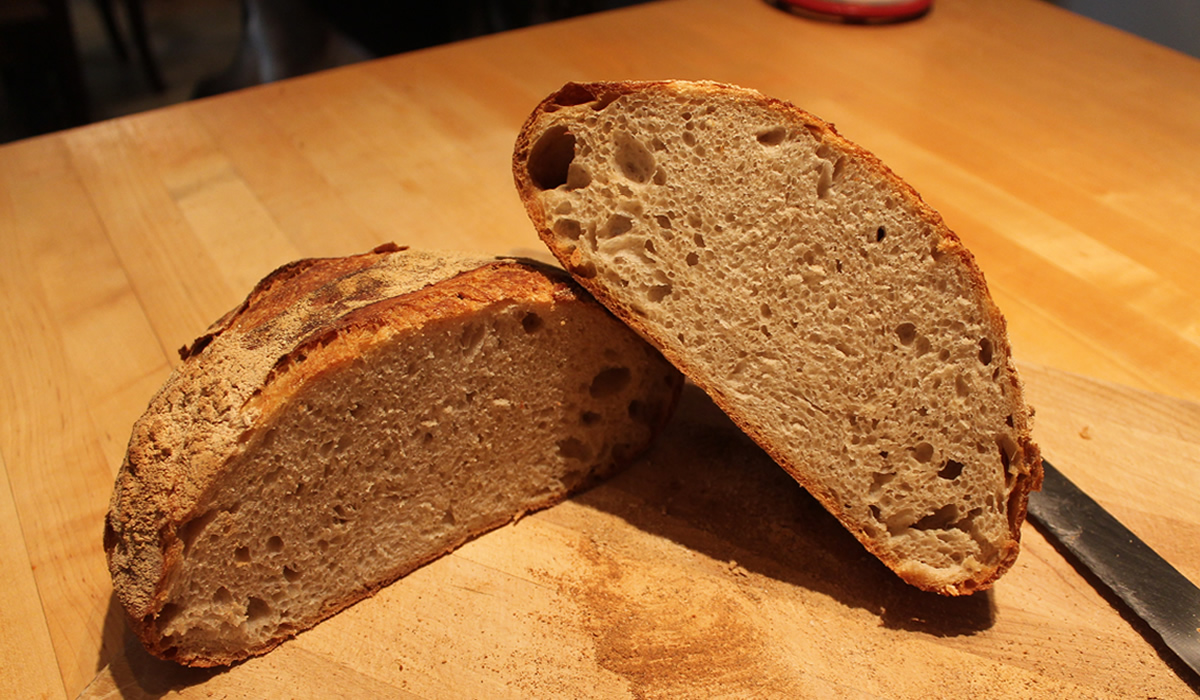
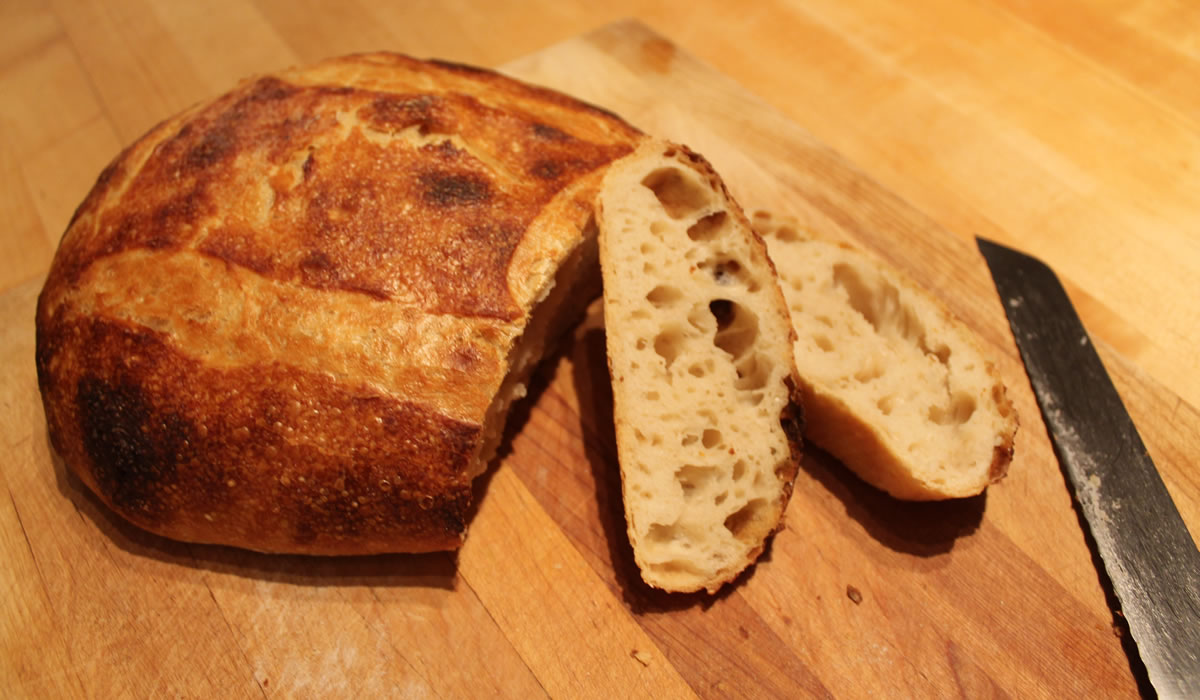
Sourdough Bread – Two Ways
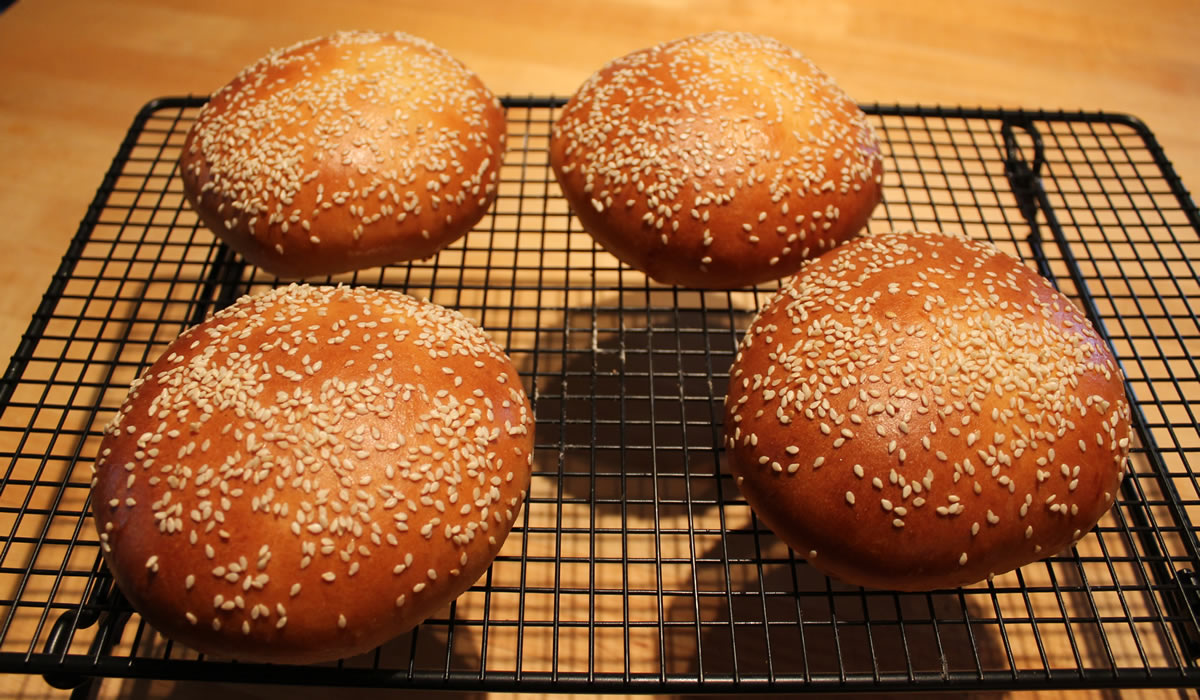
Hamburger Buns
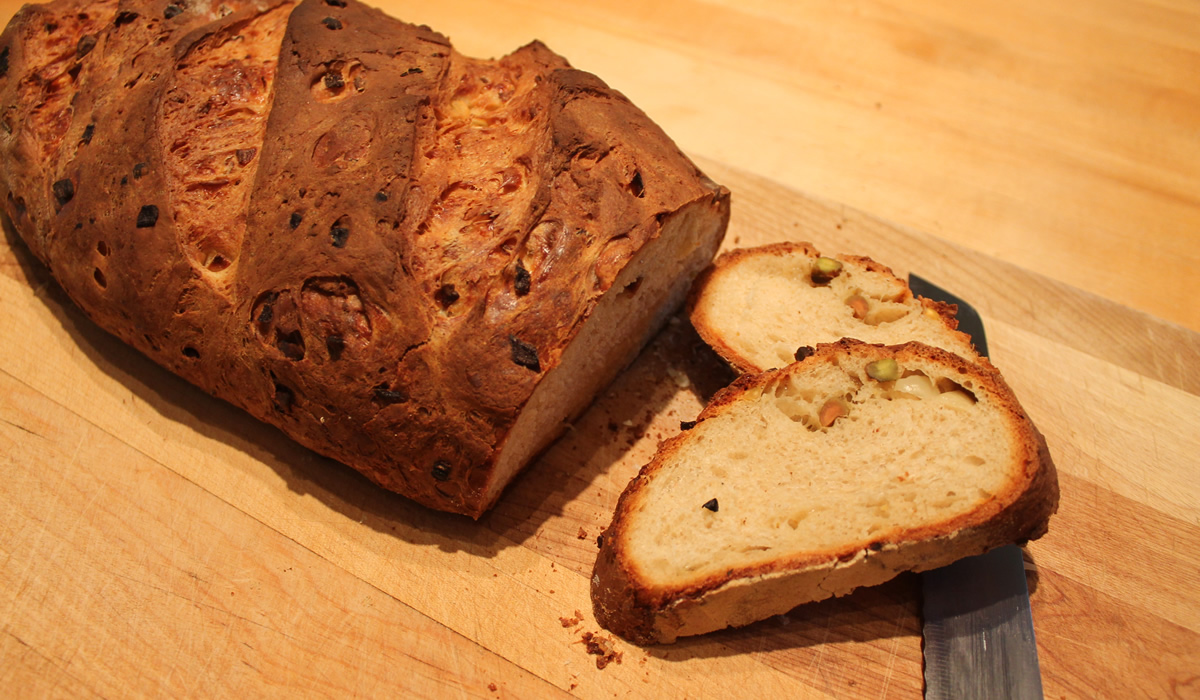
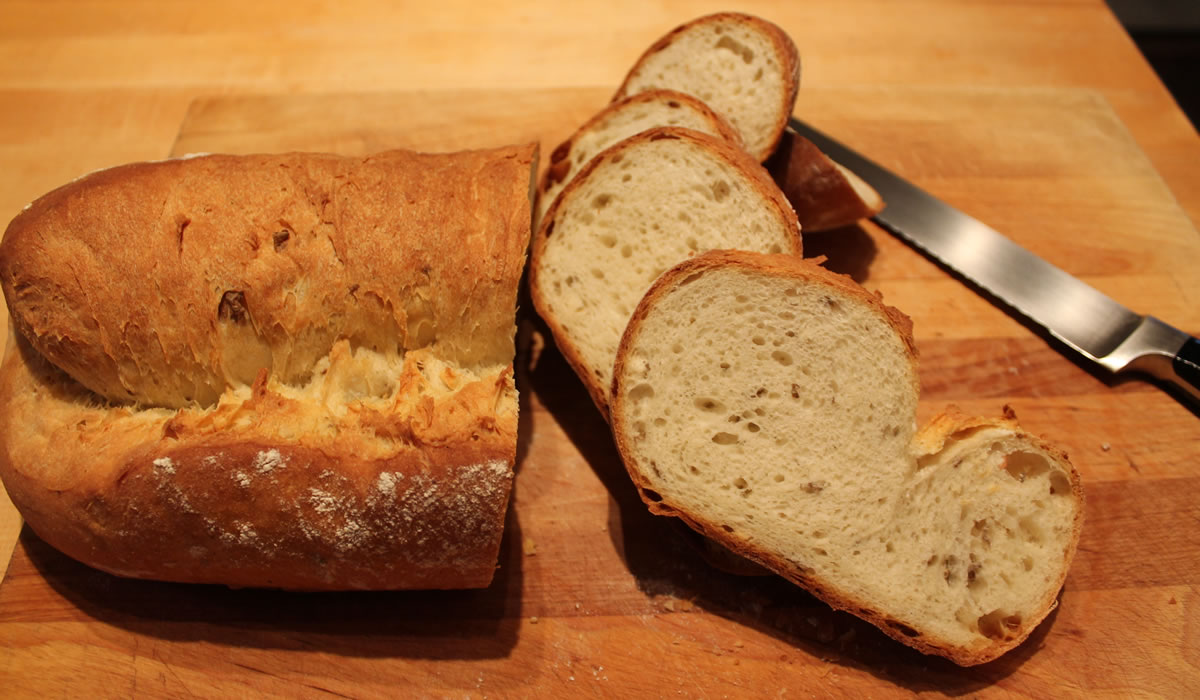
Pistachio, Onion, and Cheese Bread
Pizza
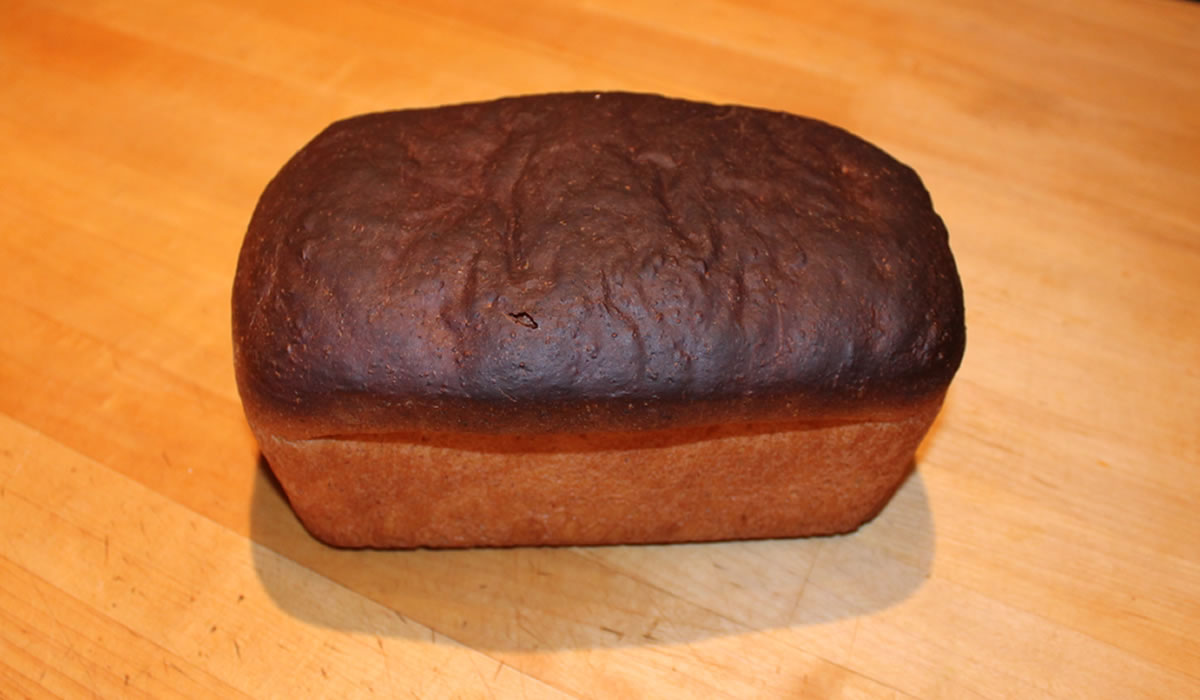
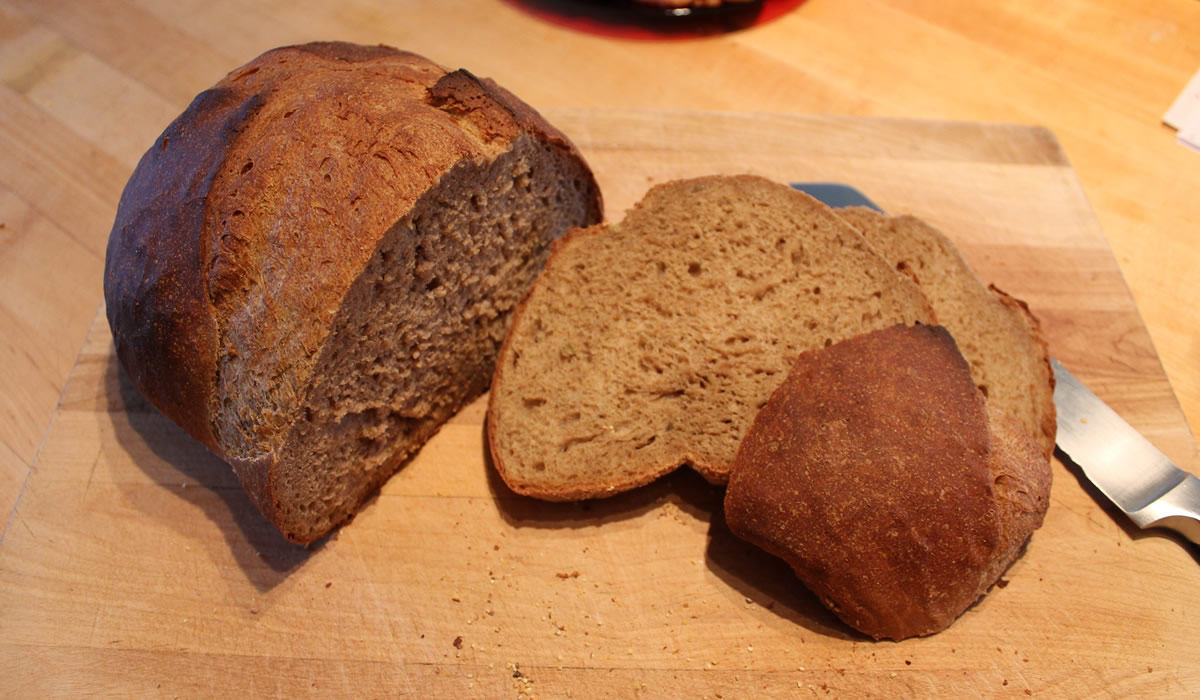
Guinness Rye Bread
Sunday in the Kitchen
Sourdough Pizza
Avanzi di Pane
More Sourdough
Sourdough Bread
Pane Bianco
Rustic Potato Bread
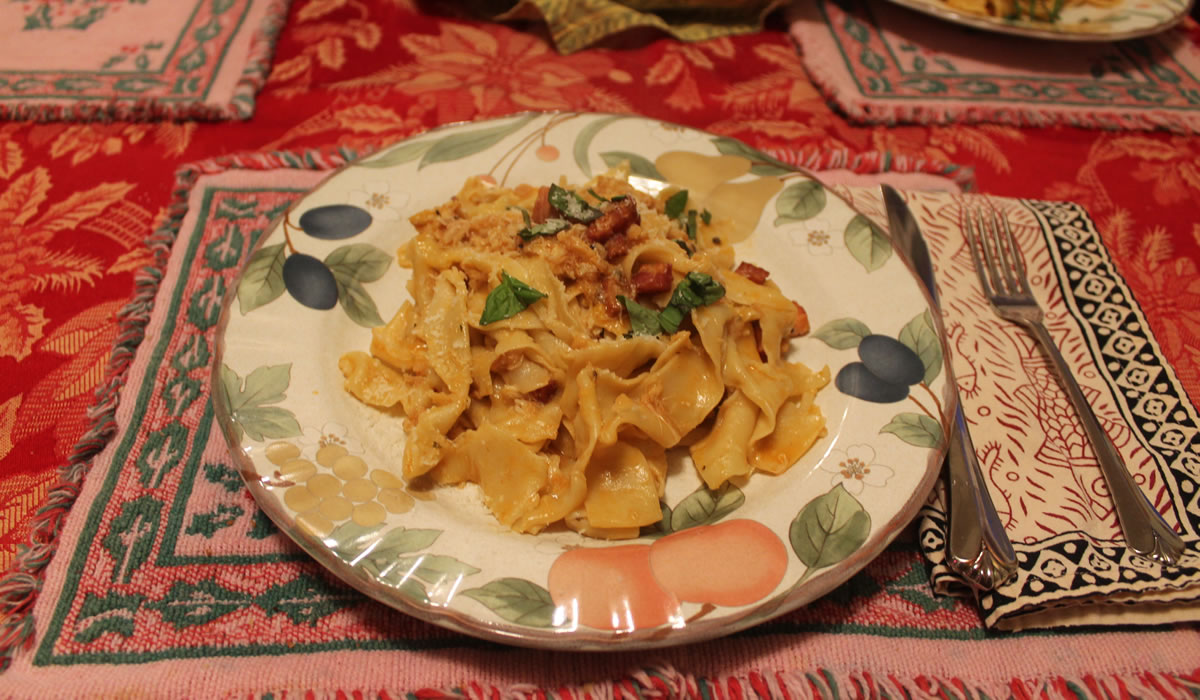
Homemade Pasta and 2017 in Review
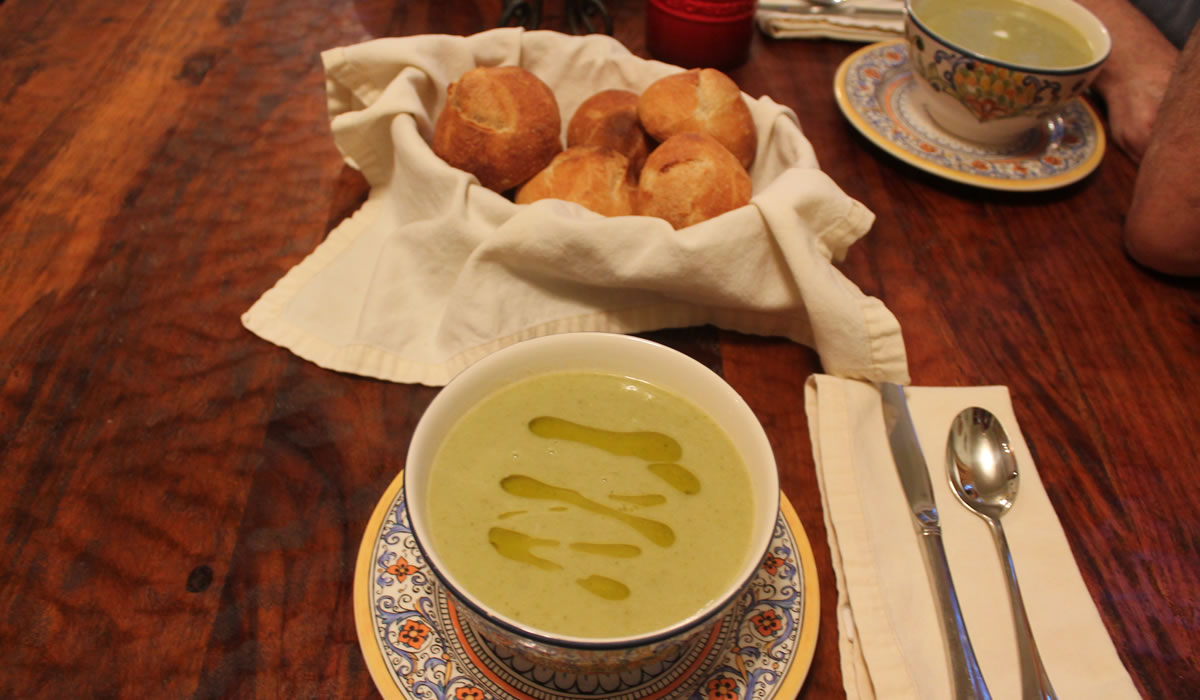
Creamy Soup and Crusty Rolls
1
2
3
4
5
6
…
11