The Fabulous Food Blog
About Us
Live to Eat or Eat to Live?
James Beard – My Hero
10 Greatest Cooking Disasters
Cooking Tips
Conversions and Substitutions
Wedding Cake Data Chart
TJ Recipes
Tim’s Mom’s Cookbooks
Flour Power
Family & Friends
Family Reunion-1
Family Reunion-2
Little Gram’s Cookbook
Quick Meals
Recipes From The Heart
Holiday Cooking
Recipes from Villa Modica
Other Stuff
Search
The Fabulous Food Blog
About Us
Live to Eat or Eat to Live?
James Beard – My Hero
10 Greatest Cooking Disasters
Cooking Tips
Conversions and Substitutions
Wedding Cake Data Chart
Tim and Victor's Totally Joyous Recipes
Bakery
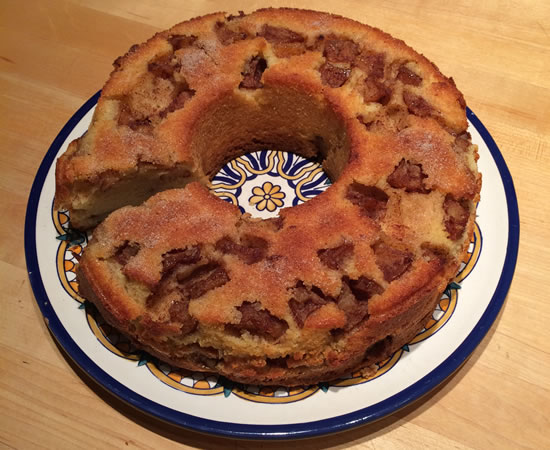
Apple Cake
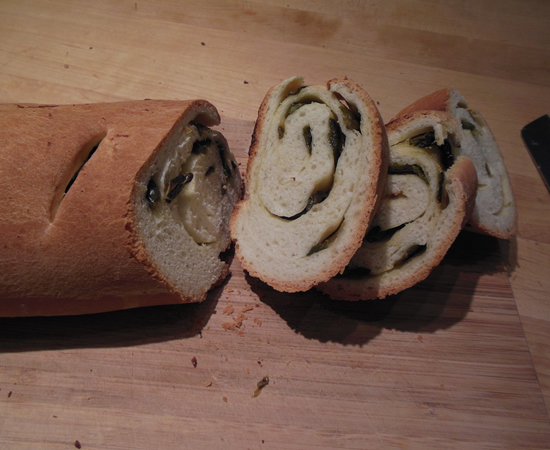
Peppers
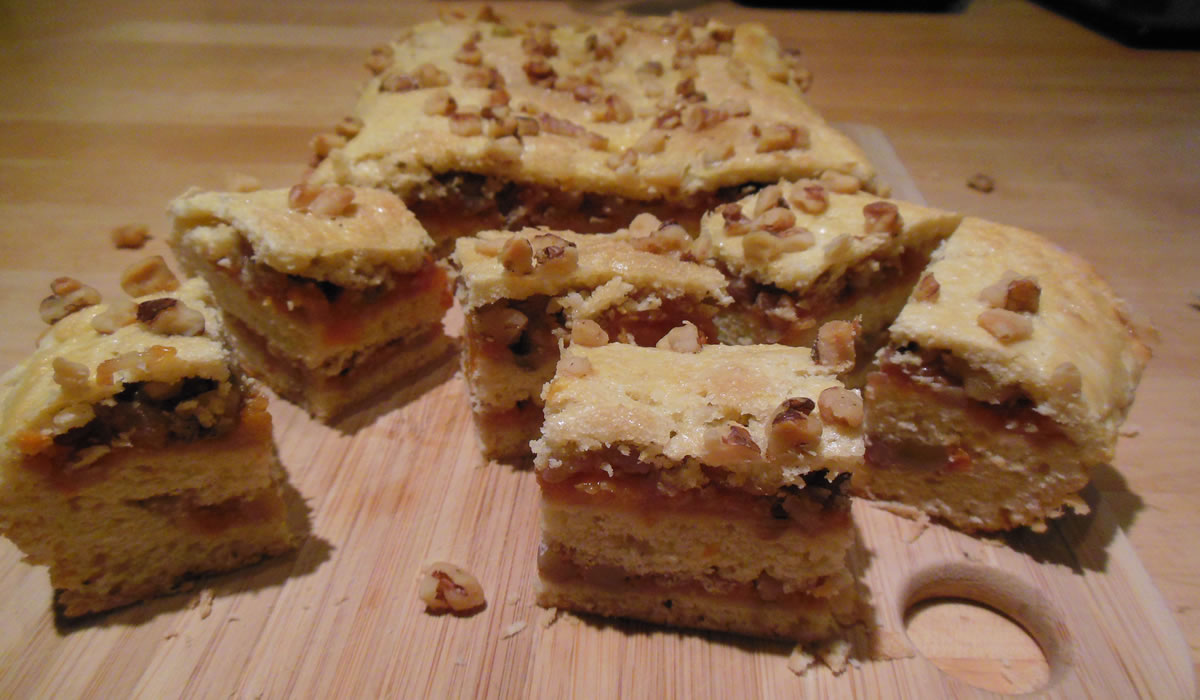
Peach Strudel
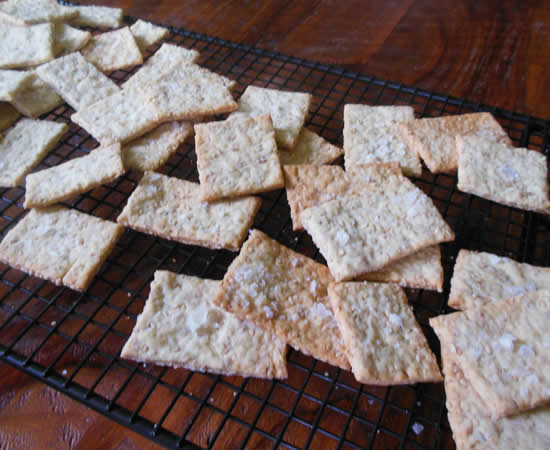
Sesame Crackers
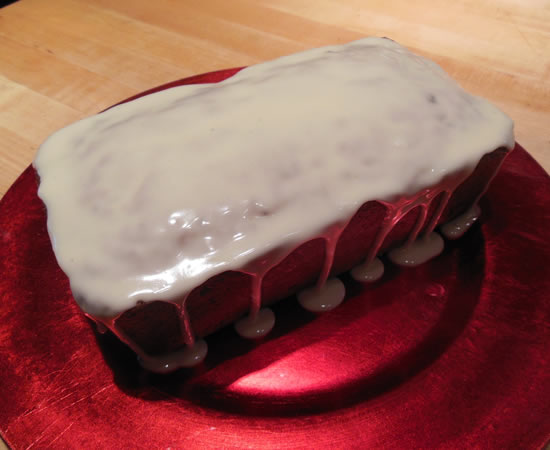
Cranberry Tangerine Bread
Chicken Soup & Cornbread
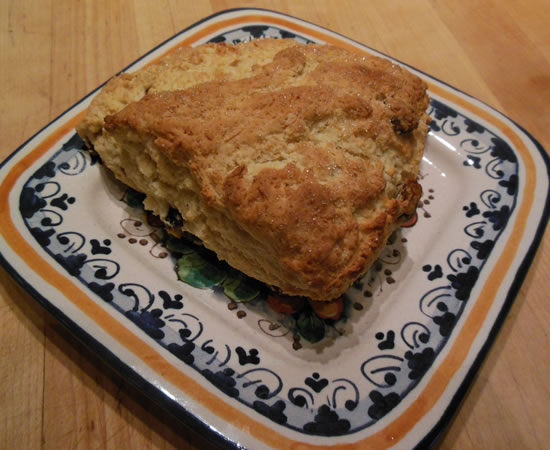
Cranberry Scones
Pumpkin Bread Fail
Peach Pie
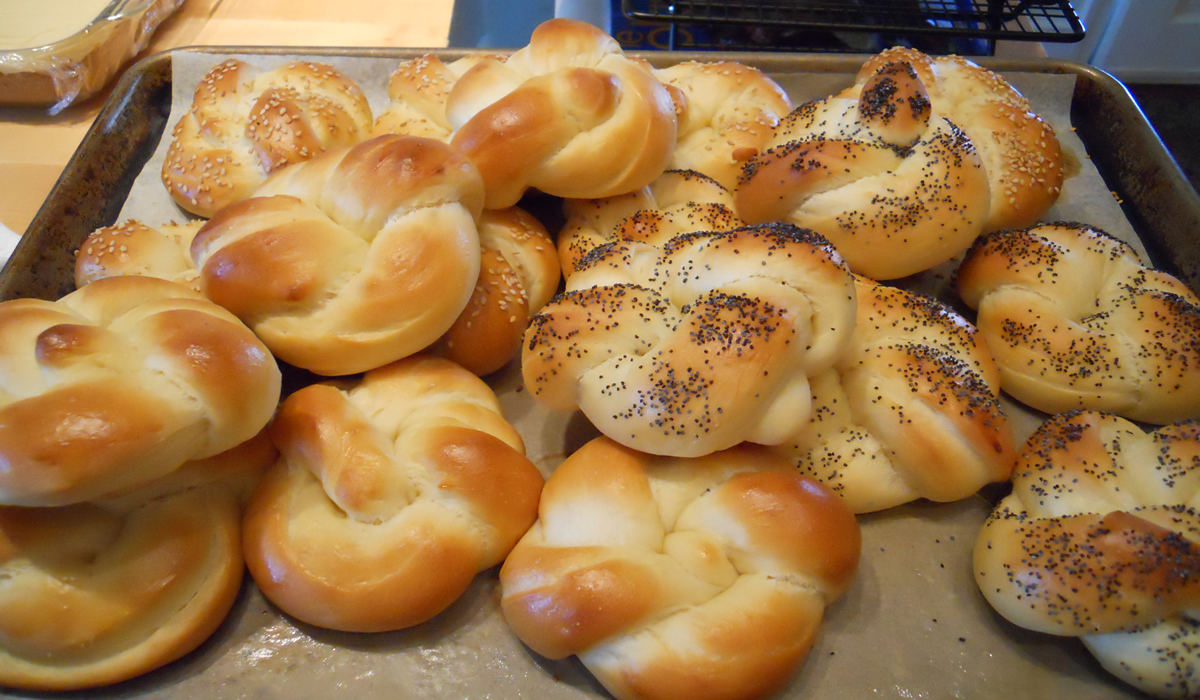
Knotted Dinner Rolls
Monday Mash-Up
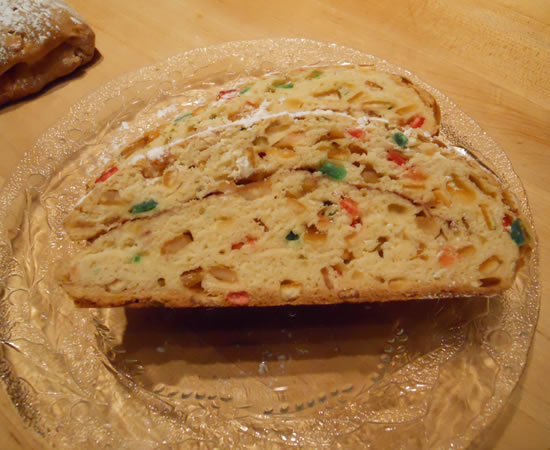
Christmas Stollen
Danish Pastries and Brunch with Friends
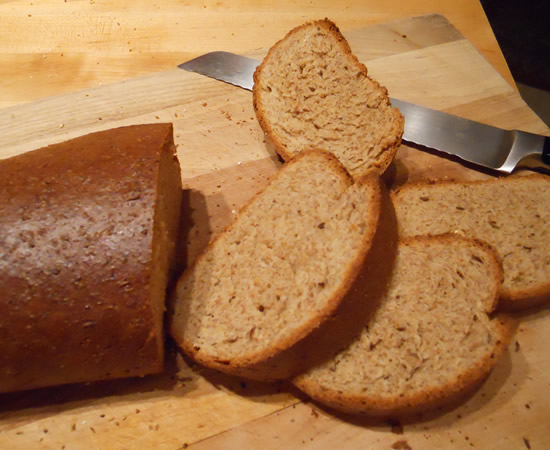
Rigatoni and Rye
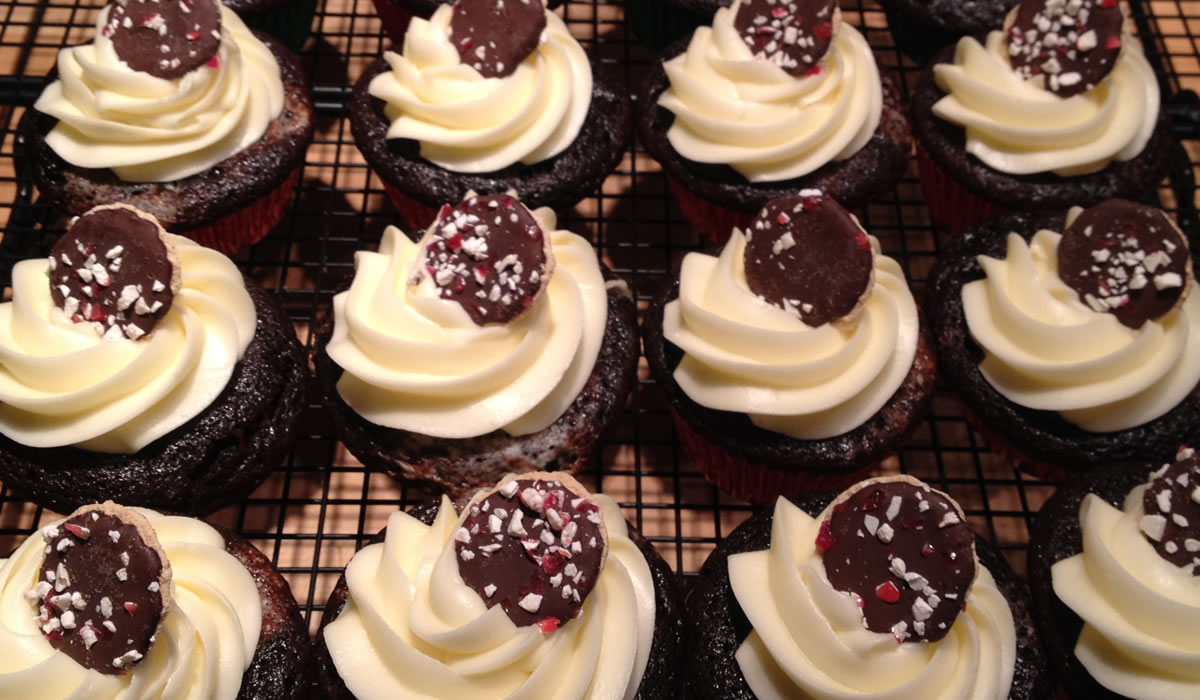
Chocolate Peppermint Cupcakes
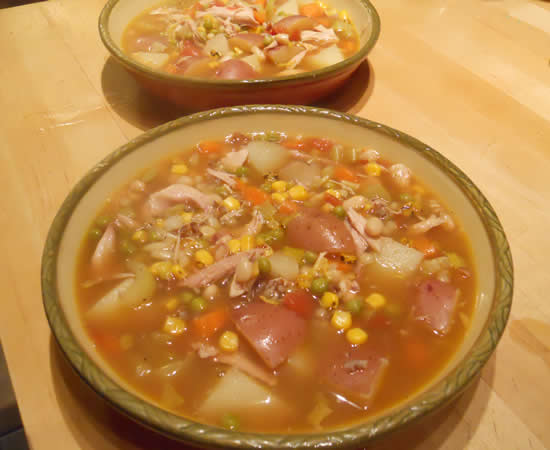
Chicken Soup and Cornbread
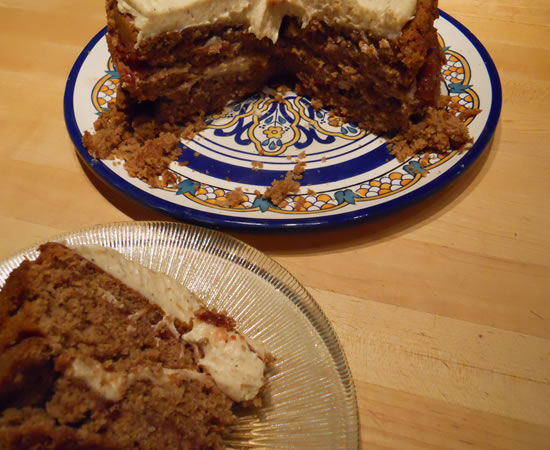
Spice Cake Fail
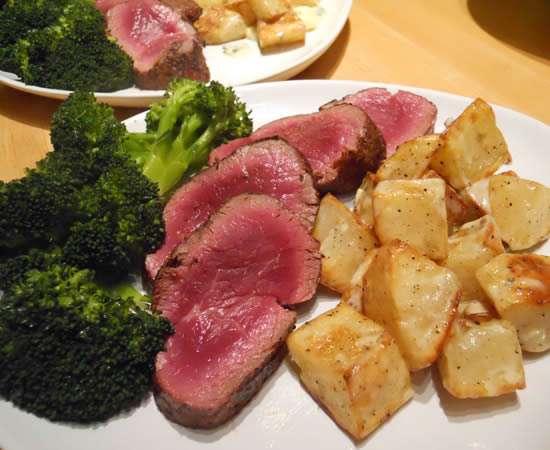
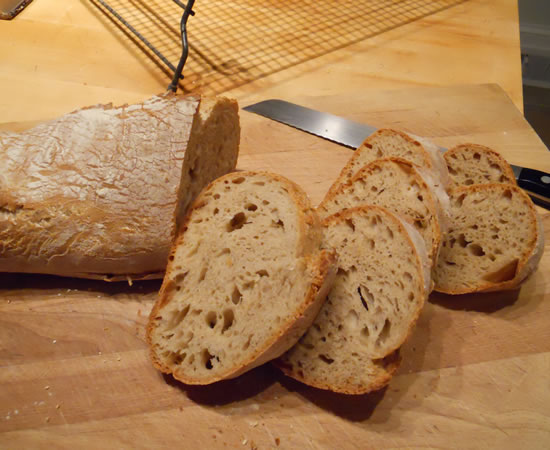
Bread and Beef
1
2
3
4
5
…
8