The Fabulous Food Blog
About Us
Live to Eat or Eat to Live?
James Beard – My Hero
10 Greatest Cooking Disasters
Cooking Tips
Conversions and Substitutions
Wedding Cake Data Chart
TJ Recipes
Tim’s Mom’s Cookbooks
Flour Power
Family & Friends
Family Reunion-1
Family Reunion-2
Little Gram’s Cookbook
Quick Meals
Recipes From The Heart
Holiday Cooking
Recipes from Villa Modica
Other Stuff
Search
The Fabulous Food Blog
About Us
Live to Eat or Eat to Live?
James Beard – My Hero
10 Greatest Cooking Disasters
Cooking Tips
Conversions and Substitutions
Wedding Cake Data Chart
Tim and Victor's Totally Joyous Recipes
Food Stuff
Apple Pie
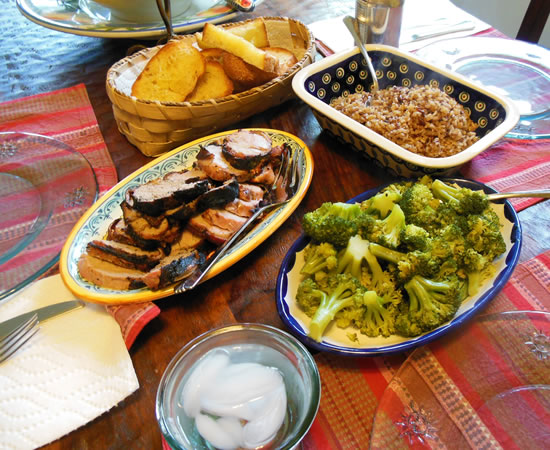
Bacon-Wrapped Pork Tenderloin
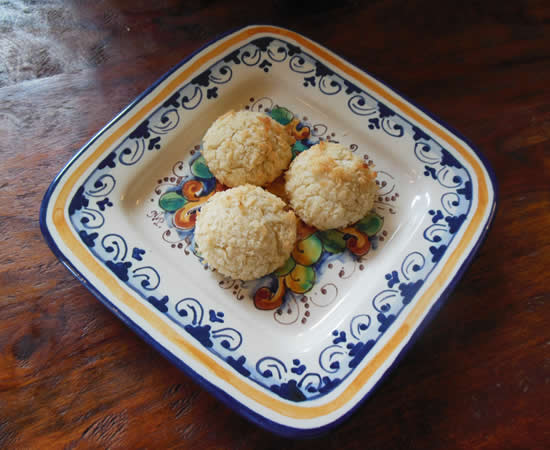
Coconut Cookies and the Gay Agenda
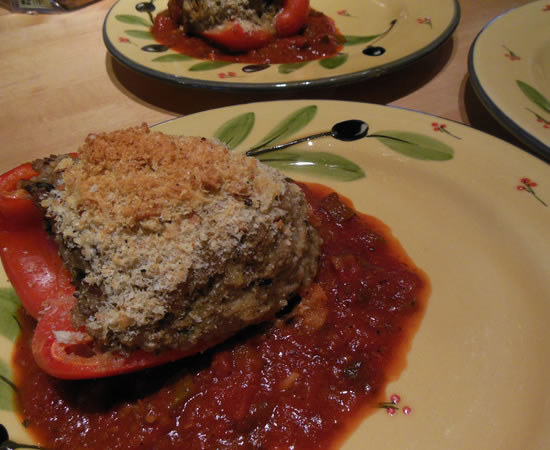
Stuffed Peppers
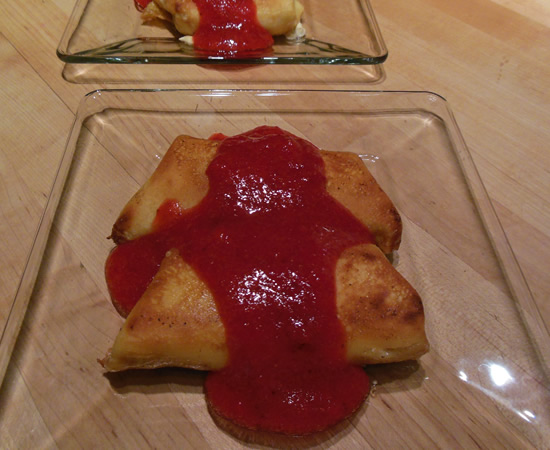
Strawberry Blintzes
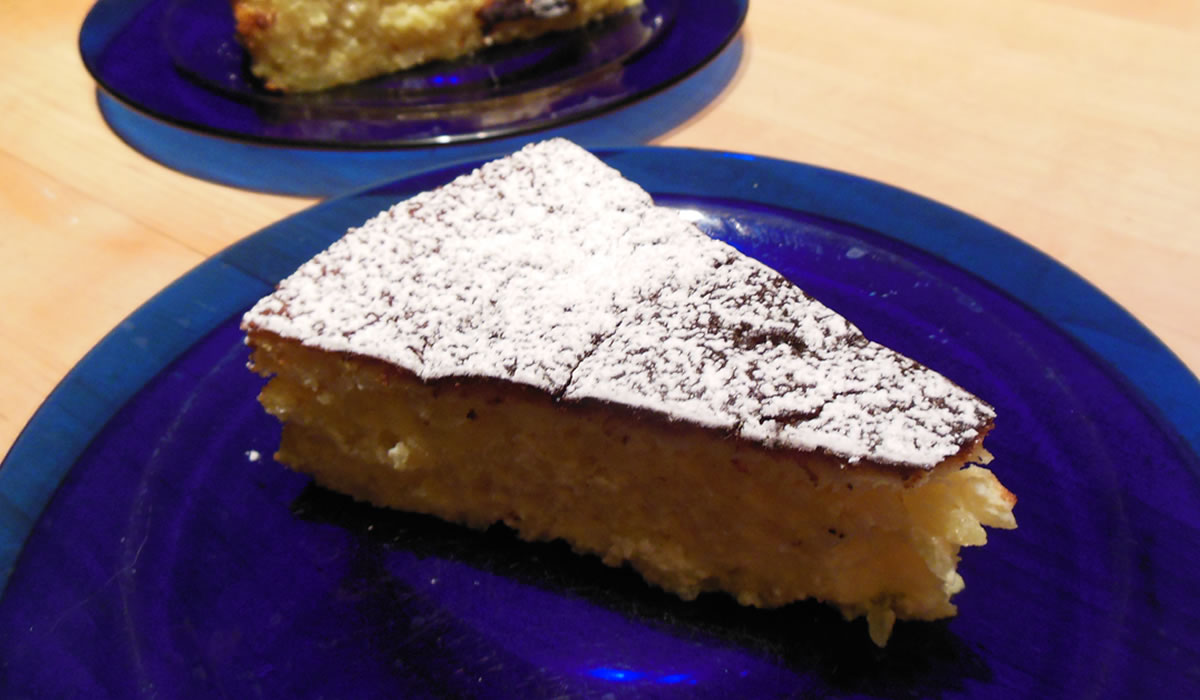
Saffron Rice Cake
Still Cleaning out the Freezer
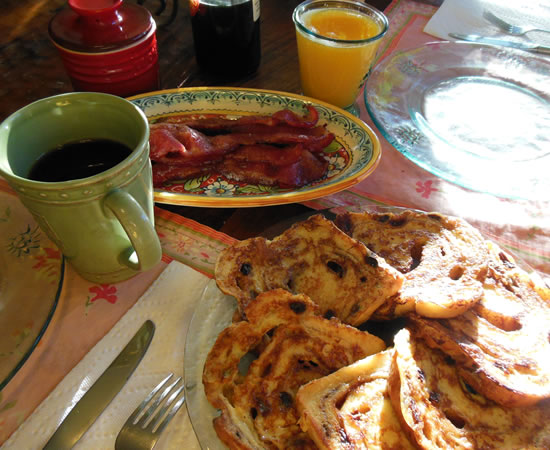
Sunday French Toast and Fresh-Squeezed Juice
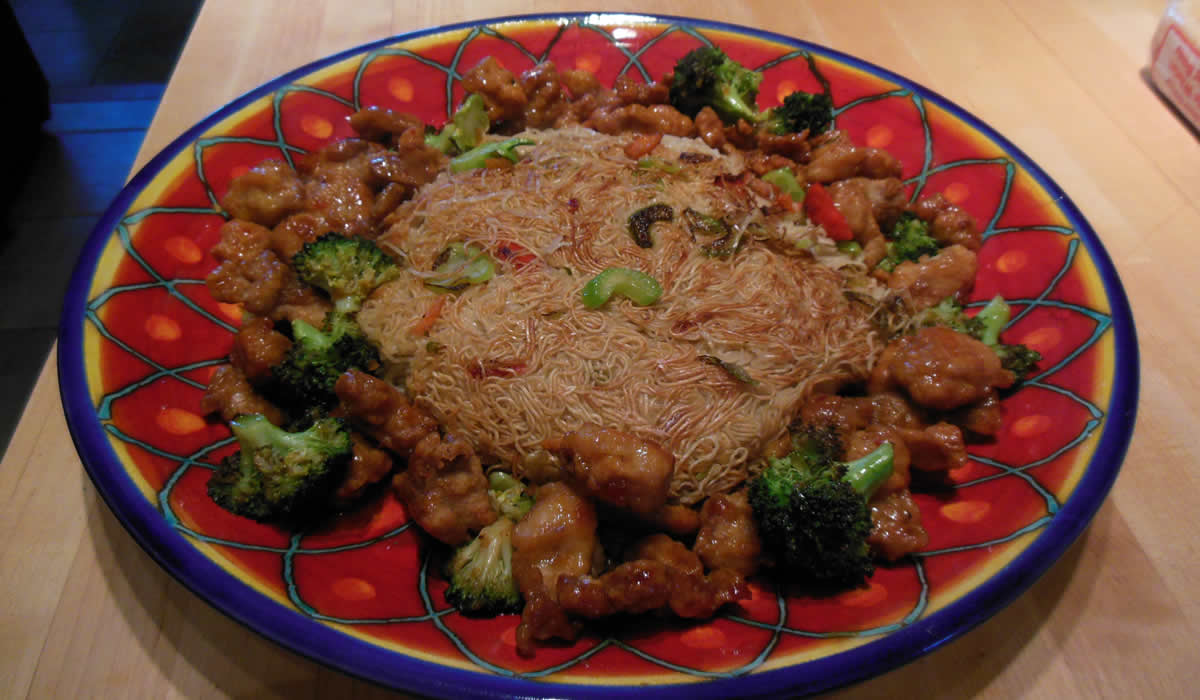
Gung Hay Fat Choy
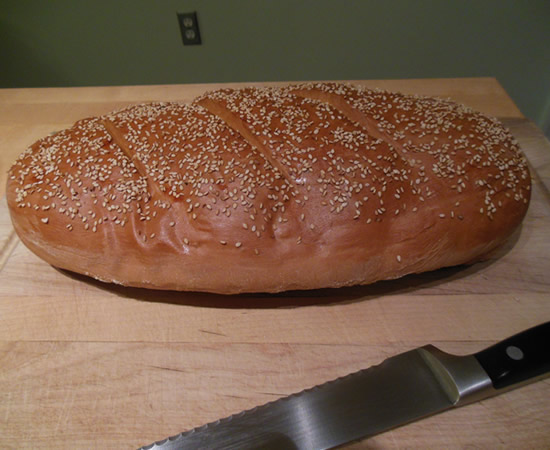
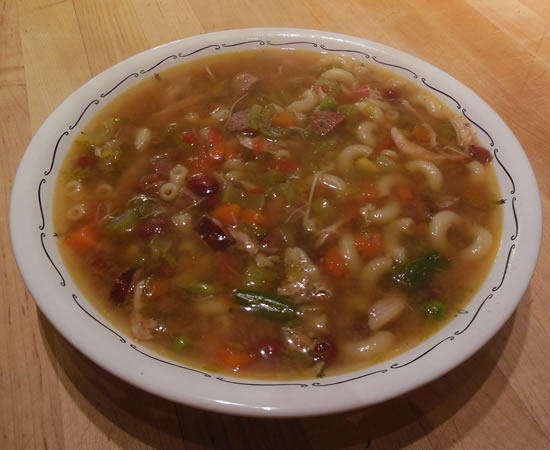
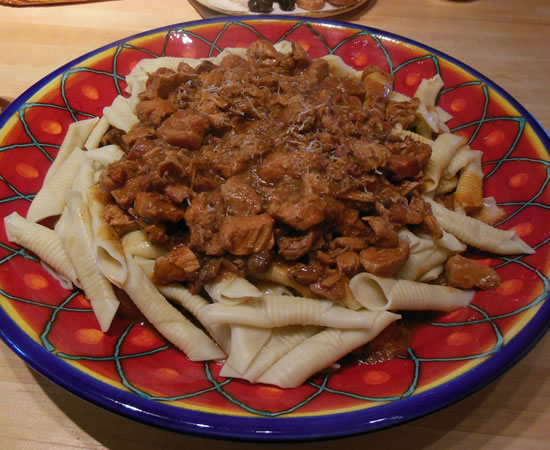
Pasta and Fresh-Baked Bread
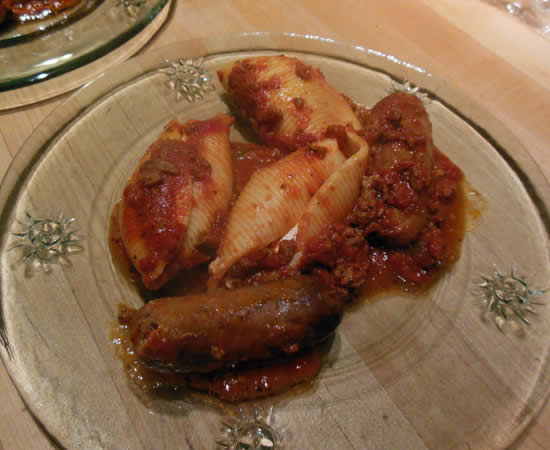
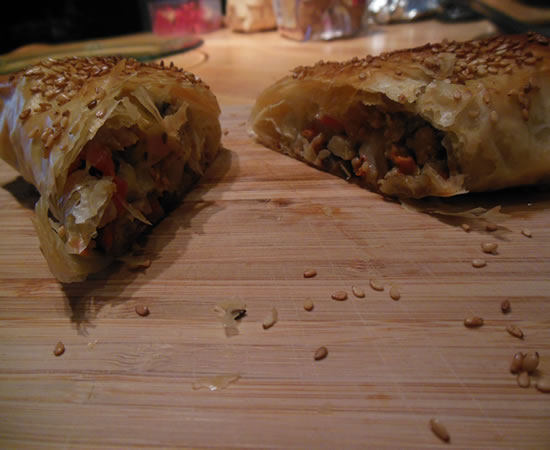
Sausage Rolls
Sicilian Tuna & Eggplant Potatoes
Start with a Chicken
Garganelli con Maiale in Guazetto
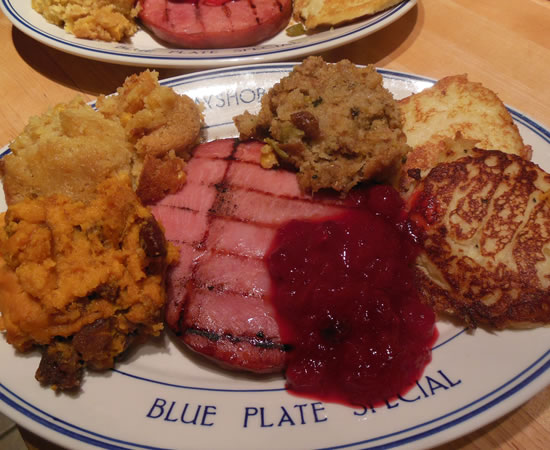
Baby, It’s Cold Outside
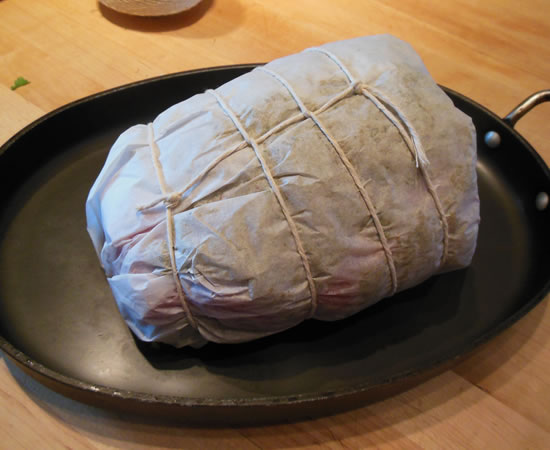
Lardo-Studded Roast Beef
The Last Hurrah
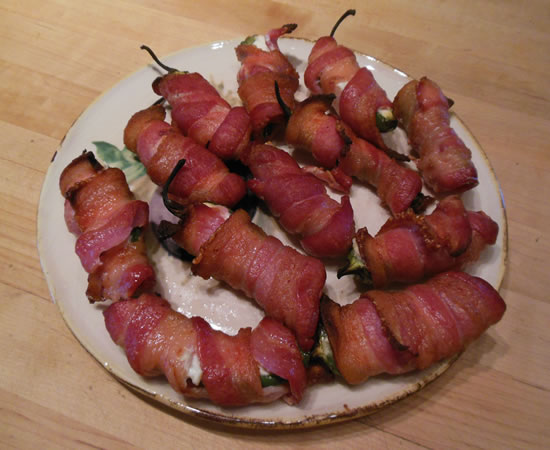
Bacon Wrapped Stuffed Jalapeños
1
…
6
7
8
9
10
…
50