The Fabulous Food Blog
About Us
Live to Eat or Eat to Live?
James Beard – My Hero
10 Greatest Cooking Disasters
Cooking Tips
Conversions and Substitutions
Wedding Cake Data Chart
TJ Recipes
Tim’s Mom’s Cookbooks
Flour Power
Family & Friends
Family Reunion-1
Family Reunion-2
Little Gram’s Cookbook
Quick Meals
Recipes From The Heart
Holiday Cooking
Recipes from Villa Modica
Other Stuff
Search
The Fabulous Food Blog
About Us
Live to Eat or Eat to Live?
James Beard – My Hero
10 Greatest Cooking Disasters
Cooking Tips
Conversions and Substitutions
Wedding Cake Data Chart
Tim and Victor's Totally Joyous Recipes
Month: March 2012
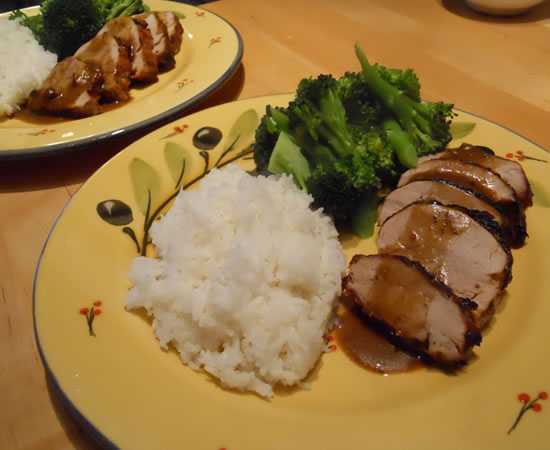
Pork Tenderloin with Roasted Garlic Vinaigrette
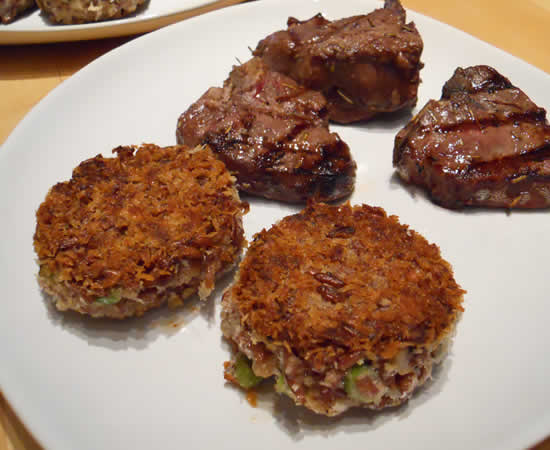
Rice Cakes and Lamb Chops
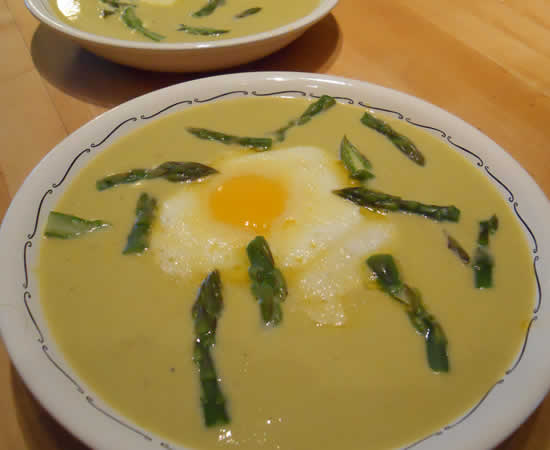
Cream of Asparagus Soup
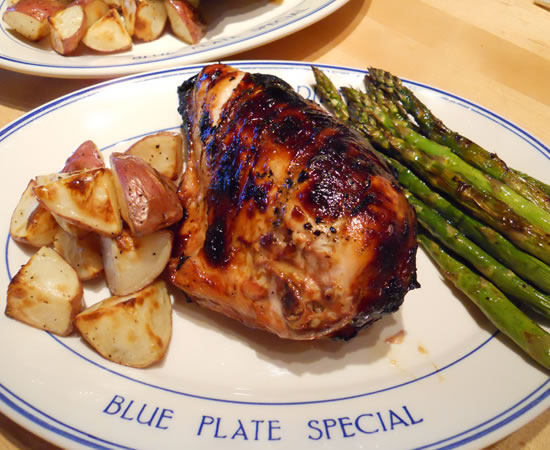
Chicken on the Barbie
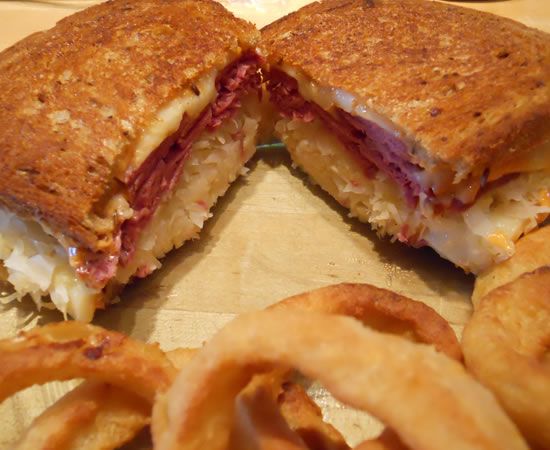
A Cross-Cultural St Paddy’s Day
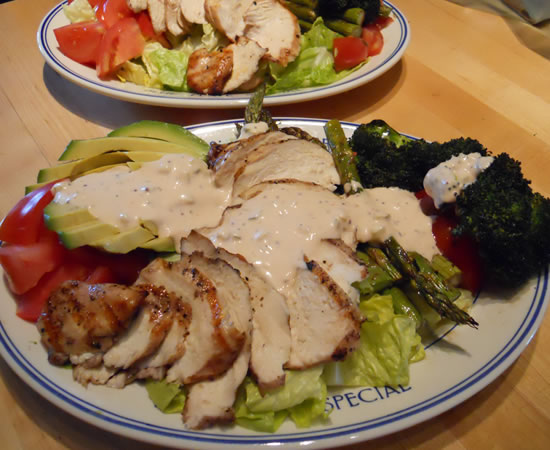
Spring Salads
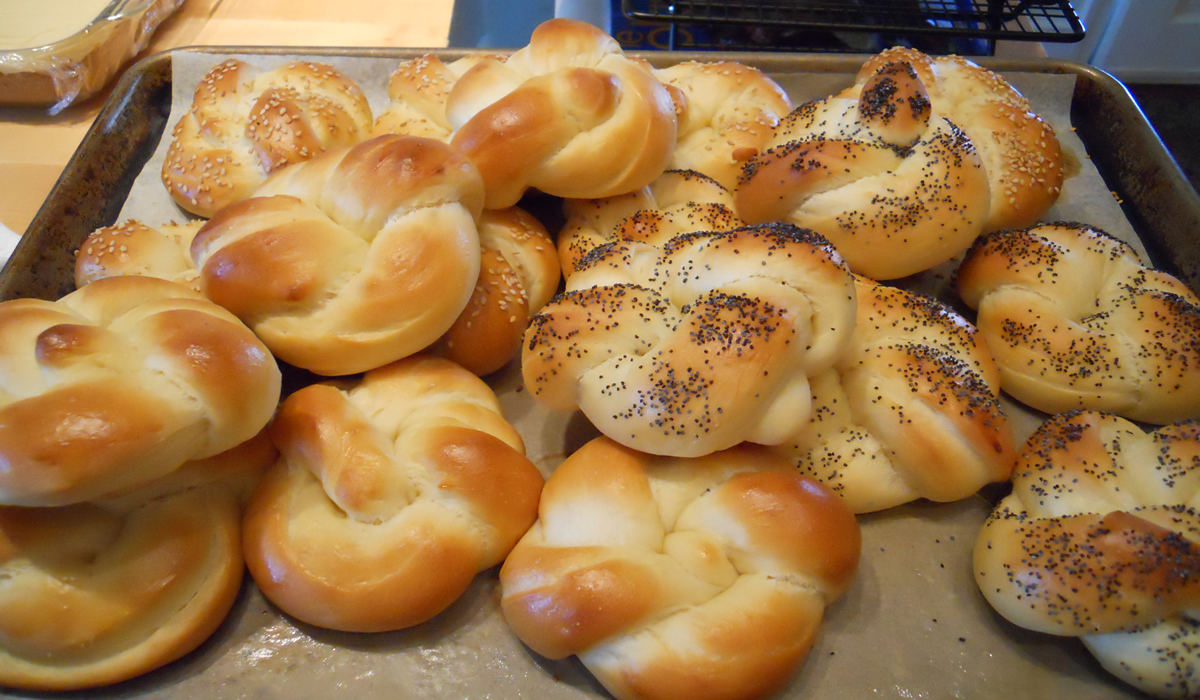
Knotted Dinner Rolls
Unusual Meals
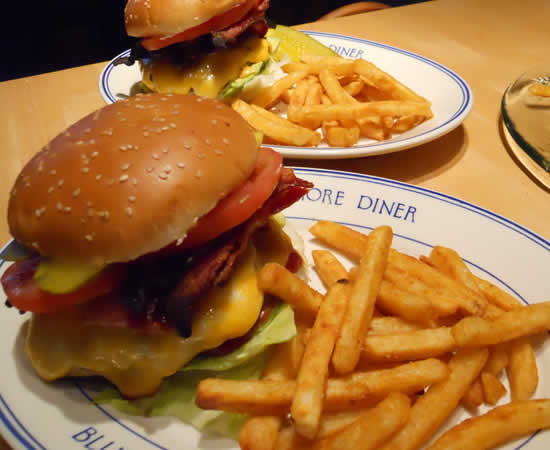
The BLTA Cheese Burger
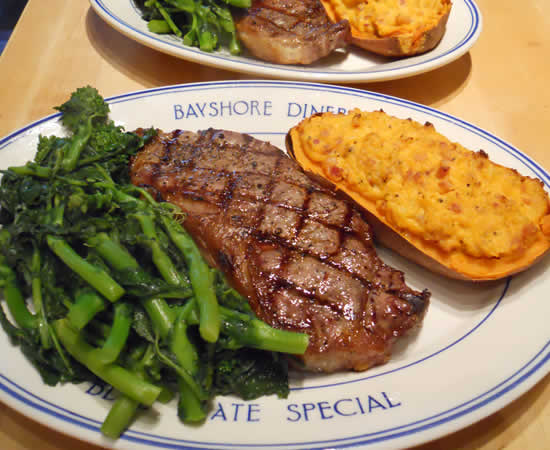
Twice-Baked Sweet Potatoes
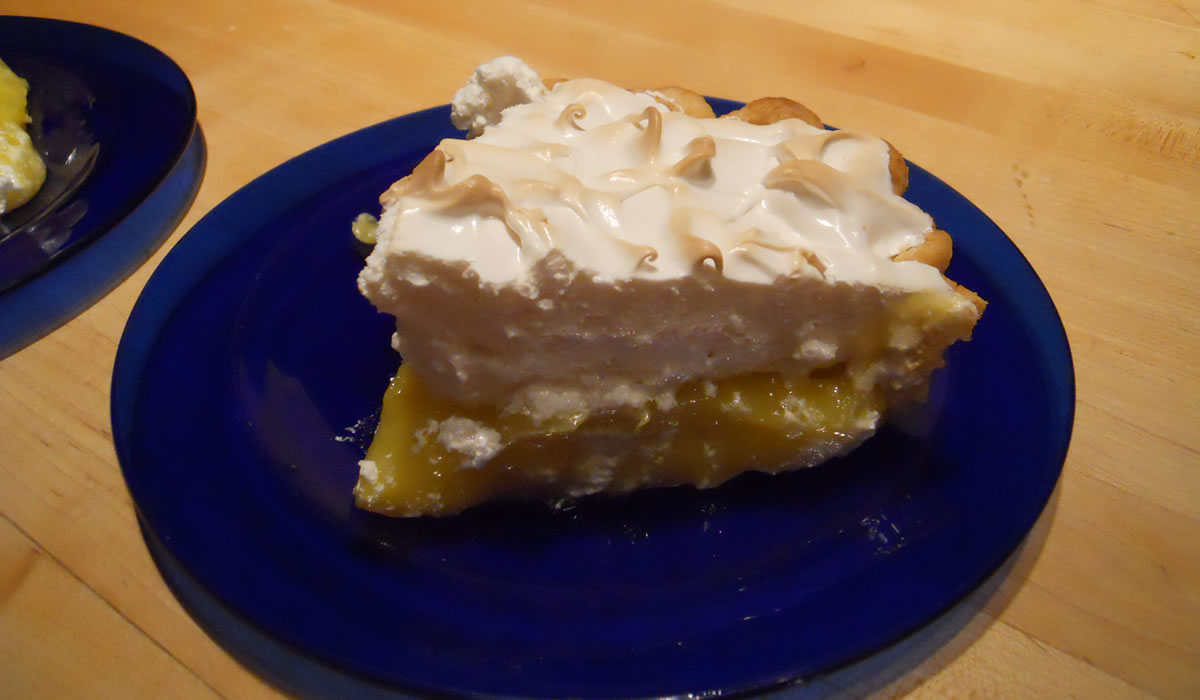
Lemon Meringue Pie
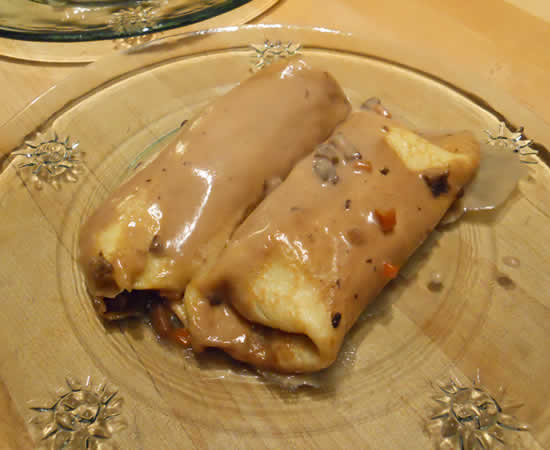
Beef and Mushroom Crêpes
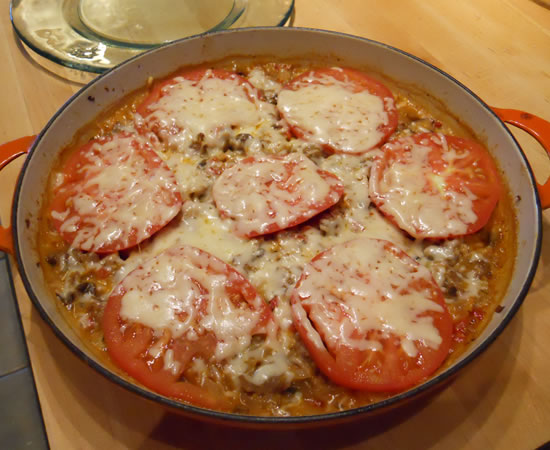
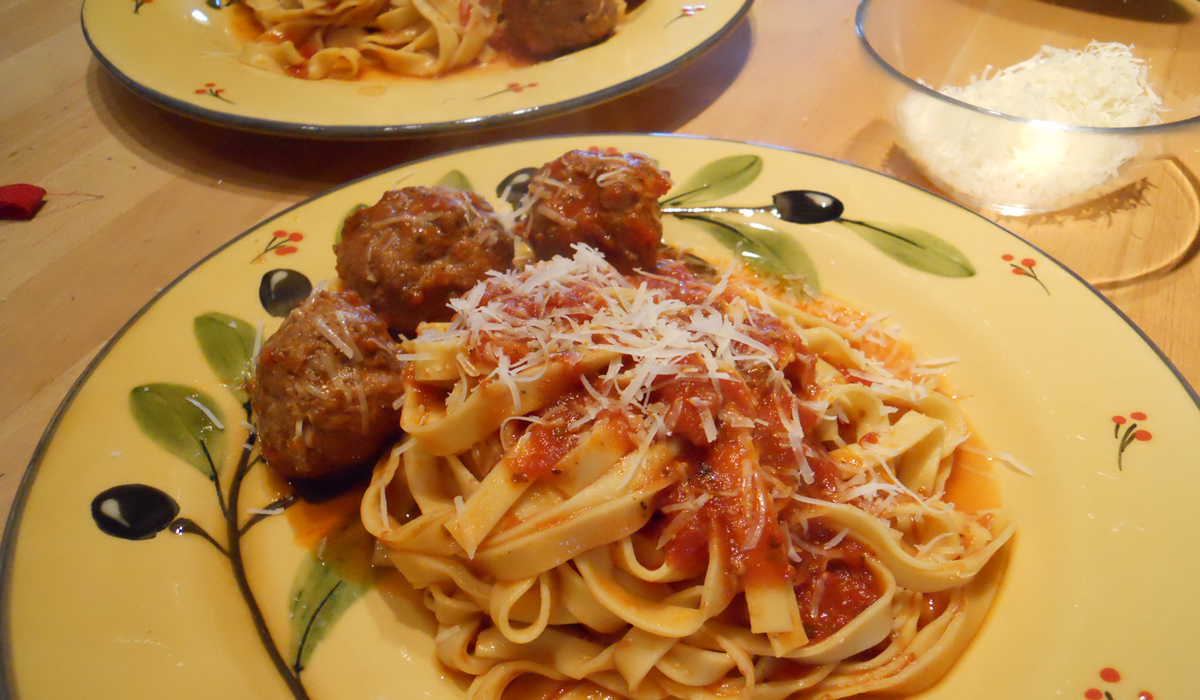
Sunday Dinner
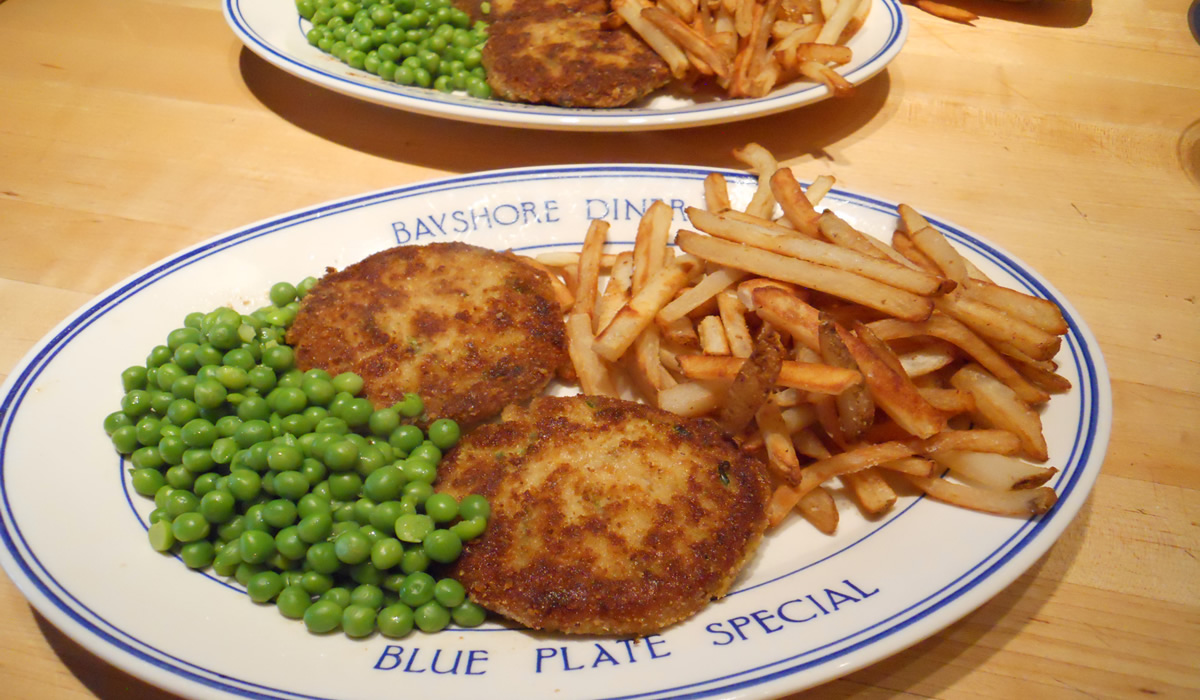
Crab Cakes and Pound Cake
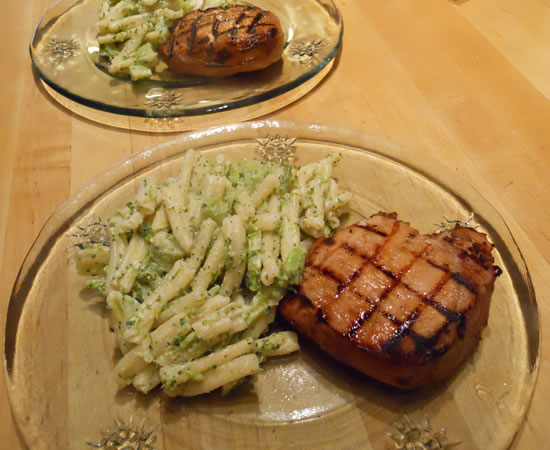
Pork Chops and Broccoli Pasta