The Fabulous Food Blog
About Us
Live to Eat or Eat to Live?
James Beard – My Hero
10 Greatest Cooking Disasters
Cooking Tips
Conversions and Substitutions
Wedding Cake Data Chart
TJ Recipes
Tim’s Mom’s Cookbooks
Flour Power
Family & Friends
Family Reunion-1
Family Reunion-2
Little Gram’s Cookbook
Quick Meals
Recipes From The Heart
Holiday Cooking
Recipes from Villa Modica
Other Stuff
Search
The Fabulous Food Blog
About Us
Live to Eat or Eat to Live?
James Beard – My Hero
10 Greatest Cooking Disasters
Cooking Tips
Conversions and Substitutions
Wedding Cake Data Chart
Tim and Victor's Totally Joyous Recipes
Not really a food snob - just incredibly opinionated.
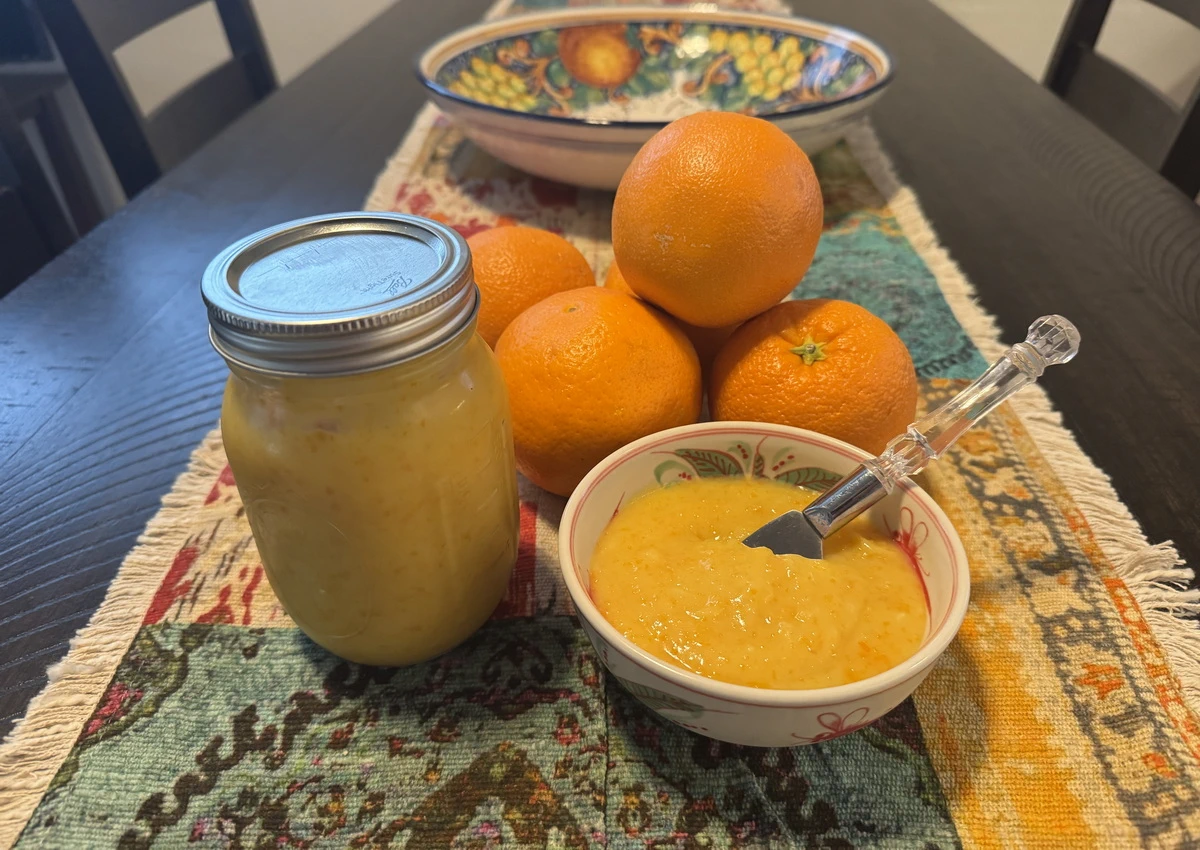
Orange Curd
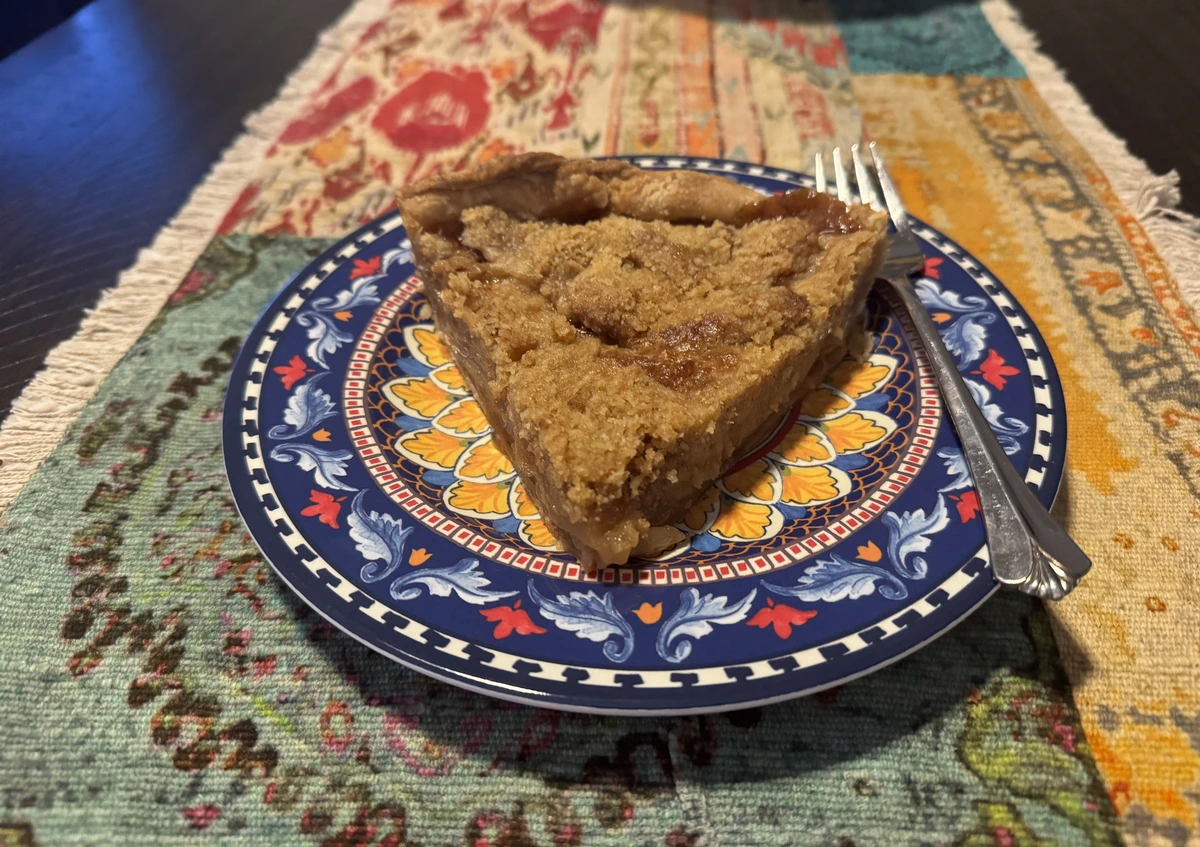
Cast-Iron Skillet Apple Crumb Pie
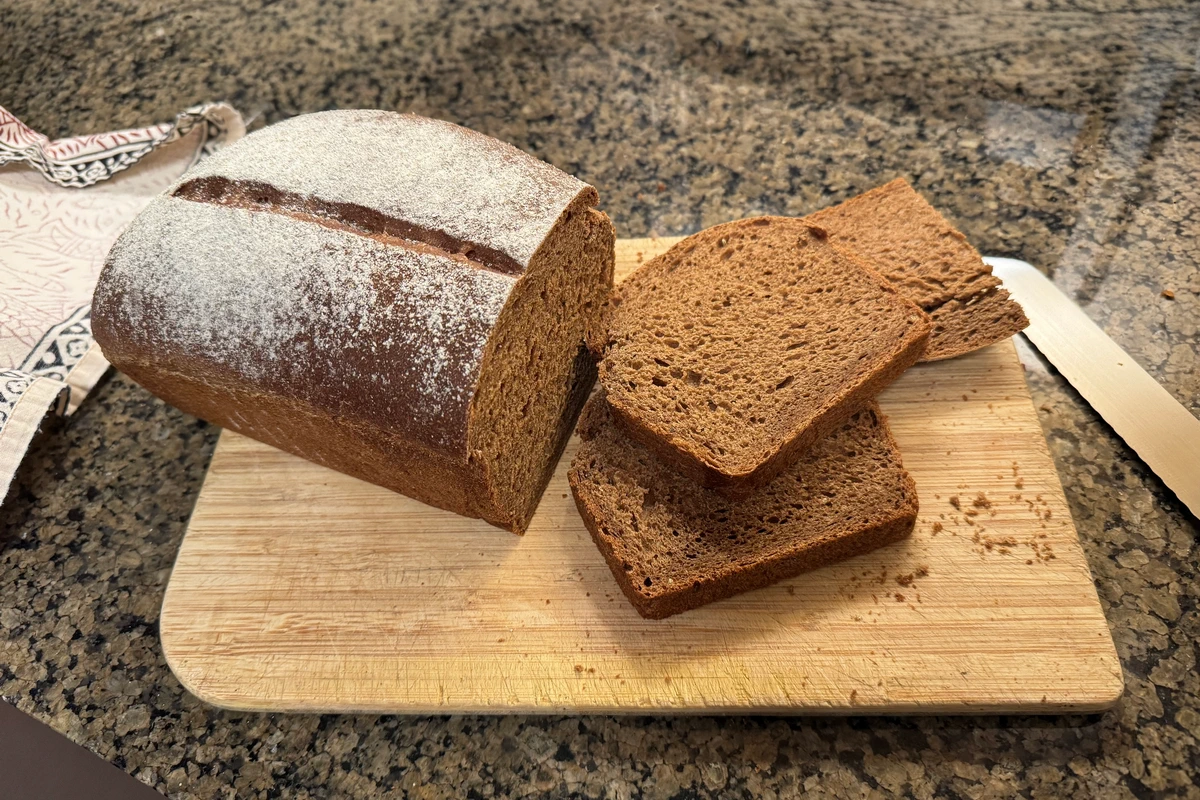
Russian Black Bread
Cannelloni
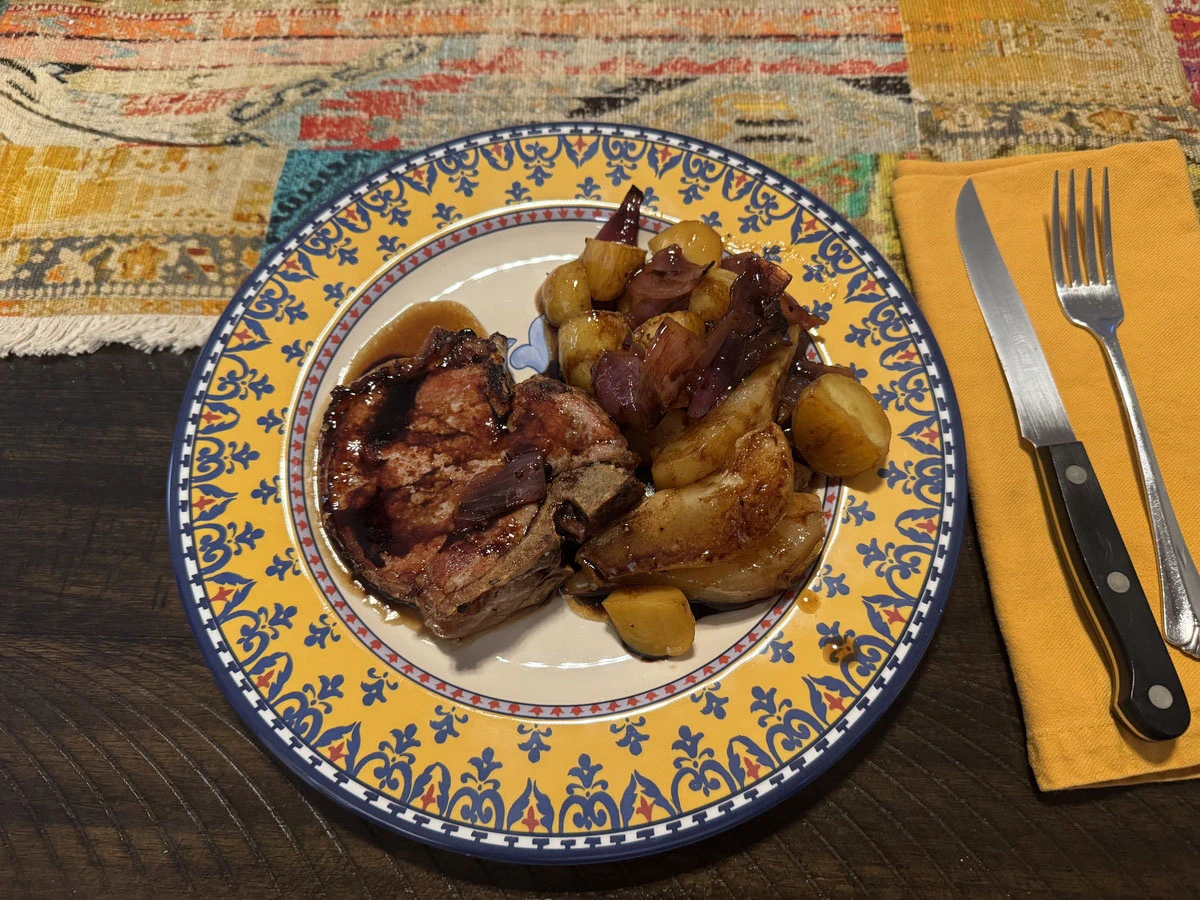
Pork Chops, Onions, and Pears
Butter and Milk Chocolate Cookies
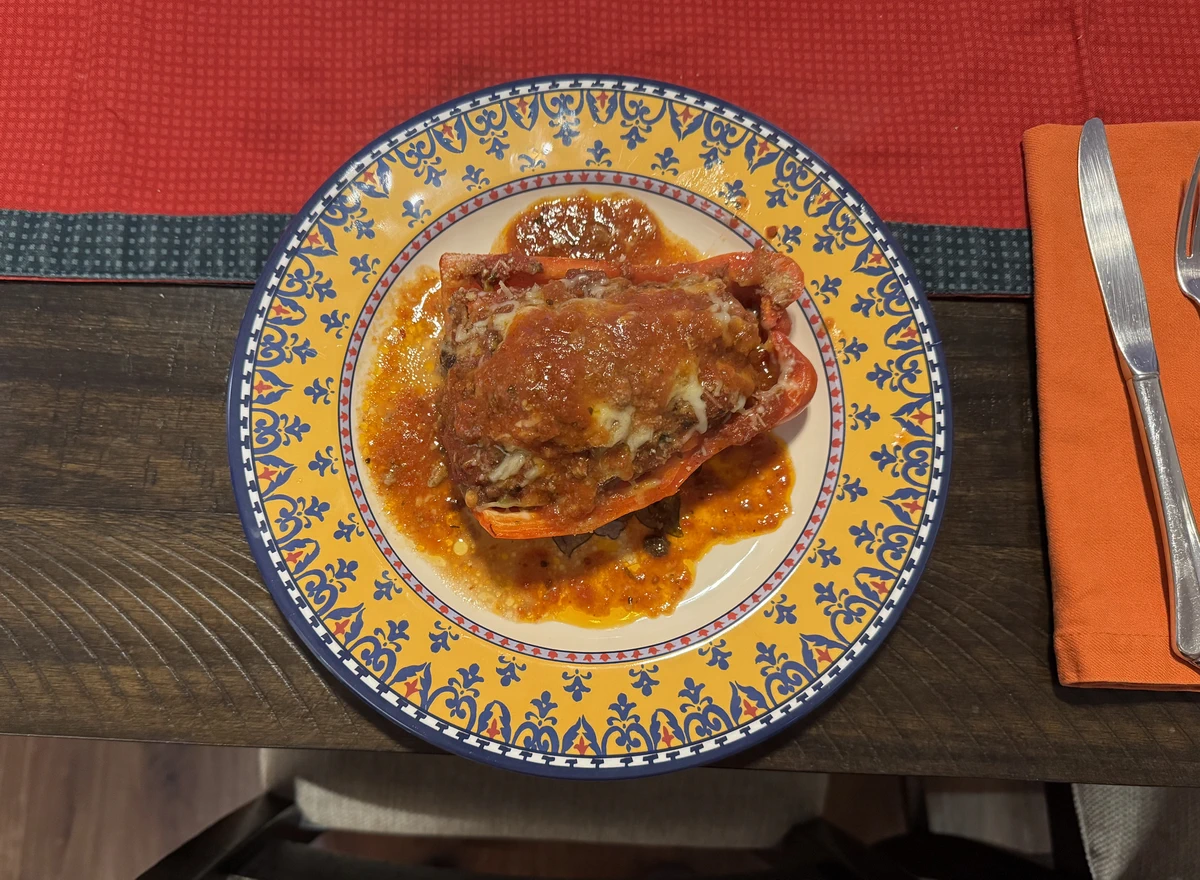
Stuffed Peppers
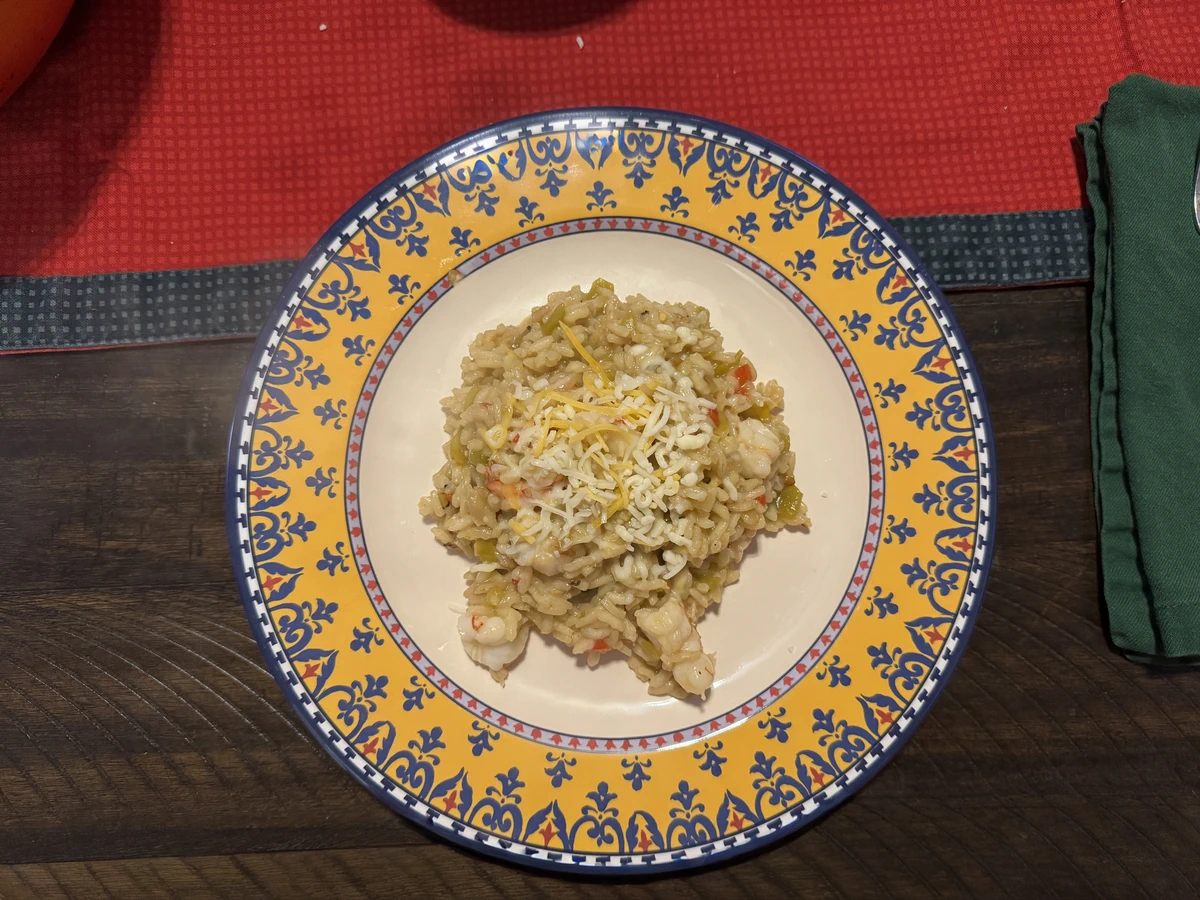
Shrimp Risotto – Mexican-Style
Welsh Rarebit
Cavatelli with Pesto and Fennel
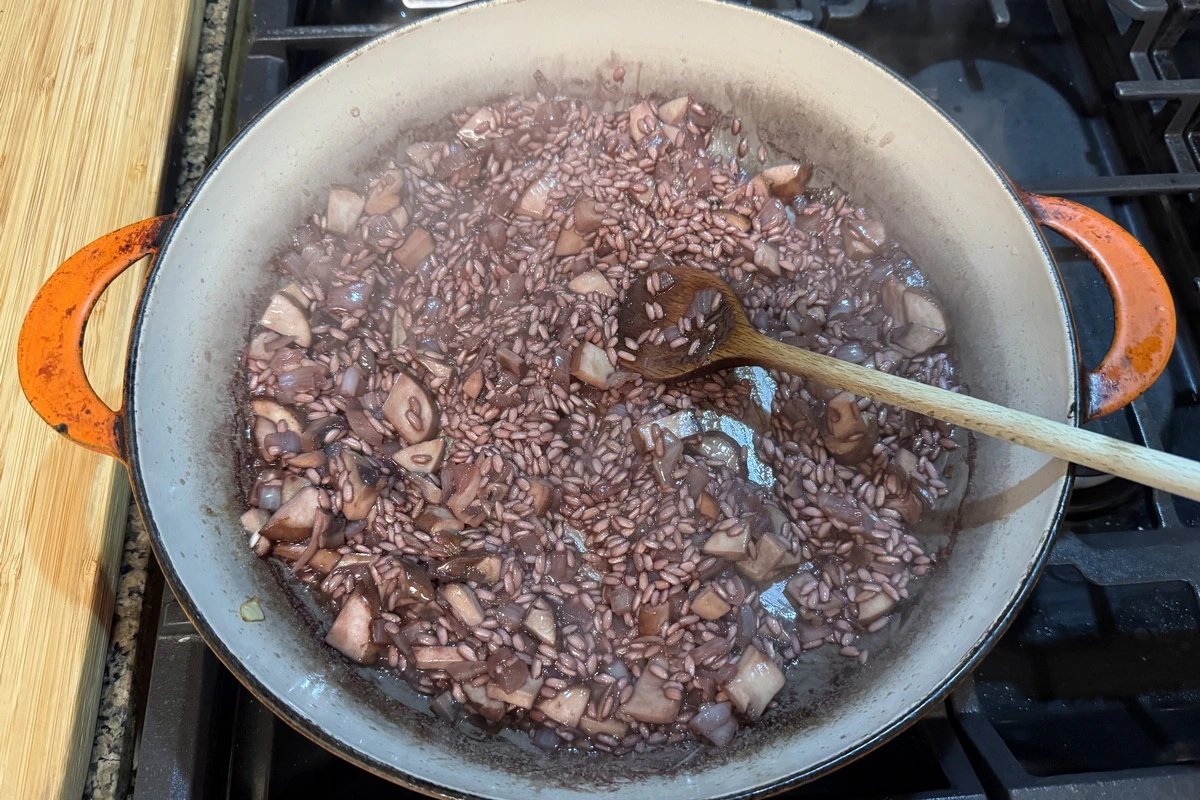
Red Wine Mushroom Risotto
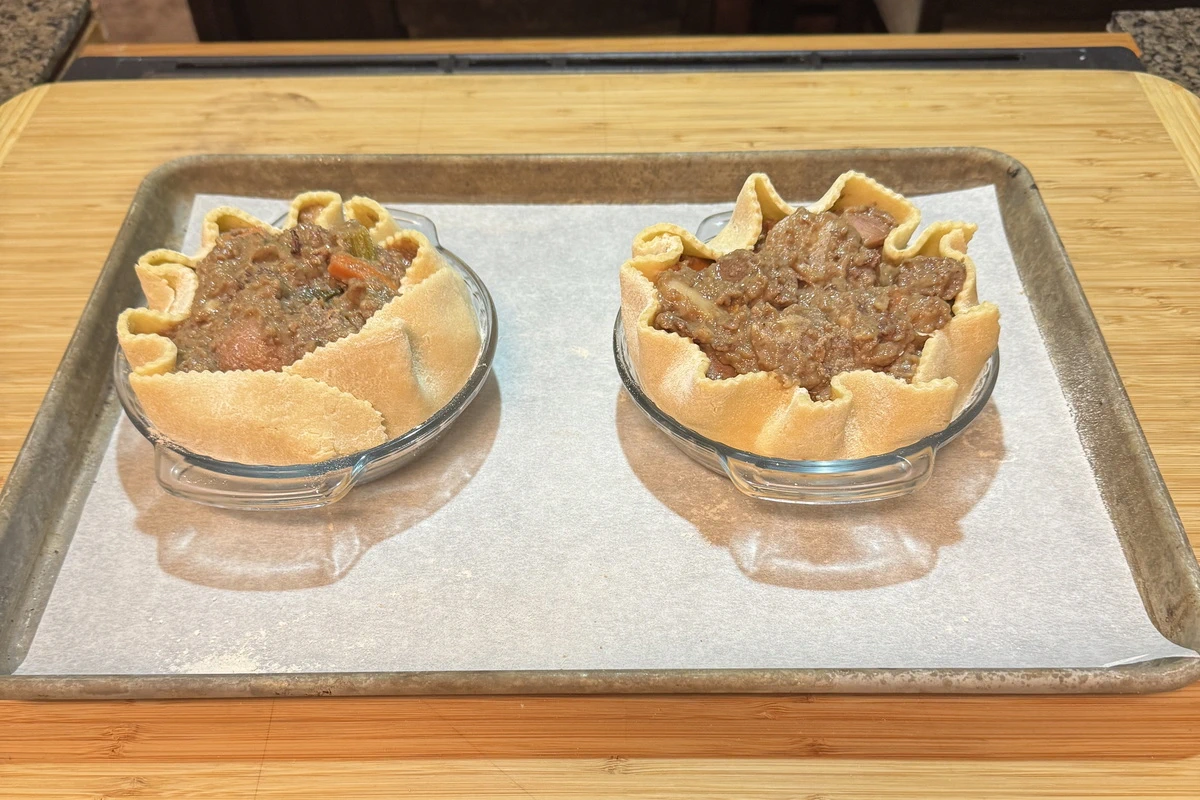
Beef Stew Pot Pie
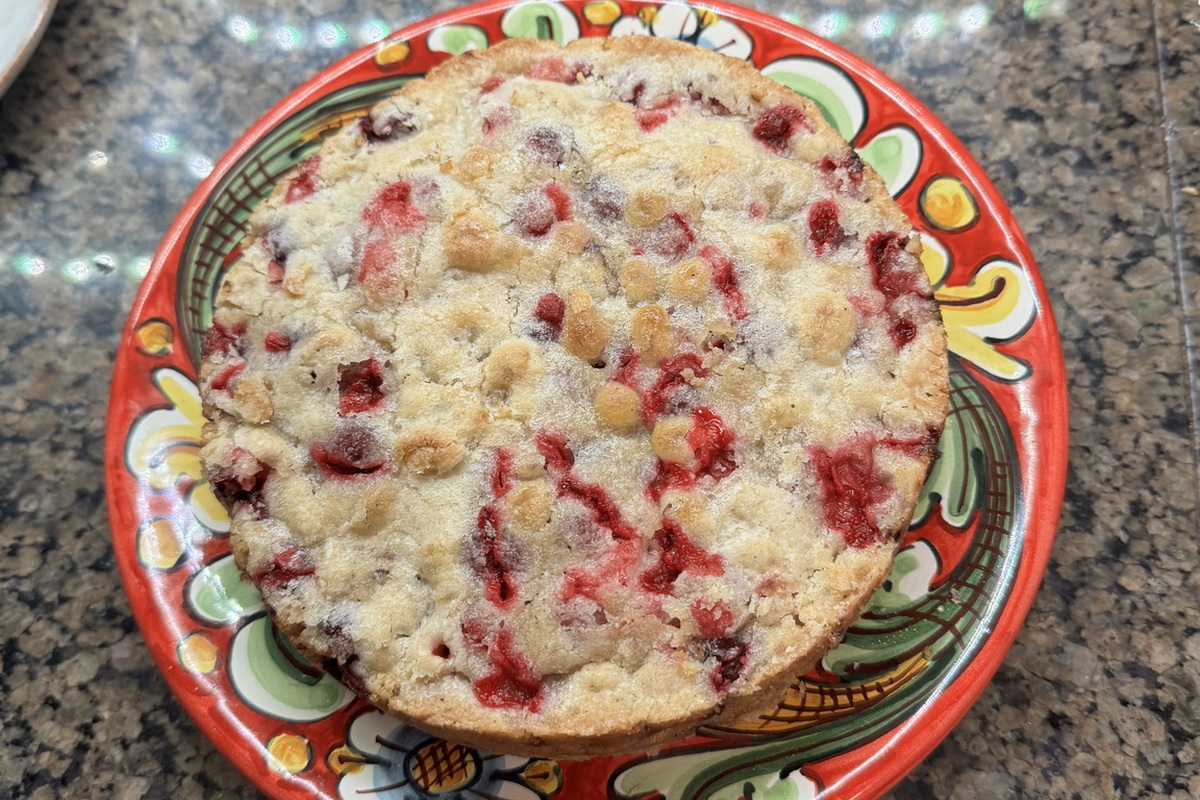
Cranberry Walnut Cake
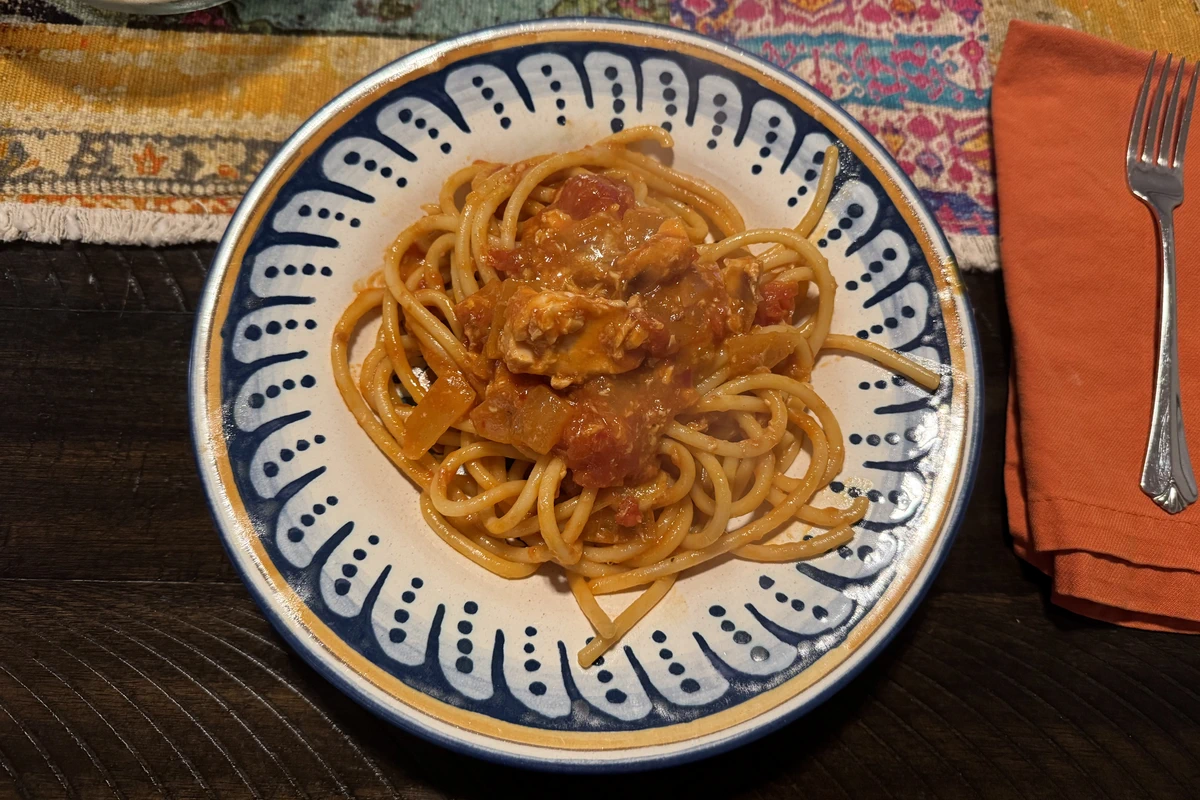
Samin’s Spicy Tuna Pantry Pasta
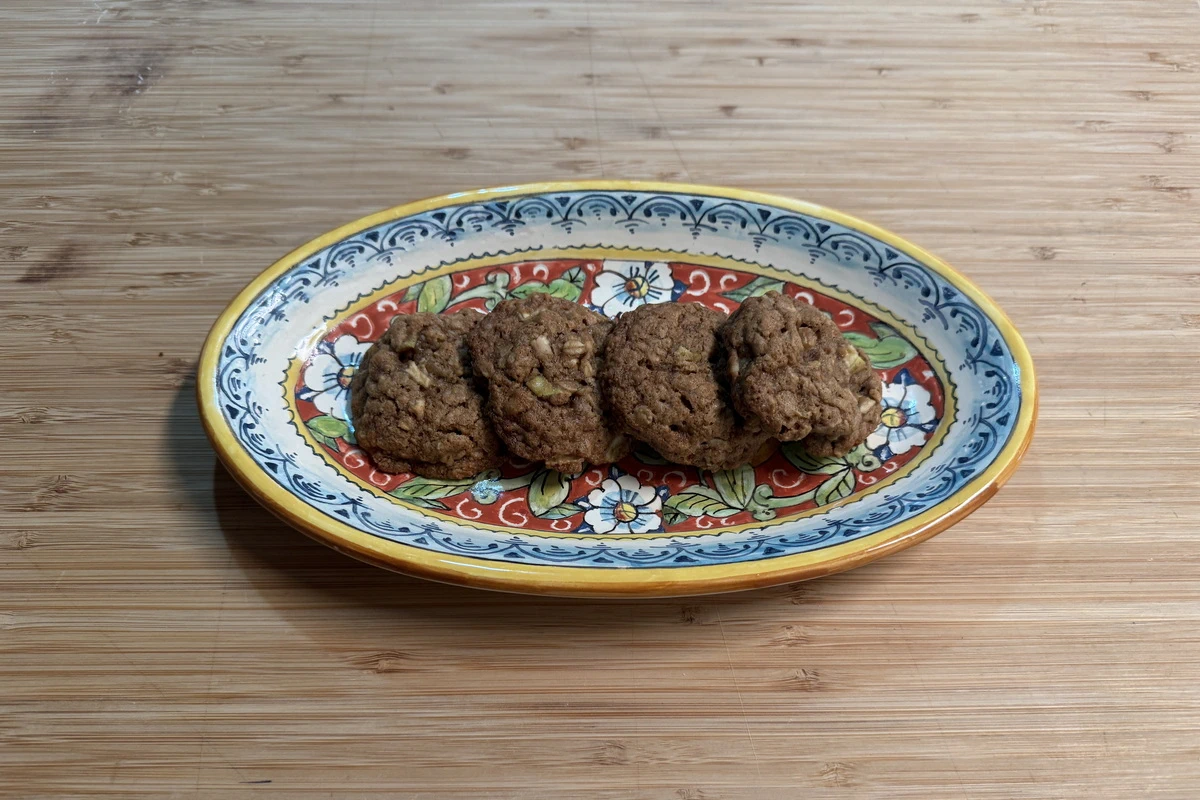
Oatmeal Apple Cookies
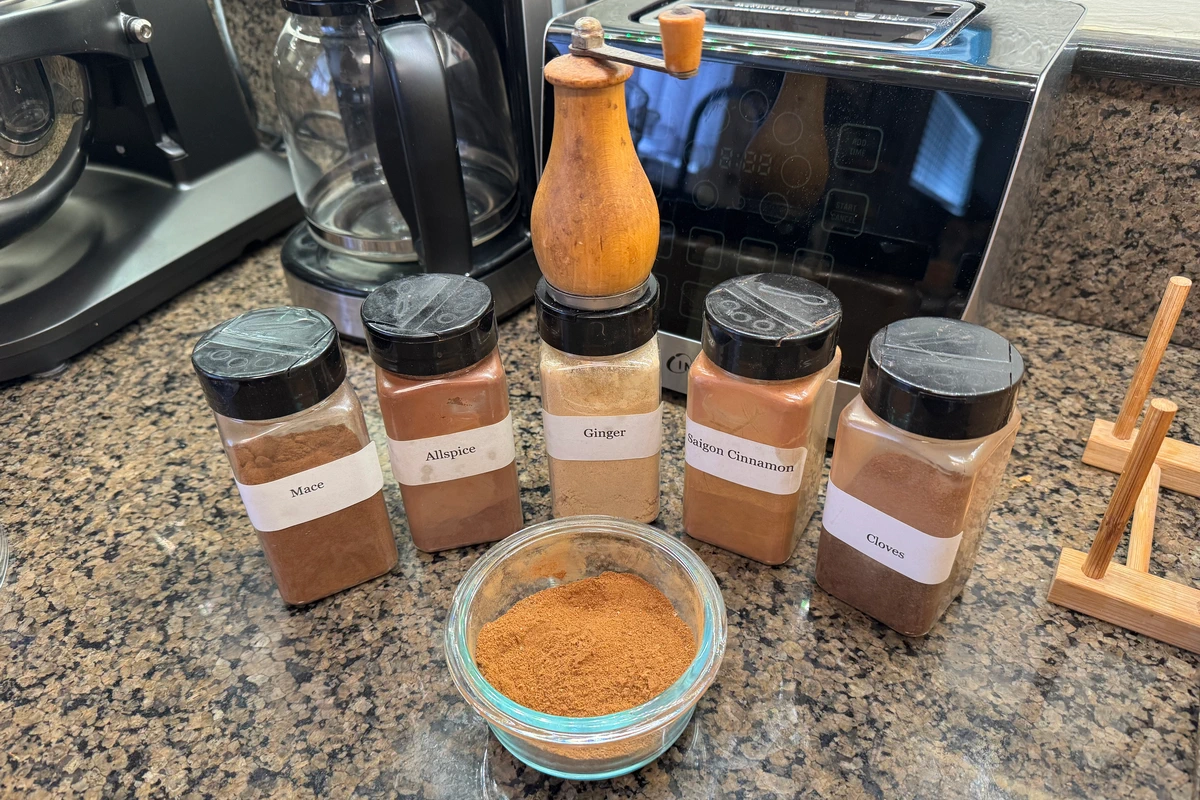
Pumpkin Spice
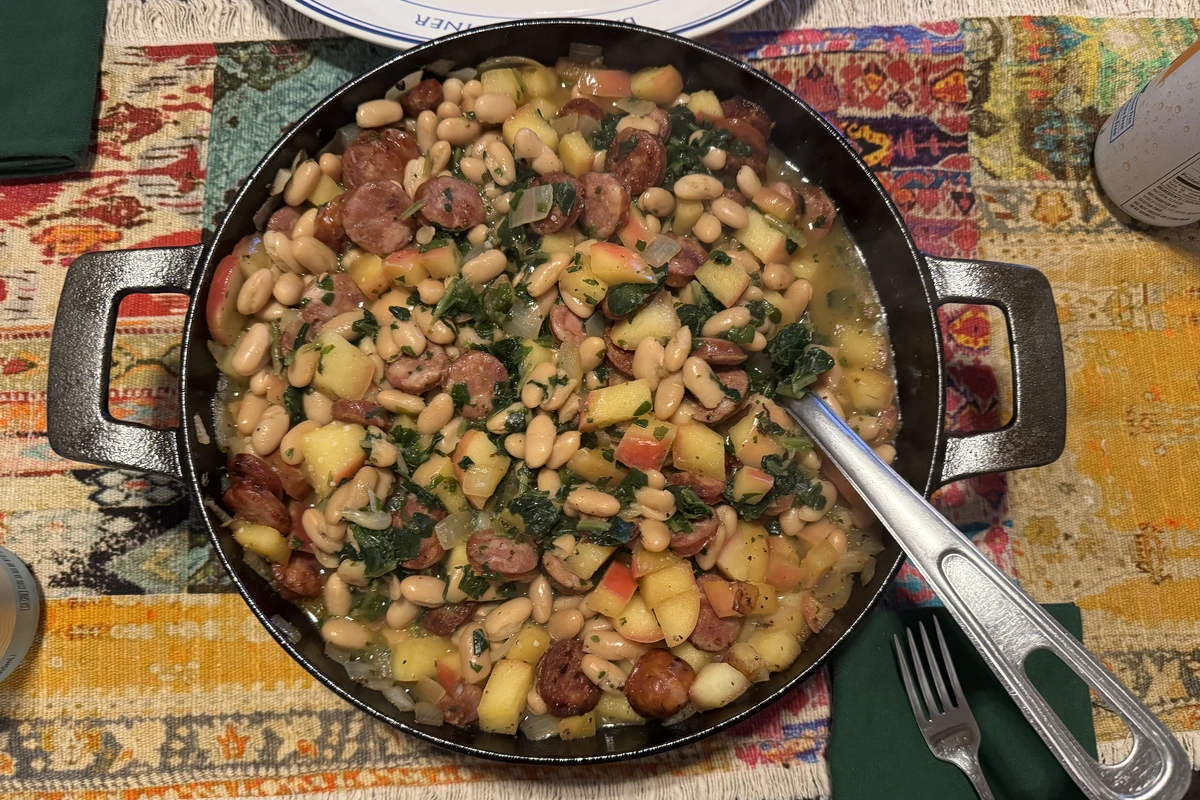
Apple, Sausage and White Bean Skillet
Cavatelli
1
2
3
4
…
154