The Fabulous Food Blog
About Us
Live to Eat or Eat to Live?
James Beard – My Hero
10 Greatest Cooking Disasters
Cooking Tips
Conversions and Substitutions
Wedding Cake Data Chart
TJ Recipes
Tim’s Mom’s Cookbooks
Flour Power
Family & Friends
Family Reunion-1
Family Reunion-2
Little Gram’s Cookbook
Quick Meals
Recipes From The Heart
Holiday Cooking
Recipes from Villa Modica
Other Stuff
Search
The Fabulous Food Blog
About Us
Live to Eat or Eat to Live?
James Beard – My Hero
10 Greatest Cooking Disasters
Cooking Tips
Conversions and Substitutions
Wedding Cake Data Chart
Tim and Victor's Totally Joyous Recipes
Month: June 2013
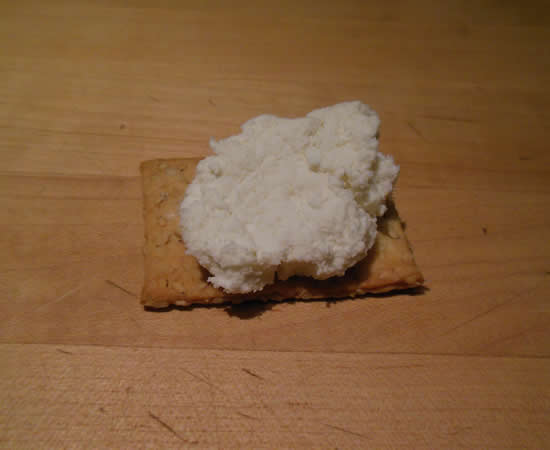
Homemade Chevre
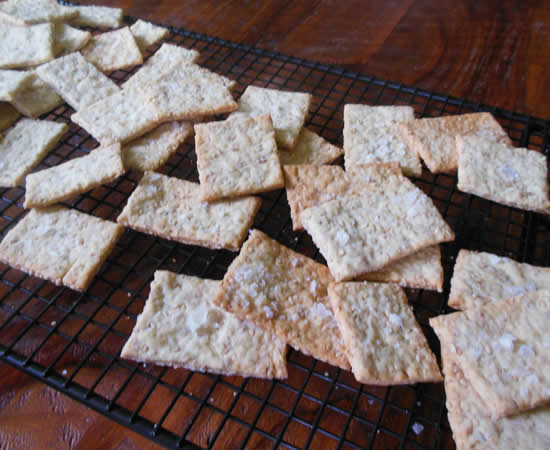
Sesame Crackers
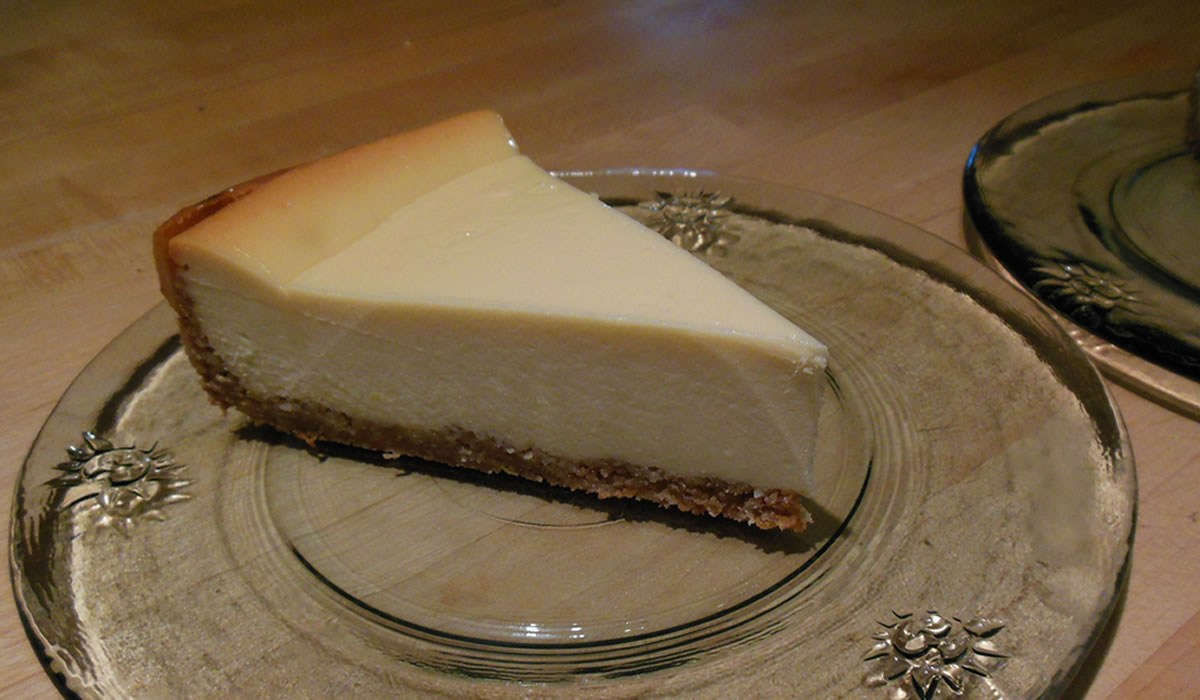
Coconut Cheesecake
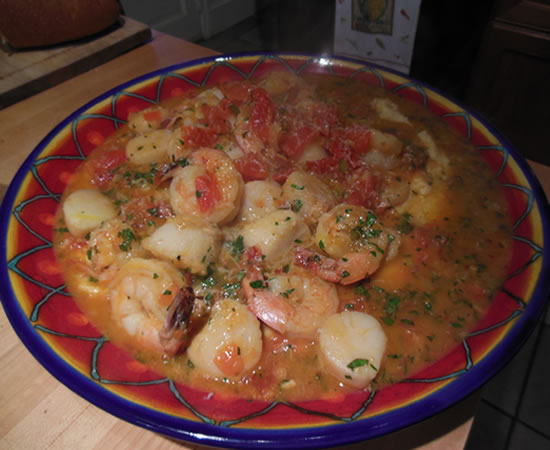
Shrimp and Scallops, Italian-Style
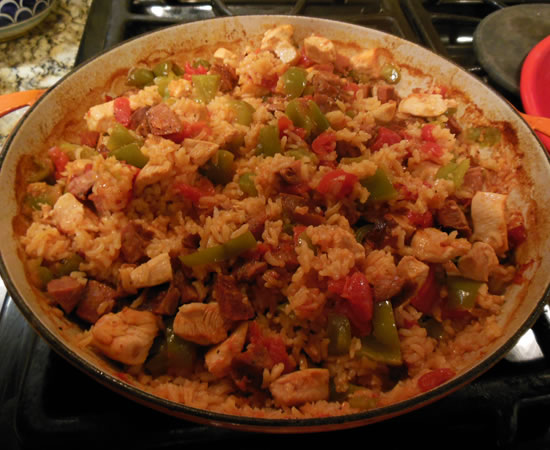
Chicken and Sausage Jambalaya
Homemade Ricotta
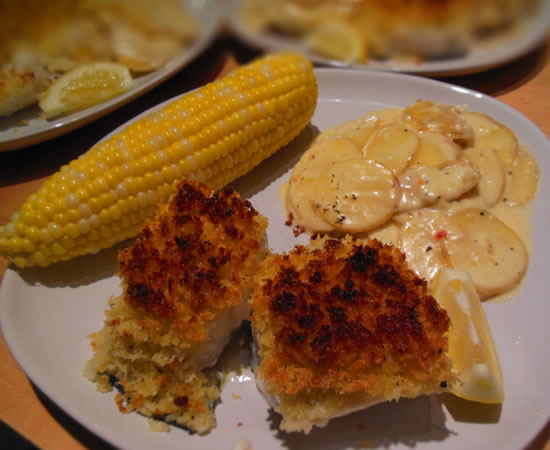
Wolffish
Pork Chops with Mustard Cream Sauce
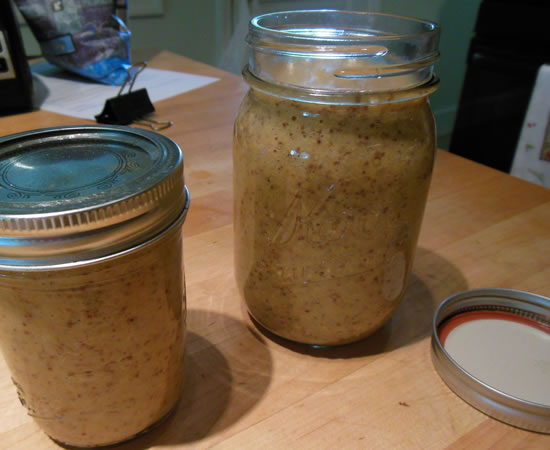
Irish Whiskey Mustard
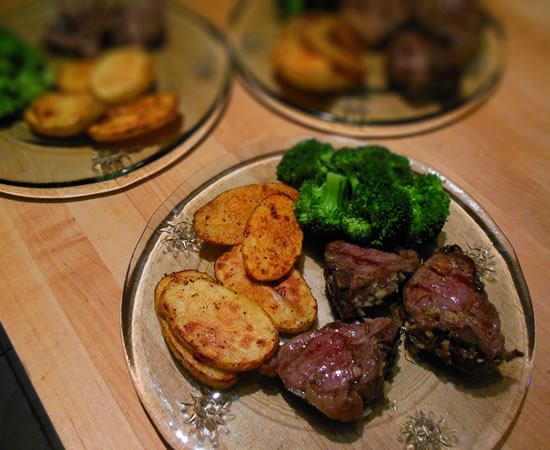
Lamb Chops
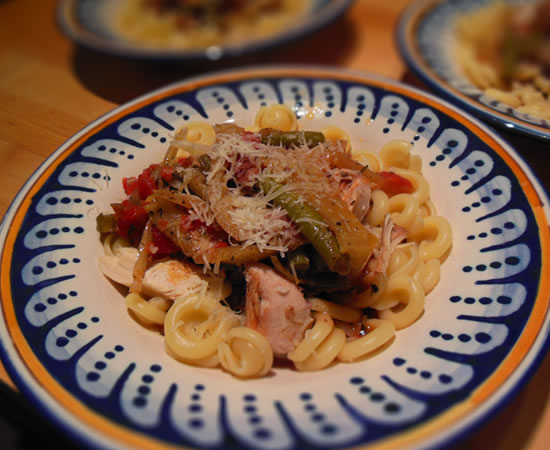
Chicken Cacciatore
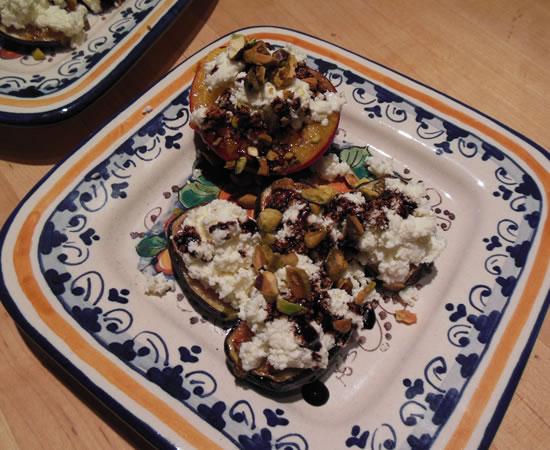
Figs and Balsamic
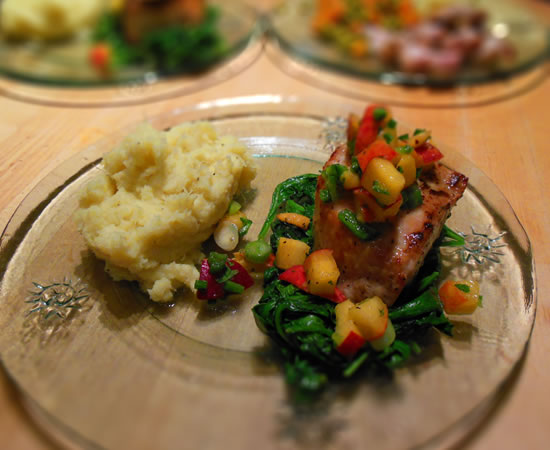
Pork Chops and Peach Salsa
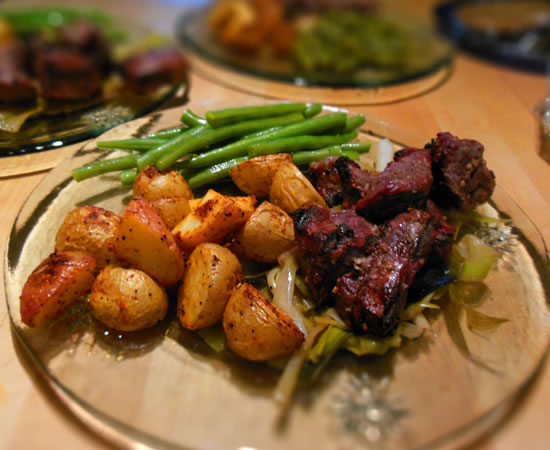
Braised Leeks and Beef Tips
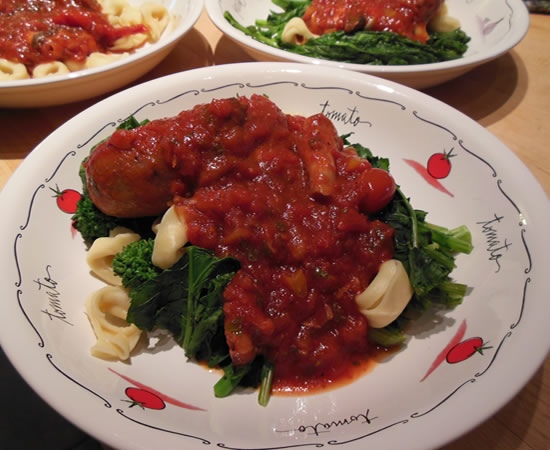
Tortellini and Broccoli Rabe
Apple Sour Cream Streusel Pie
Buckwheat Crepes with Chicken and Horseradish Sauce
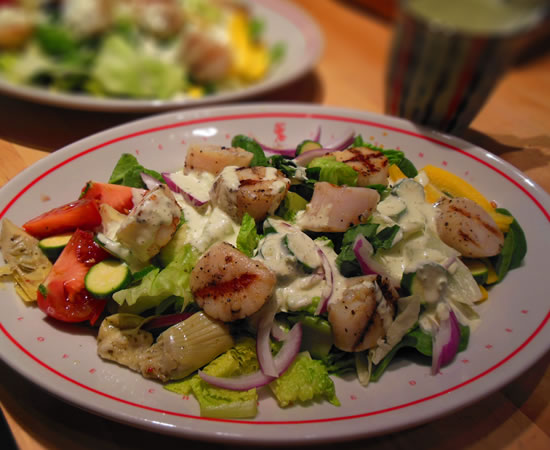
Frog Commissary Scallops
1
2