The Fabulous Food Blog
About Us
Live to Eat or Eat to Live?
James Beard – My Hero
10 Greatest Cooking Disasters
Cooking Tips
Conversions and Substitutions
Wedding Cake Data Chart
TJ Recipes
Tim’s Mom’s Cookbooks
Flour Power
Family & Friends
Family Reunion-1
Family Reunion-2
Little Gram’s Cookbook
Quick Meals
Recipes From The Heart
Holiday Cooking
Recipes from Villa Modica
Other Stuff
Search
The Fabulous Food Blog
About Us
Live to Eat or Eat to Live?
James Beard – My Hero
10 Greatest Cooking Disasters
Cooking Tips
Conversions and Substitutions
Wedding Cake Data Chart
Tim and Victor's Totally Joyous Recipes
Month: September 2011
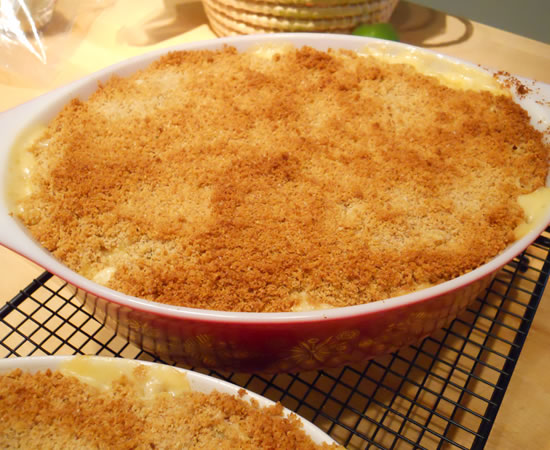
Macaroni and Cheese
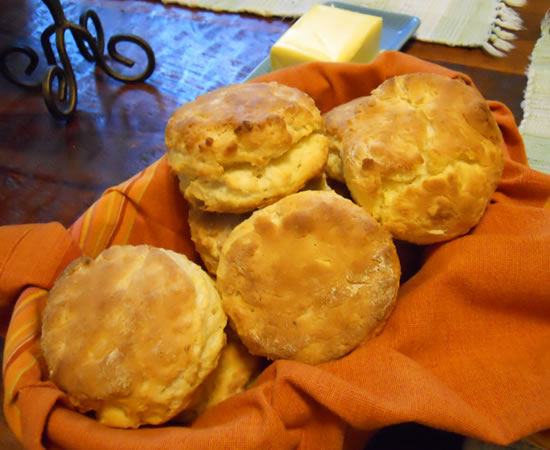
Meatloaf and Adluh Biscuits
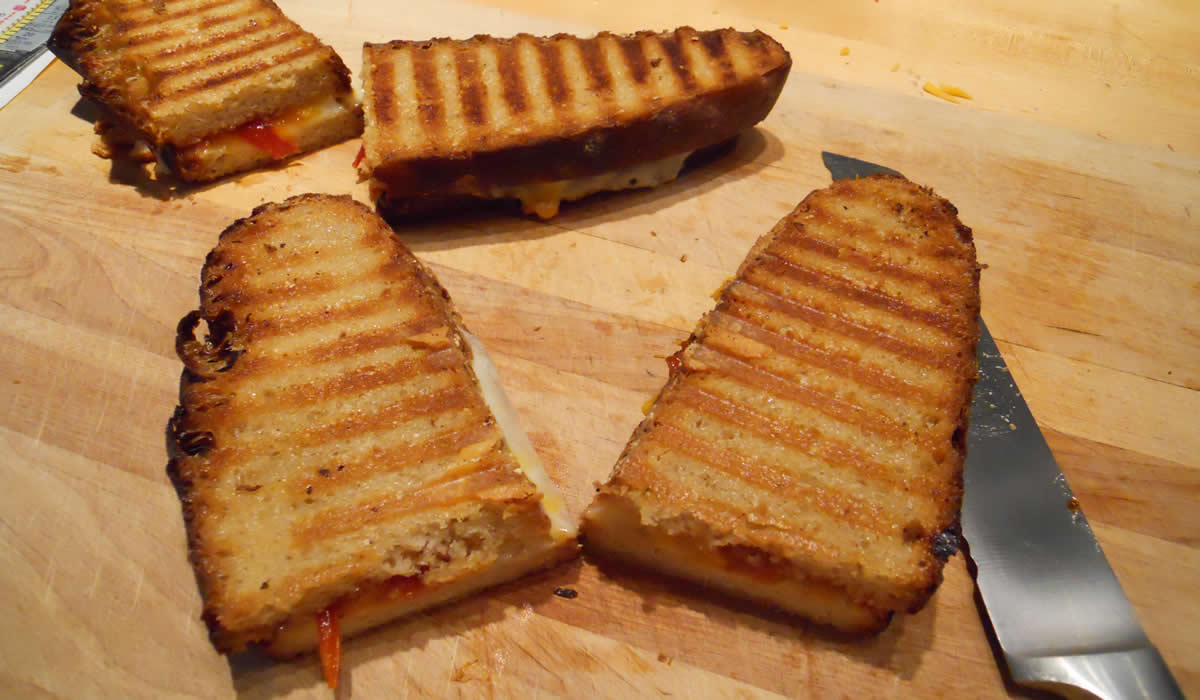
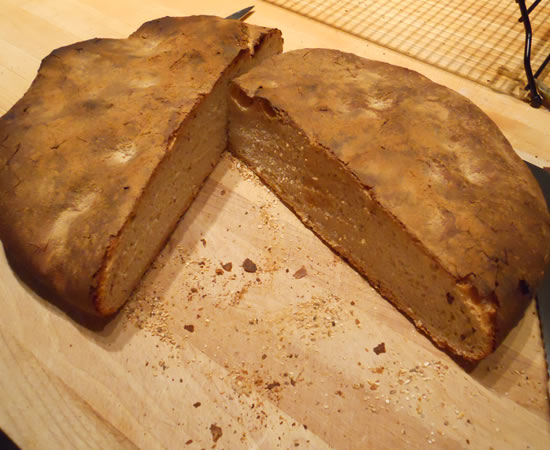
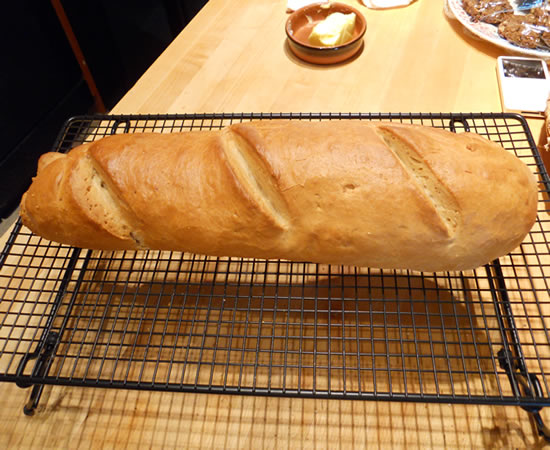
Panini with Pane Pugliese
Leftovers and Pane Pugliese
Rice and Lentil Rolls
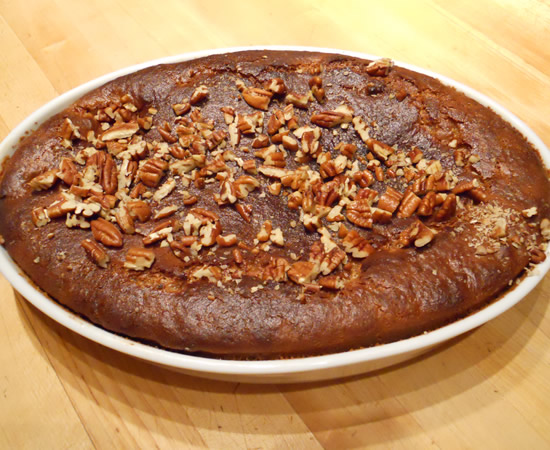
Adluh Sweet Potato Apple Cobbler
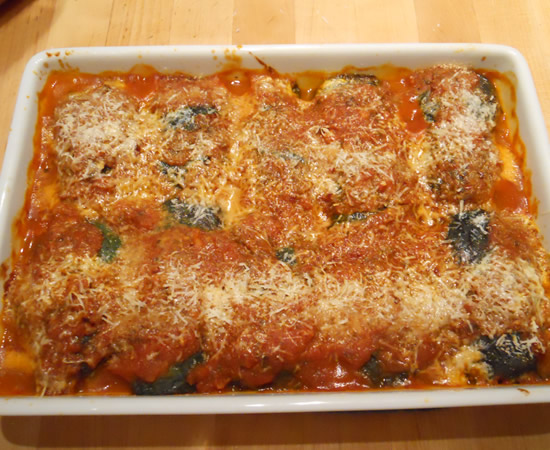
Butternut Squash Ravioli
Babalu
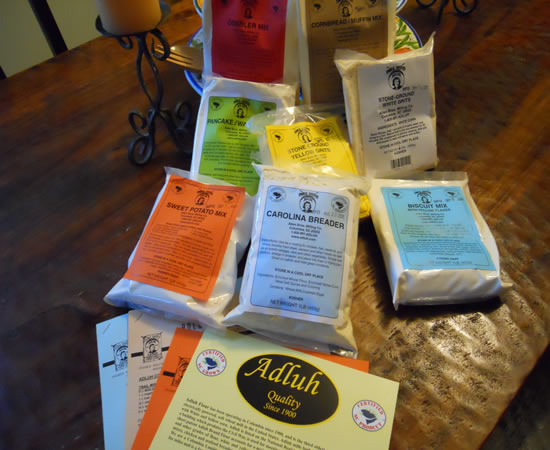
Adluh Flour
Fresh Bread and Beef Stew
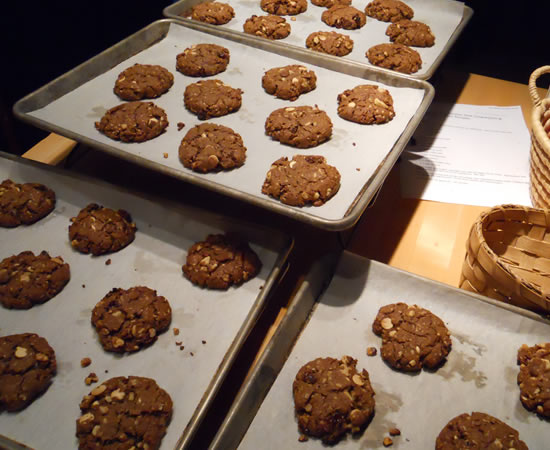
Everything But The Kitchen Sink Cookies
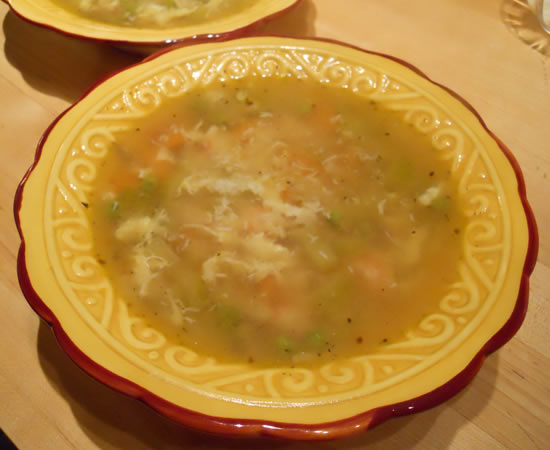
Simply Soup
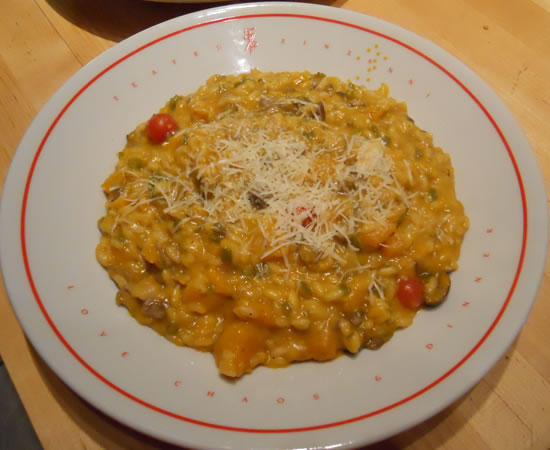
Butternut Squash Risotto
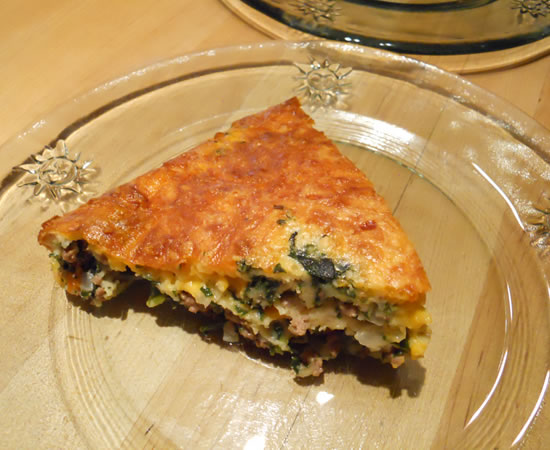
Savory Pies
Vanilla Pound Cake
Beard on Bread
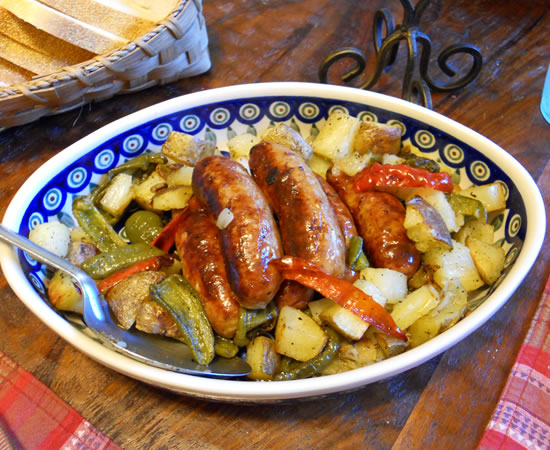
Sausage and Peppers
Cybil’s Birthday and Tuscan Chicken
1
2