The Fabulous Food Blog
About Us
Live to Eat or Eat to Live?
James Beard – My Hero
10 Greatest Cooking Disasters
Cooking Tips
Conversions and Substitutions
Wedding Cake Data Chart
TJ Recipes
Tim’s Mom’s Cookbooks
Flour Power
Family & Friends
Family Reunion-1
Family Reunion-2
Little Gram’s Cookbook
Quick Meals
Recipes From The Heart
Holiday Cooking
Recipes from Villa Modica
Other Stuff
Search
The Fabulous Food Blog
About Us
Live to Eat or Eat to Live?
James Beard – My Hero
10 Greatest Cooking Disasters
Cooking Tips
Conversions and Substitutions
Wedding Cake Data Chart
Tim and Victor's Totally Joyous Recipes
Month: October 2008
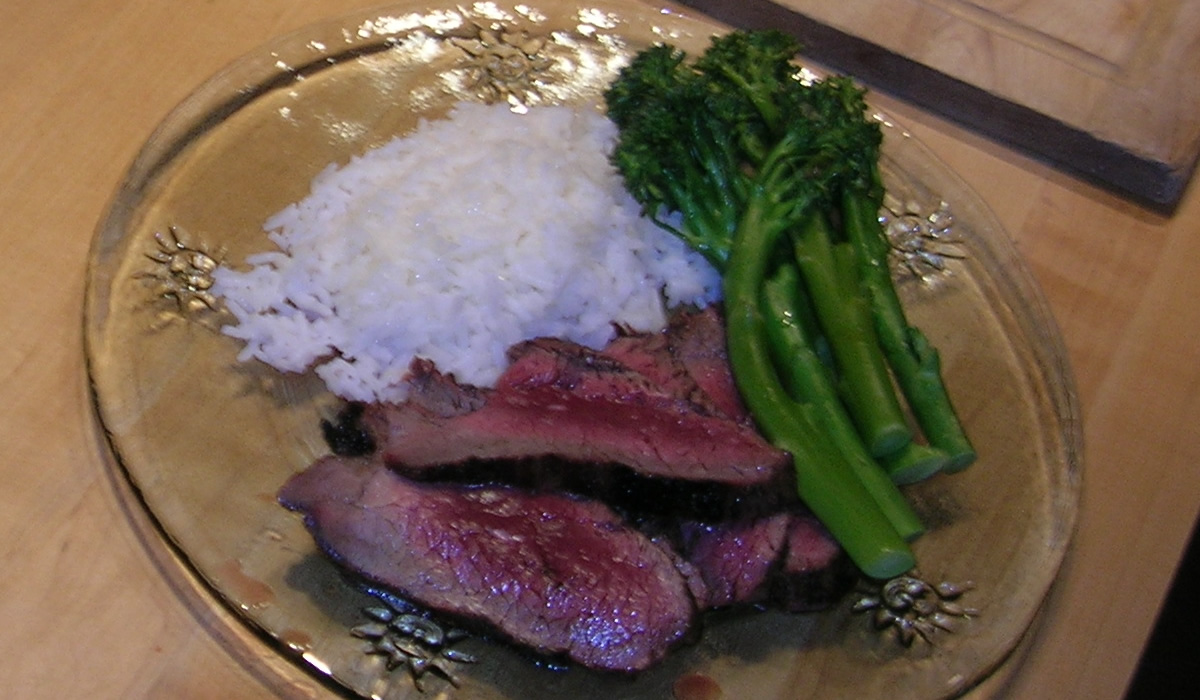
Warm Weather Grilling
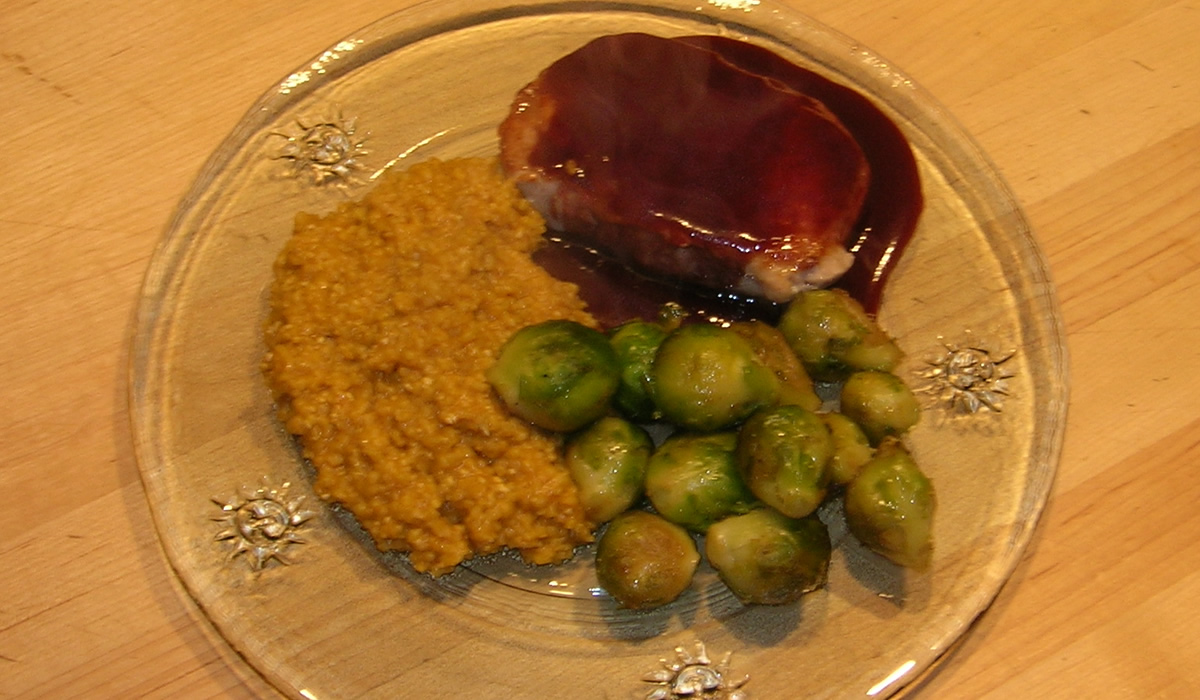
Pork Chops and Lingonberries
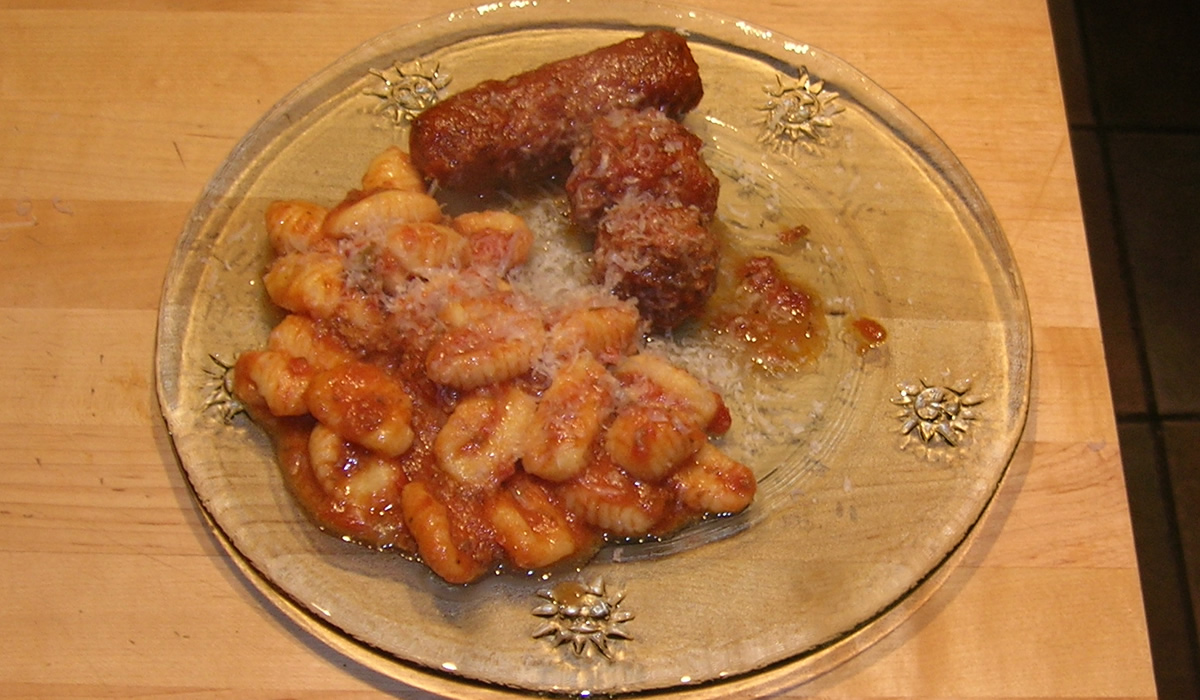
Gnocchi with Fresh Tomato Sauce
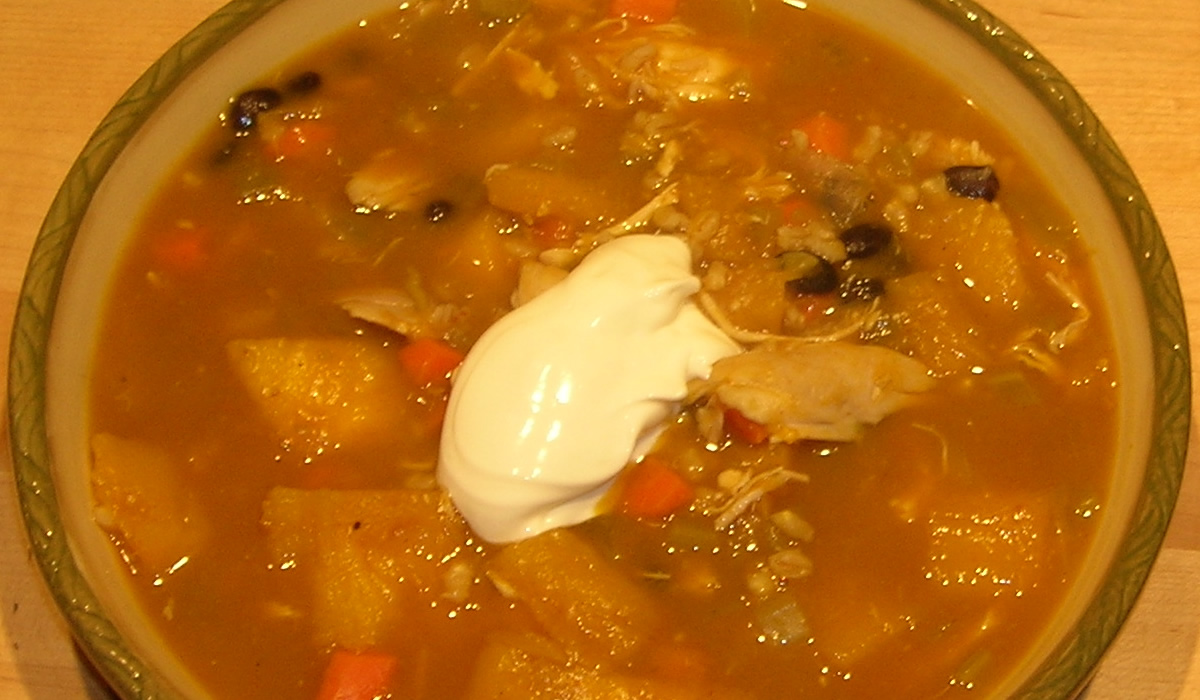
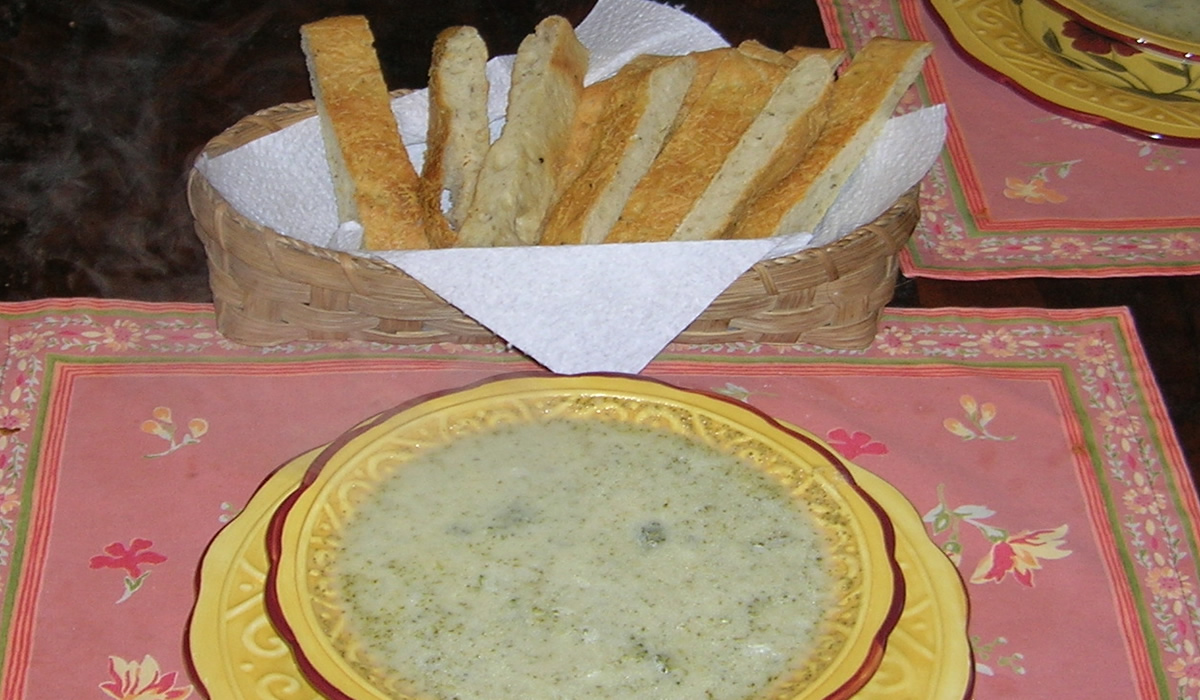
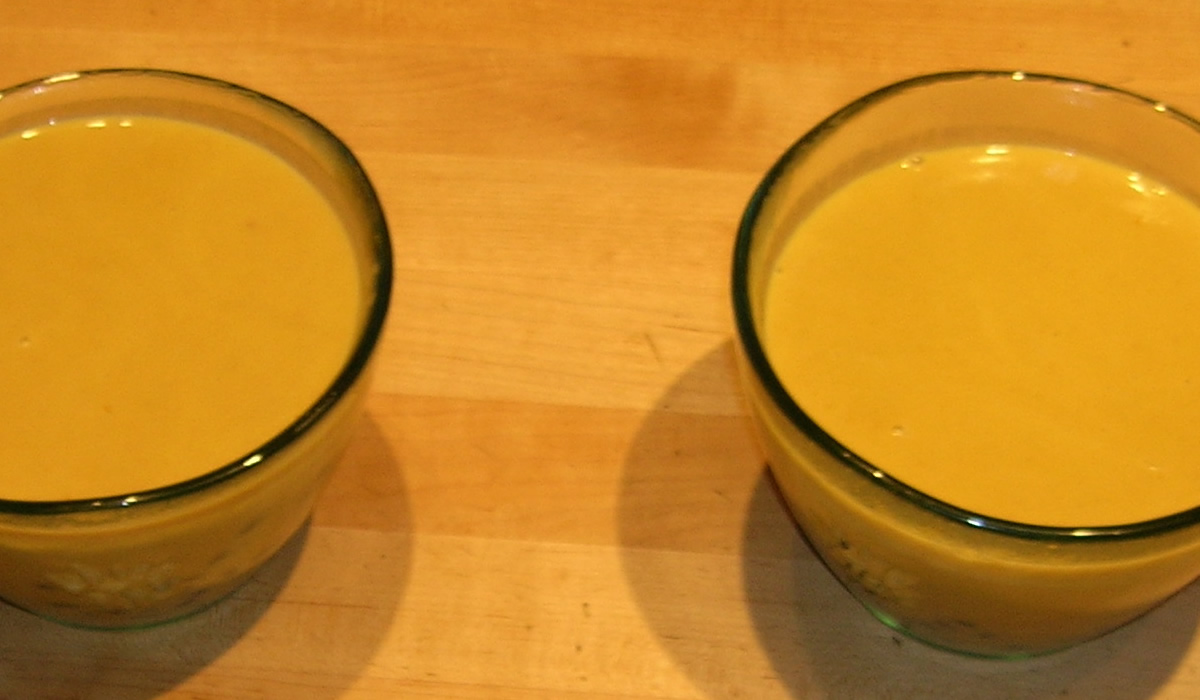
Pumpkin Soup
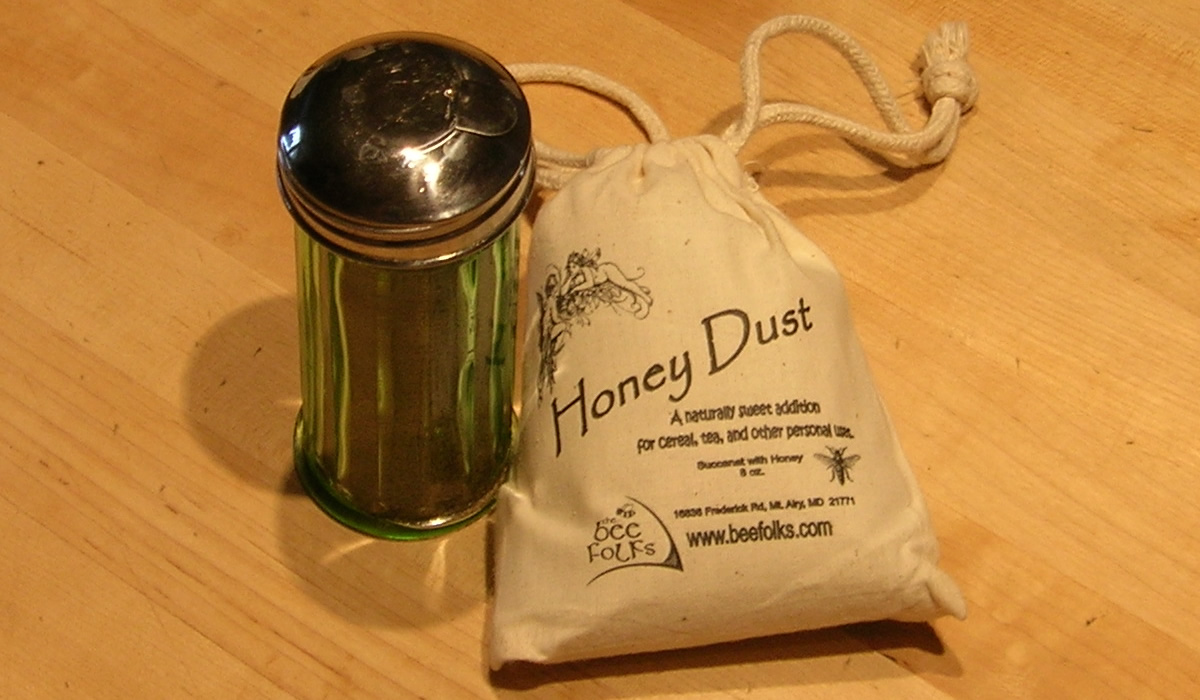
Honey Dust
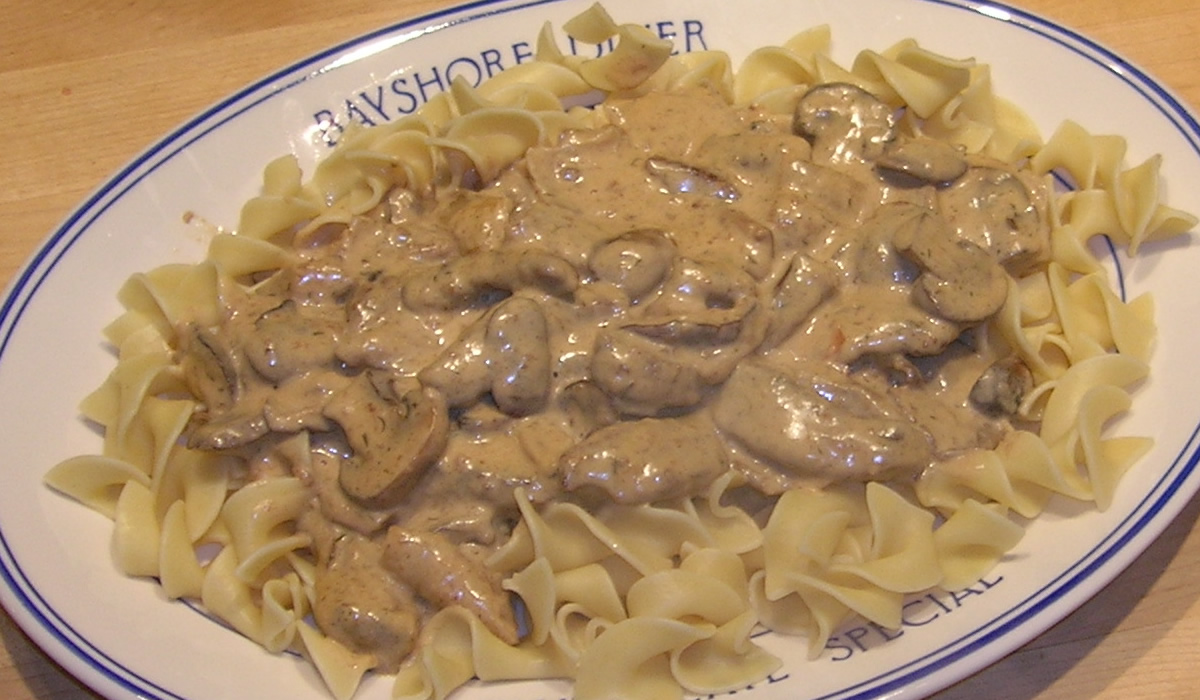
Beef Stroganoff
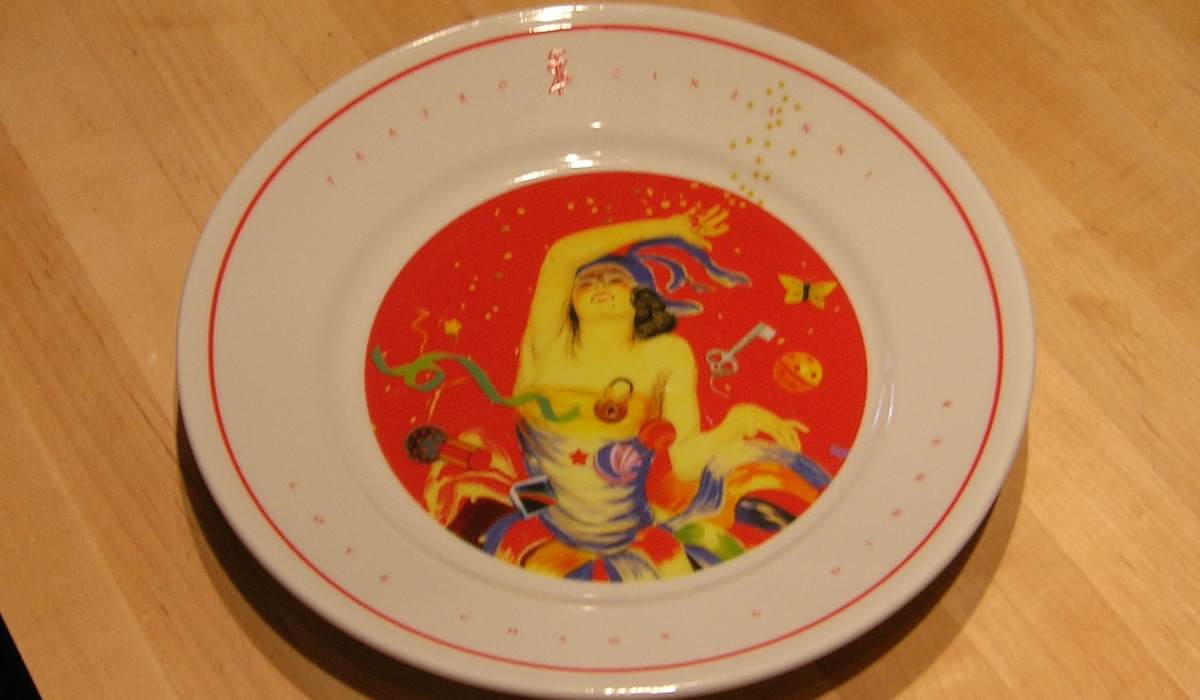
Teatro ZinZanni and Ravioli
Sunday Dinner
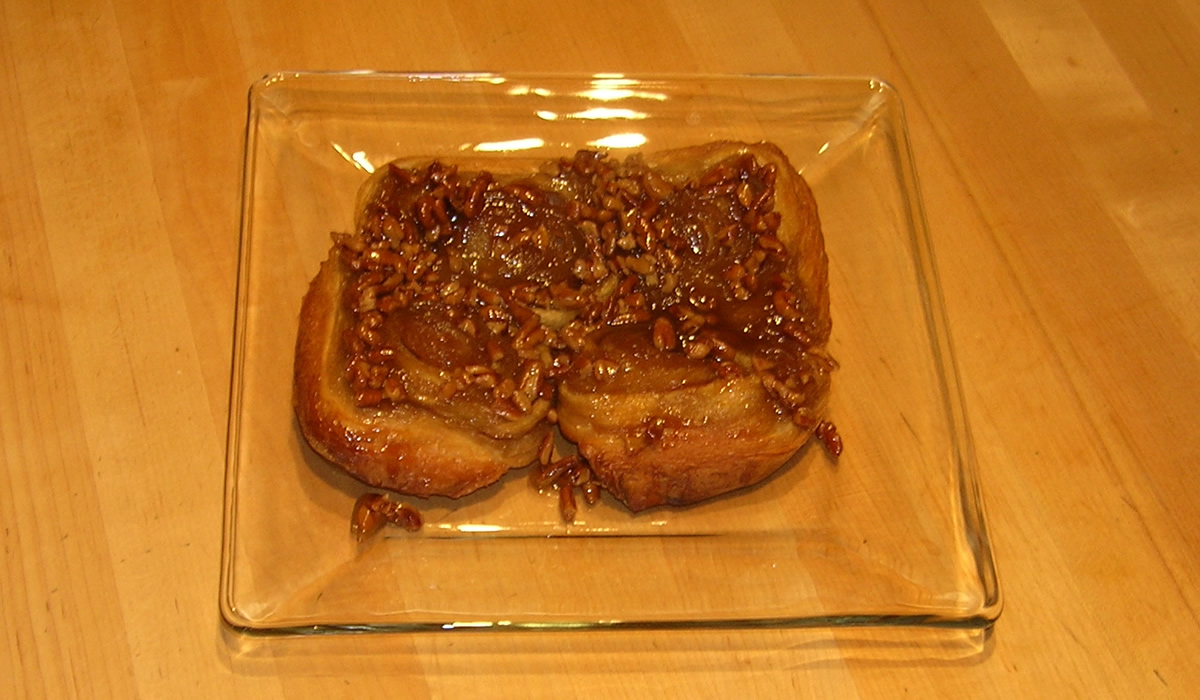
Sunday Breakfast
Stuffed Baked Potatoes
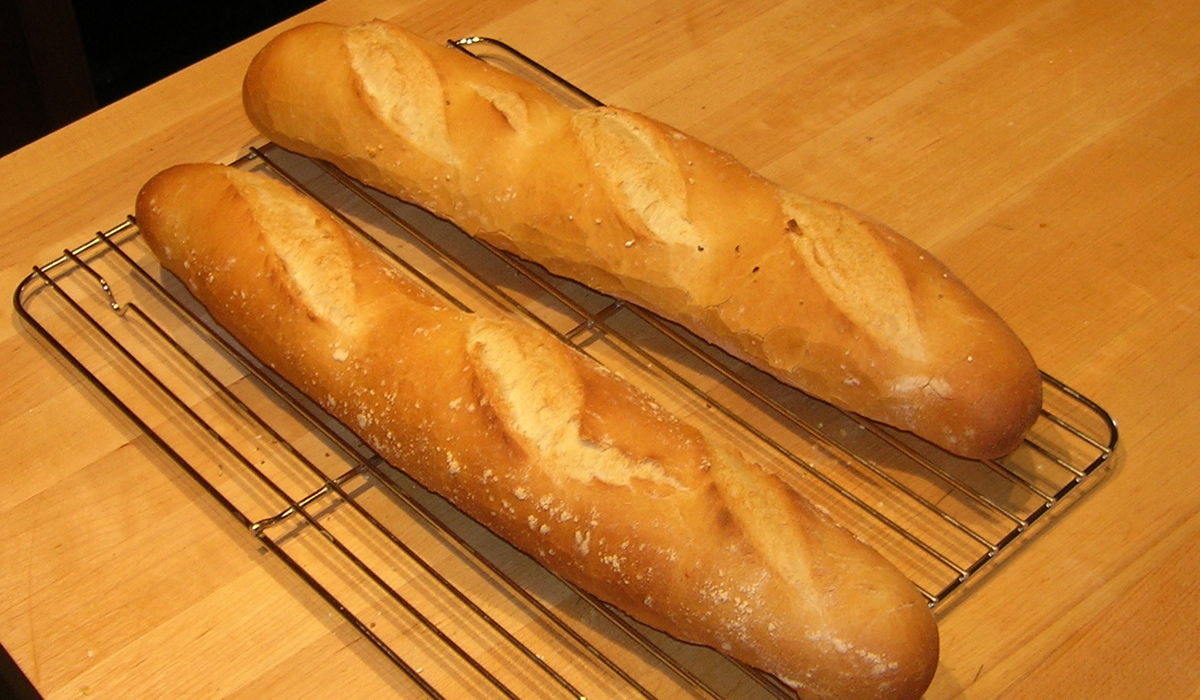
Fresh French Bread
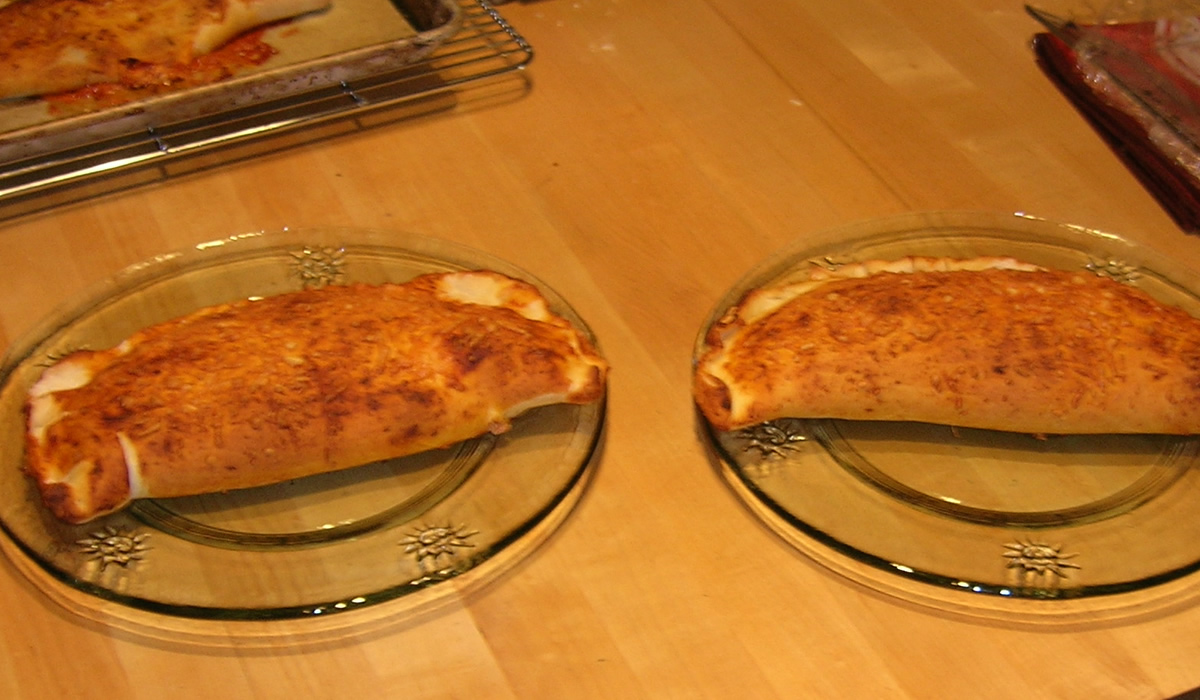
Sausage Calzone – Victor Style
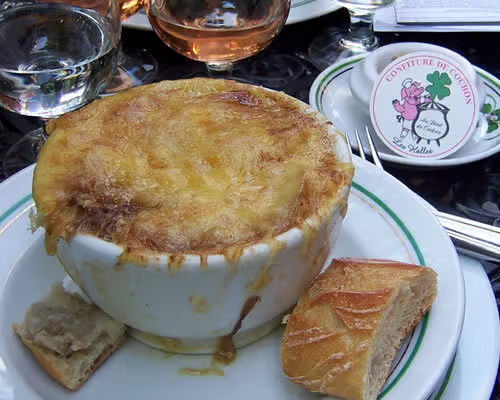
Potage d’oignon dans Les Halles
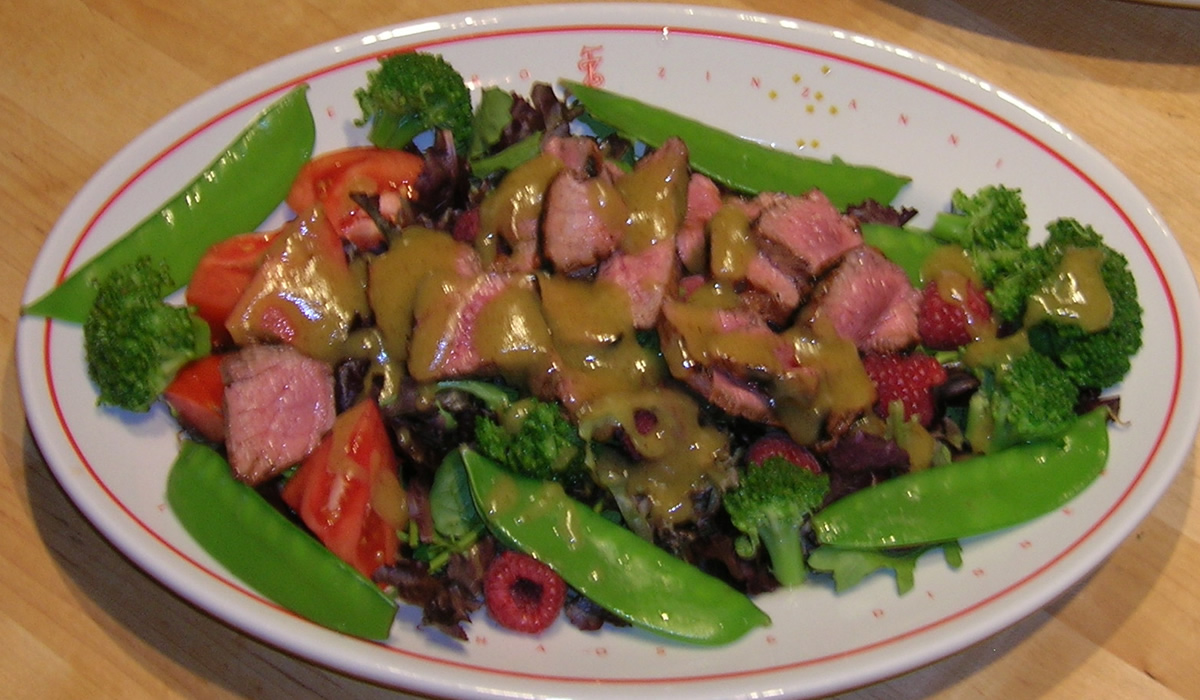
The Last Summer Salad?!?
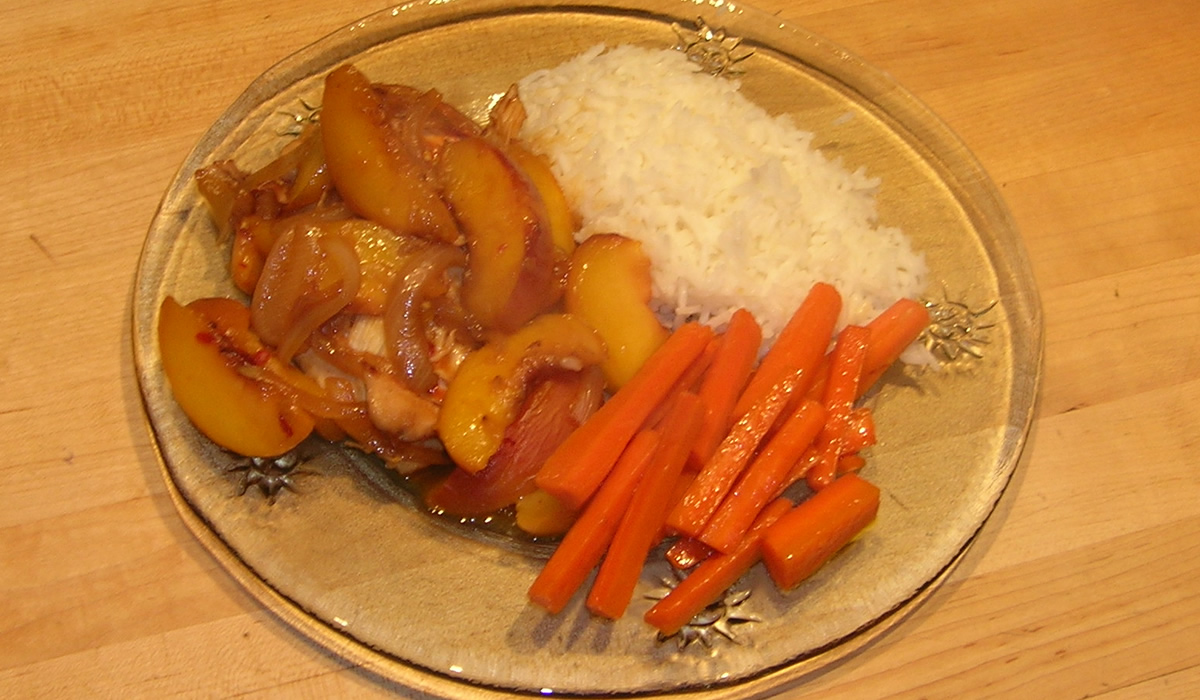
Chicken with Spicy Peaches
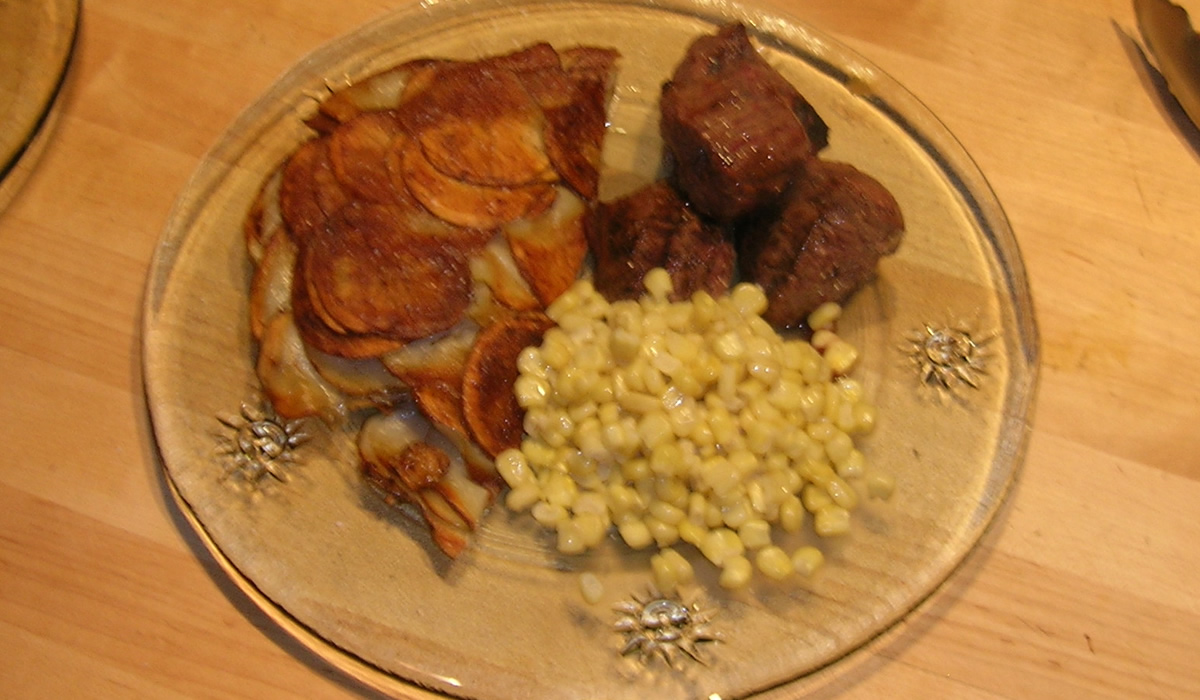
Steak Tips
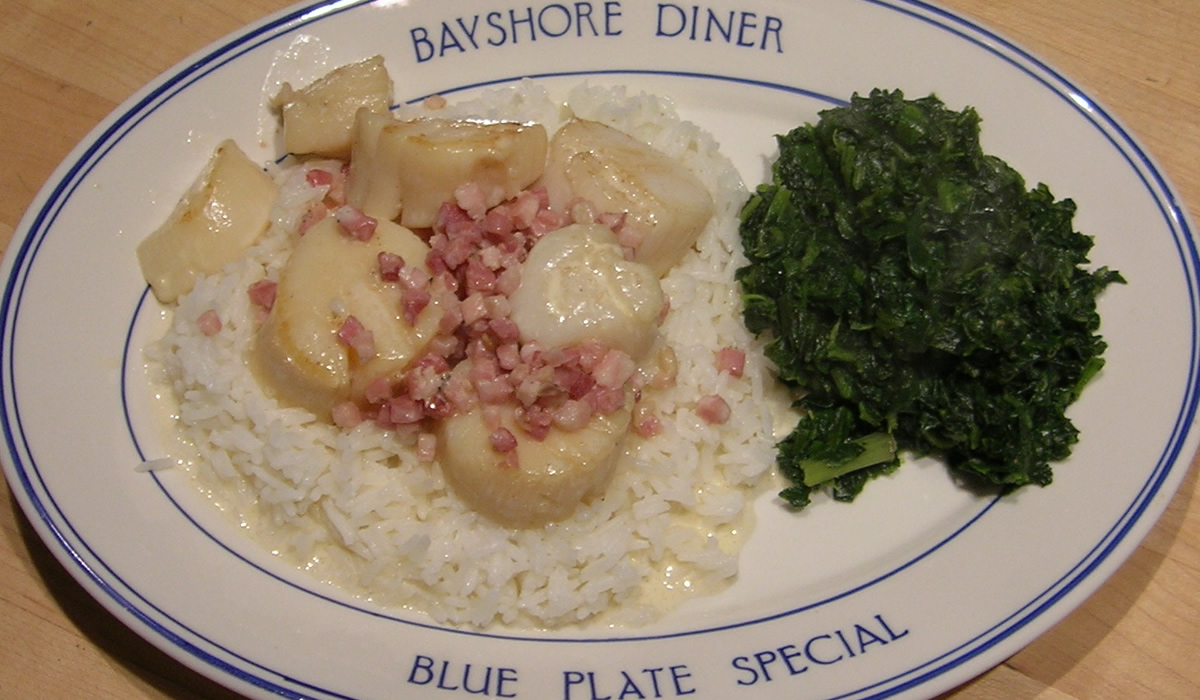
Scallops, Pancetta, and Spinach
Pumpkin Soup
1
2